


I adore kaak in all shapes, forms and processes, they are really hard to beat; readers loved the kaak al asrieh I published, as well as Lebanese sweet kaak and Kaak bhaleeh. This time, I turned to a regional kaak recipe “Kaleeta/ Lebanese Flat Kaak”coming from Northern Lebanon, specifically the city of Tripoli, even though nowadays you can virtually find the kaak all over the country.
Kaleeta/ North Lebanese Flat Kaak
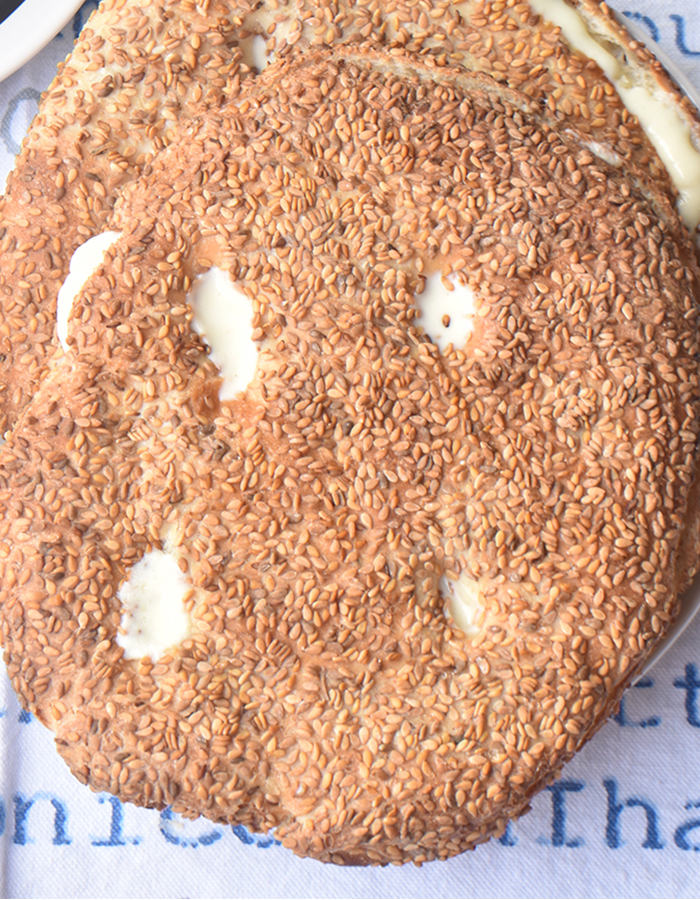
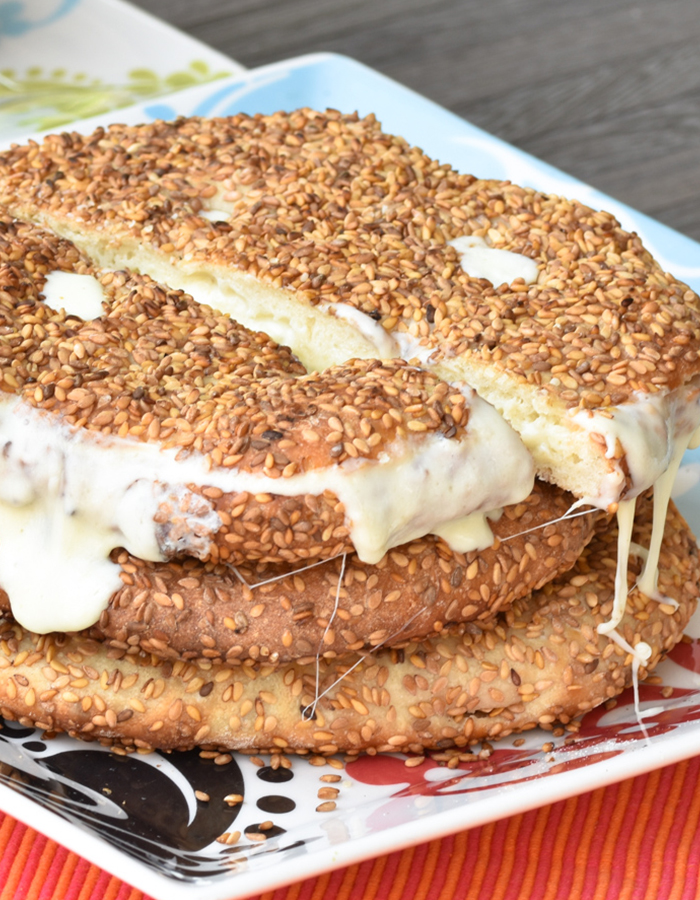
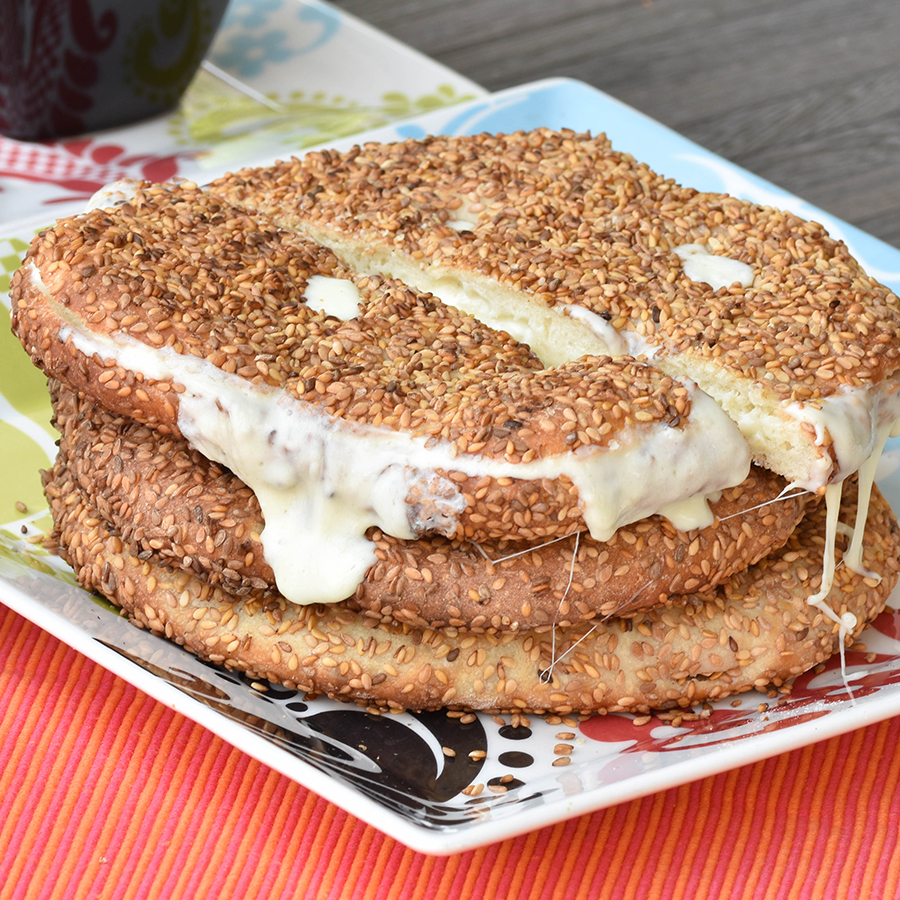
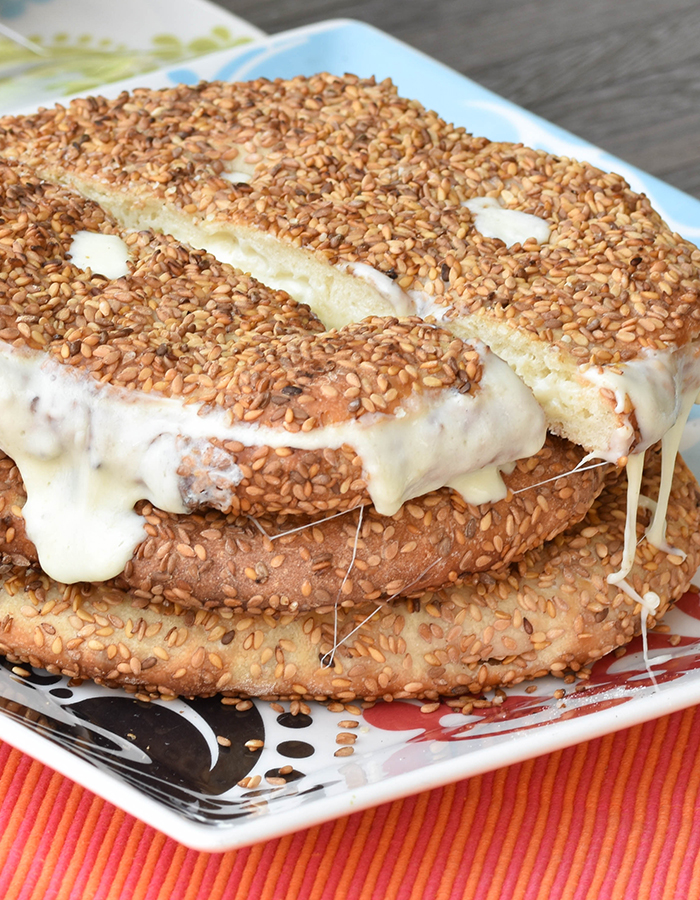
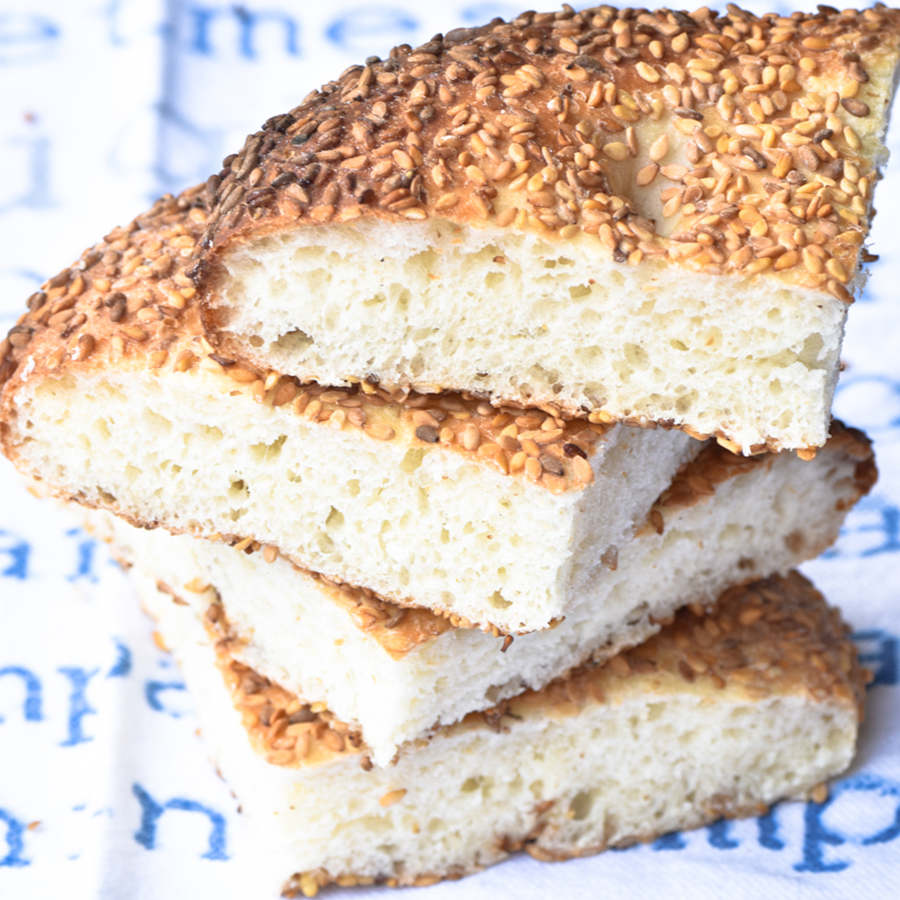
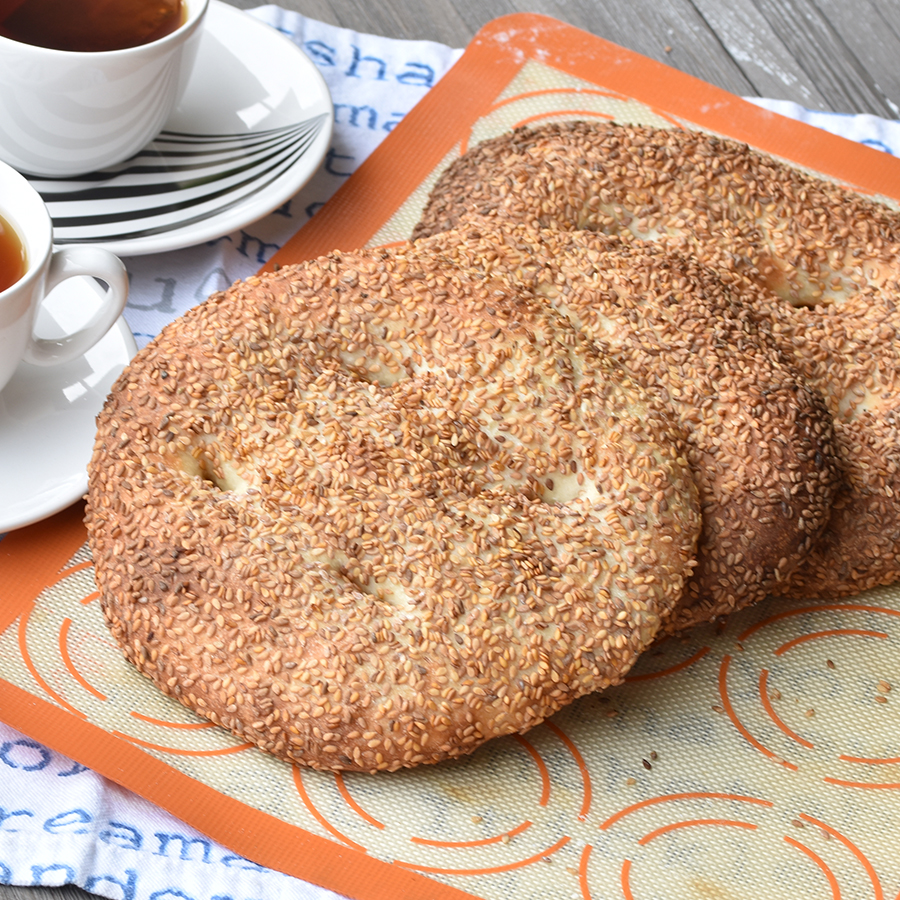
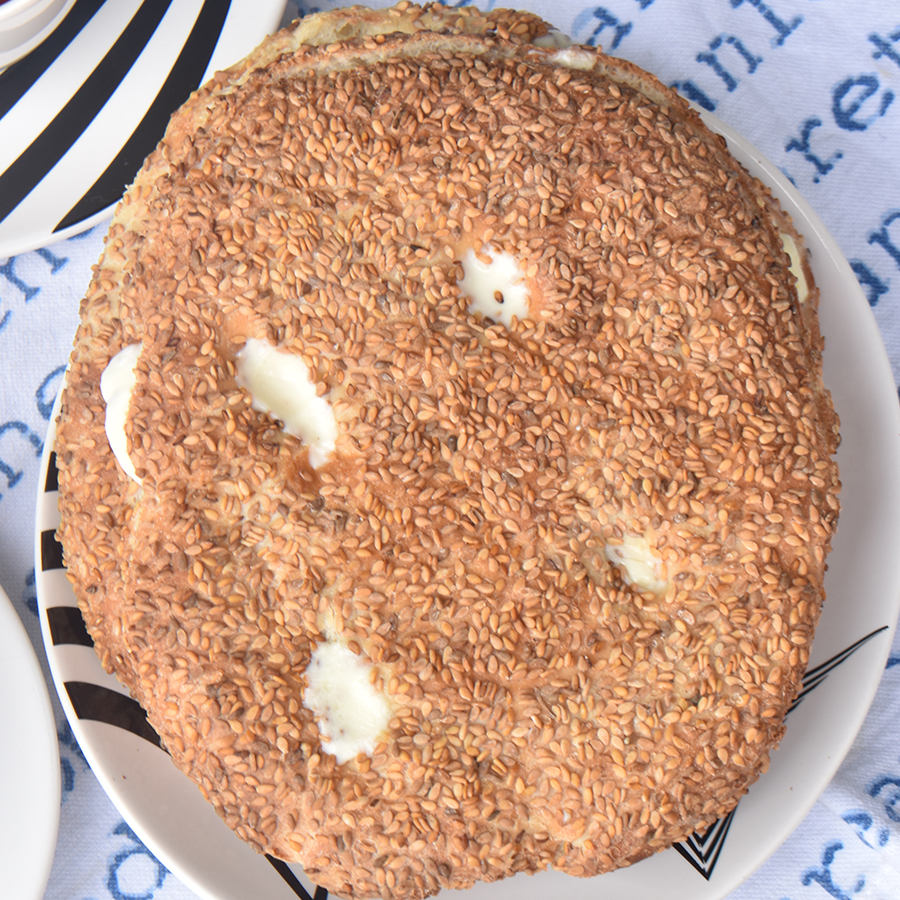
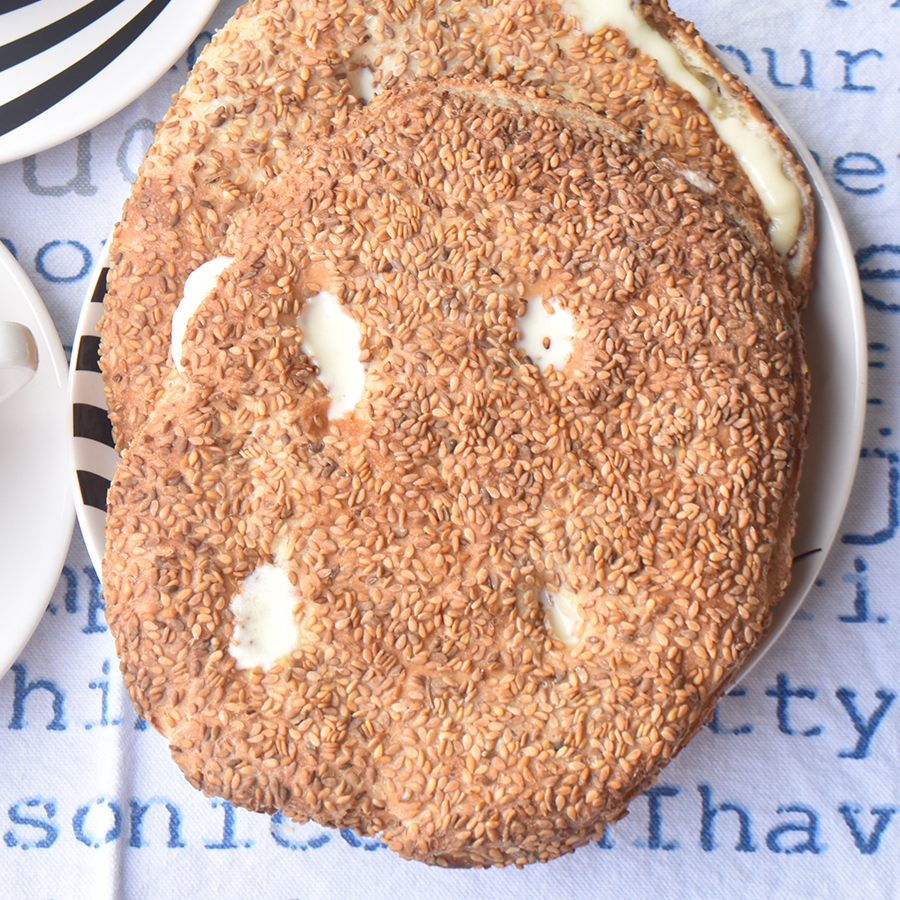
Kaleeta/ North Lebanese Flat Kaak are popular choice for breakfast; duck into communal neighborhood ovens in Tripoli, Lebanon, and you’ll likely spot these sesame rounded loaves everywhere, and sometimes you can pick them up at roadside stands, they have a slightly crisp exterior, usually thicker than pita bread, and are a favorite treat when layered with cheese and grilled on griddle or a panini press to give the plump flatbreads a deliciously toasted crust and a melted cheese steaming interior—a belly filling breakfast or snack that is a nourishing part of daily life.
While baking “Kaleeta Kaak / North Lebanese Flat Kaak” “كعك القليطه ” looks like a project, they are easier than you think, and they are fun and truly rewarding. You can make your own kaak, in your own regular kitchen, and even if you’re a beginner, the results are amazing!
Best type of flour: 00 flour is the best choice for kaak because of its high protein content. It helps the dough keep its structure during the long leaving time. A second choice would be all-purpose flour!
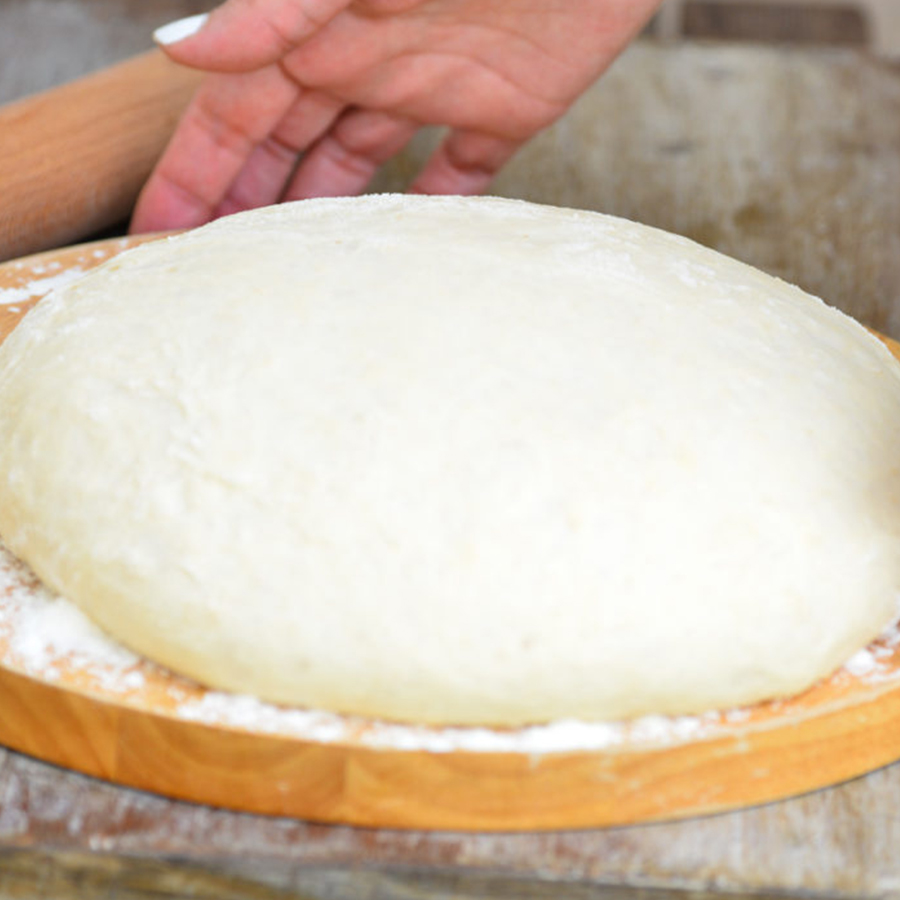
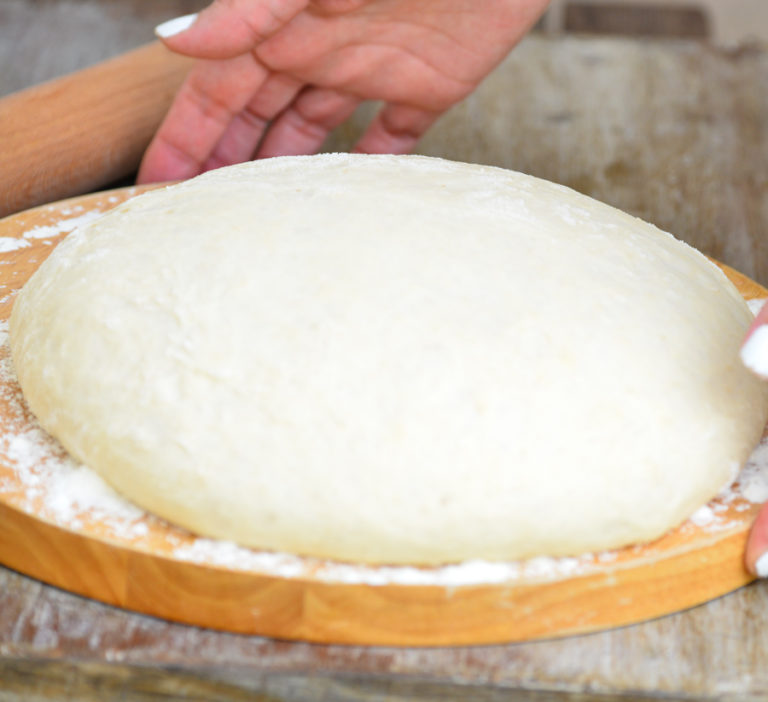
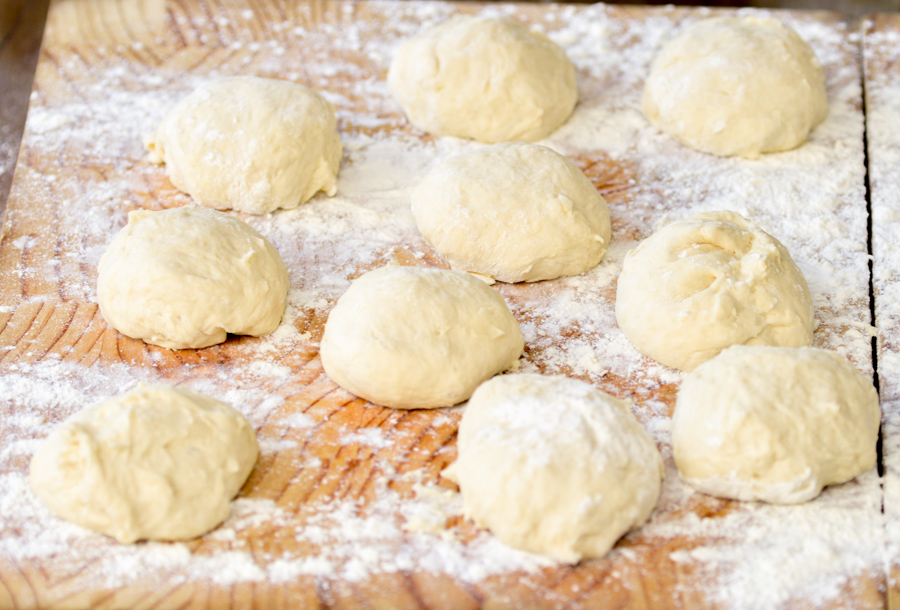
Start making the dough: In a large bowl, mix the flour, instant dry yeast, sugar, salt, mahlab and oil. Add the lukewarm milk and mix well. Knead the dough until it is of one texture. Slam it a couple of times on a countertop before you cover it with cling film, this will strengthen the gluten in the flour, resulting in a very light and fluffy dough. Set aside for one hour or until it doubles in bulk.
Cold fermentation:
When it comes to making “kaak” there’s a key method that is absolutely essential to success, guess what? A cold fermentation! Yes, it is best for producing a flavorful kaak dough. It takes longer, but the composition of the dough develops better over a longer period of time. The dough needs to rise in the refrigerator for at least 24 hours. Cold fermentation is a method to slow down the rise of dough. The longer the fermentation the more intense the flavor of the kaak is. The ideal fermentation window is 24 to 48 hours. It will need to sit at room temperature for about 30 minutes before shaping and baking, so place the dough in the fridge for 24-48 hours.
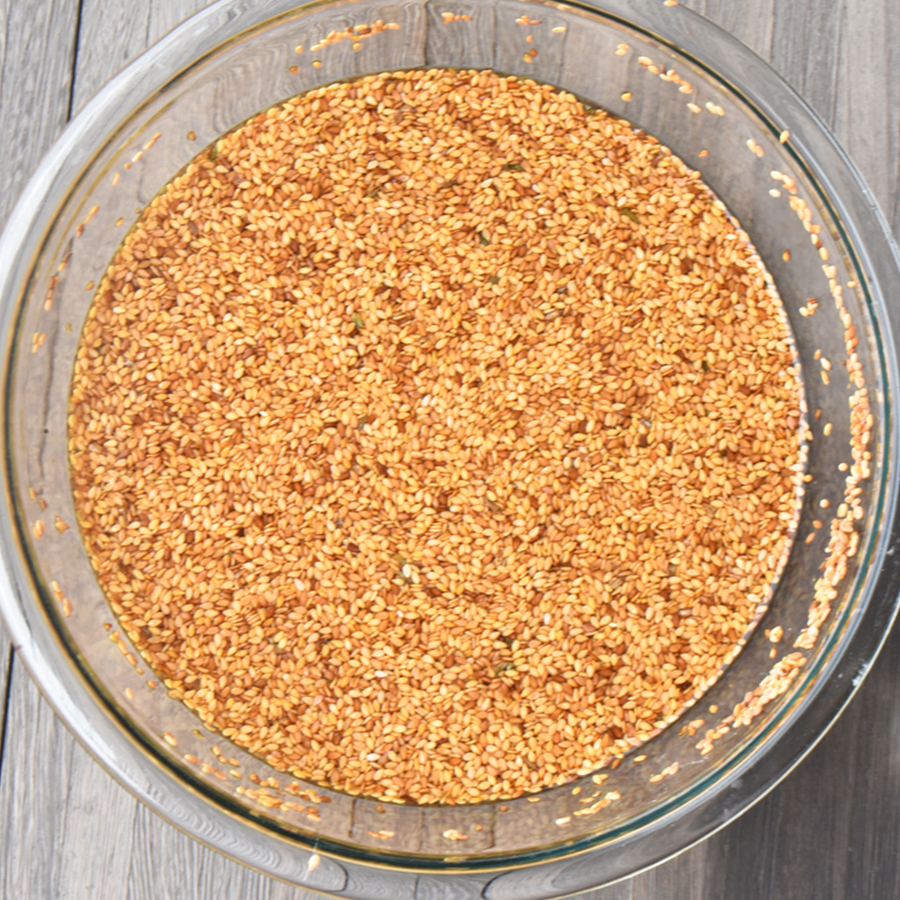
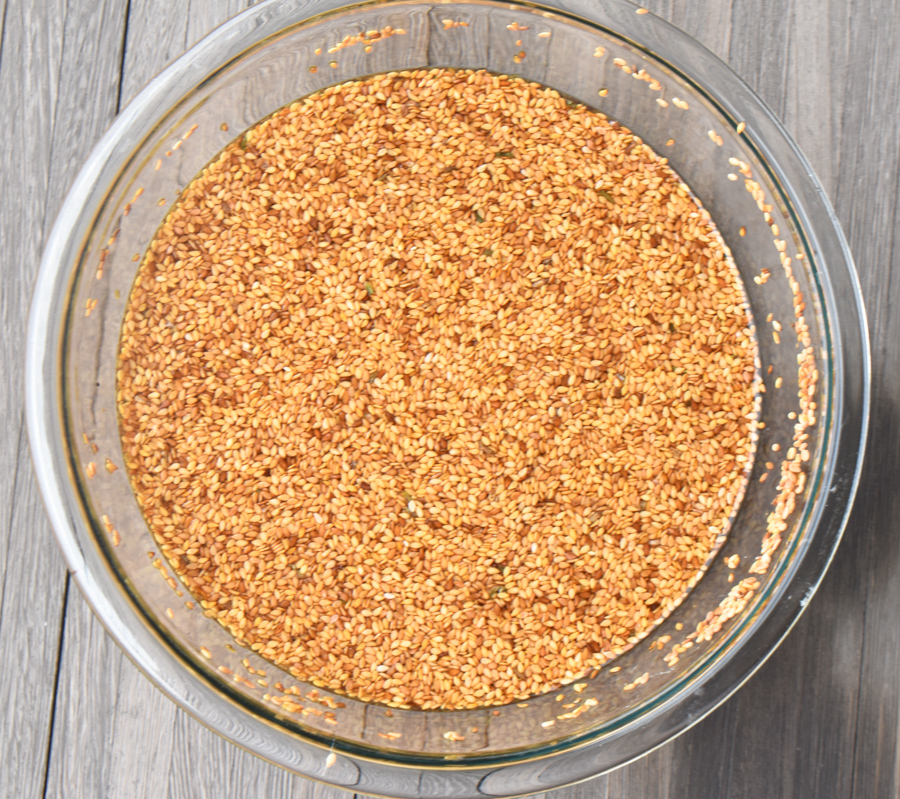
Sticking sesame seeds on the kaak isn’t as easy as sprinkling them on top, so you need to make a thin glaze of water, honey and sesame seeds, later you will drain the water and use the sesame seeds; adding honey to glaze helps the sesame to stick, plus they provide the kaak with a slight favored golden color. In a bowl combine together the sesame, water and honey. Keep for about 40 minutes, then drain.
Second fermentation:
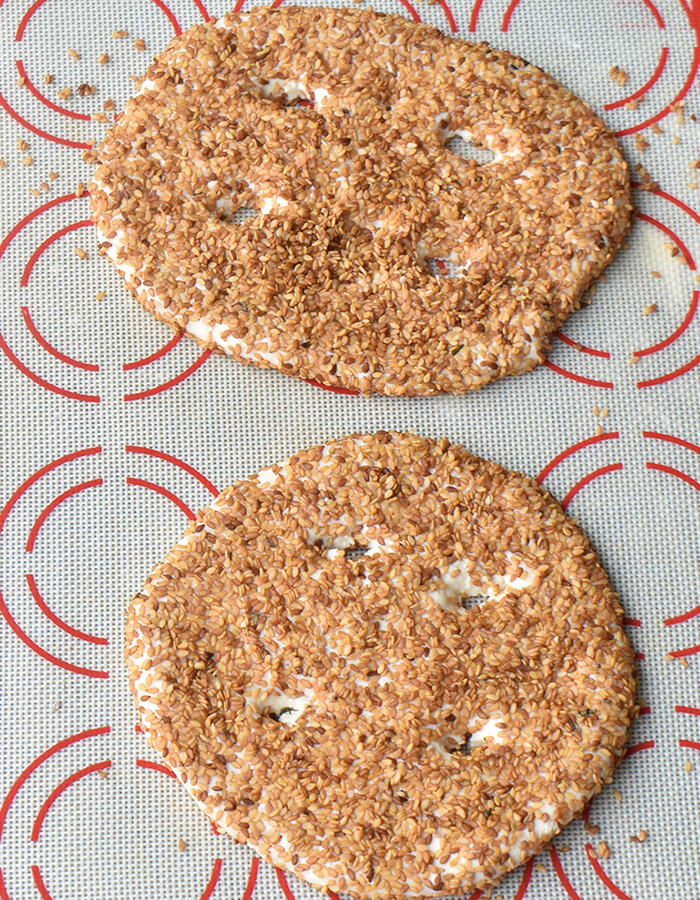
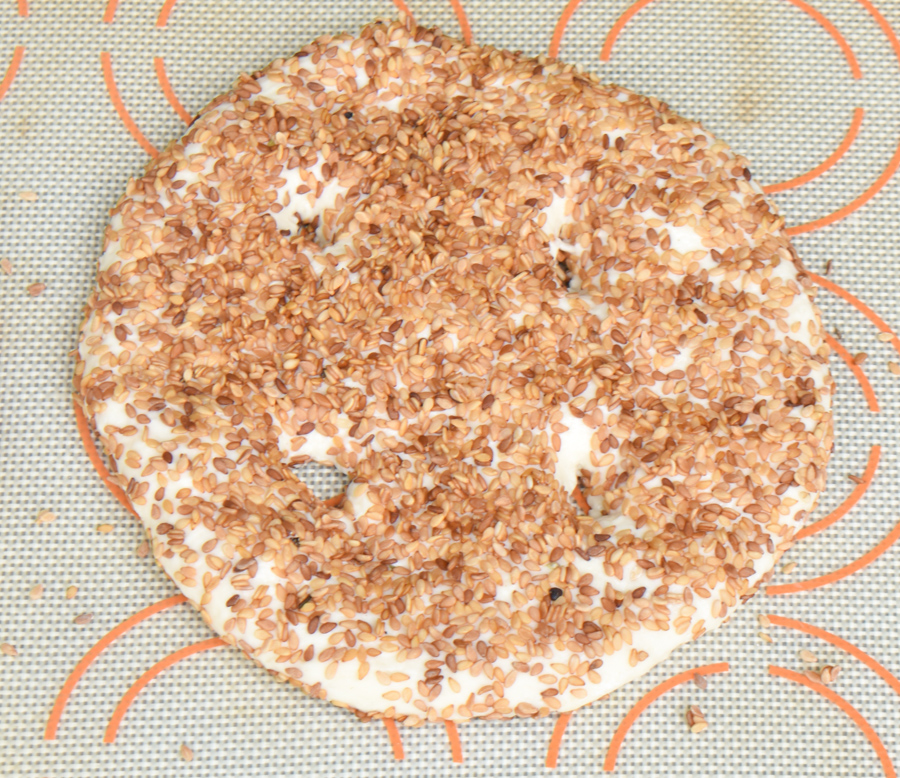
Lightly dust your countertop with flour. Take one piece of the dough and using your fingertips, push out the dough from all the sides, flattening it to a thickness of ½ inch (no need to use a rolling pin). Sprinkle the drained sesame on sheet pan, and dip the flattened dough in sesame seeds, making sure to cover them on both sides. Using your finger, press into the center of the flattened dough forming 4 holes, (watch the video tutorial). Repeat with the remaining dough. Cover with kitchen towels, and leave to ferment for 1 more hour.
Ultra hot temperature! An authentic Kaak should be baked in a blazing wood-fired oven, in other words, the kaak should be baked at a high temperature to create leavening steam inside, but unfortunately, most of us don’t have it, the best alternative is a baking steel, and if a baking steel is something you don’t have, then follow this method: You preheat the oven sheet for about half an hour before baking, so it’s screaming hot by the time you gently transfer the dough in. That ultra-hot environment is what gets you the kind of crust you would only expect from a bakery. Delicately, transfer the kaak to the heated baking steel or sheet, you may need to bake them in batches. Bake to a golden color, it takes about 8-9 minutes. Remove from the oven and leave them to cool a bit before serving or stuffing with cheese or whatever your heart desire.
Kaleeta/ North Lebanese Flat Kaak
Description
Equipment
- pizza stone or steel
Ingredients
- Ingredients:
- 1 kg / 2 lb. 4 oz. 00 flour or all-purpose flour
- 1 1/2 teaspoon salt
- 2 tablespoons sugar
- 2 1/4 cups luke-warm water or a bit more if needed
- 2 tablespoons olive oil
- 1 tablespoon instant dry yeast
- 2 tablespoons powdered milk
- 1 teaspoon mahlab optional, but recommended
For the glaze:
- 2 cups water
- 11/2 cups sesame seeds
- 2 tablespoons honey
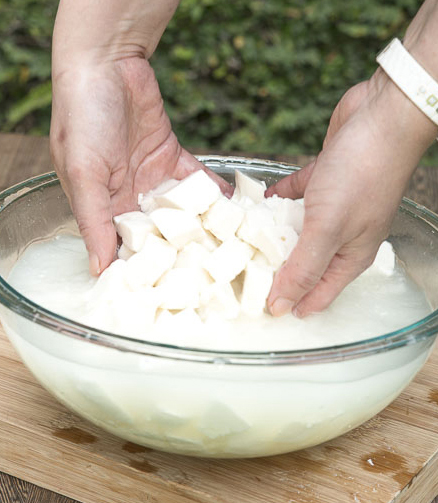
- 1 kg. / 2 lb. 4 oz. Akkawi/ Akawi cheese
Instructions
- Start making the dough: In a large bowl, mix the flour, instant dry yeast, sugar, salt, powdered milk, mahlab and oil. Add the lukewarm water and mix well.
- Knead the dough until it is of one texture. Slam it a couple of times on a countertop before you cover it with cling film, this will strengthen the gluten in the flour, resulting in a very light and fluffy dough. Set aside for one hour or until it doubles in bulk.
- Place the dough in the fridge for 24-48 hours. 1 hour before you’re going to bake your cold fermented pizza, take out the dough, and place it in room temperature
- Sprinkle some flour on a countertop and knock it back; divide it into 10 even-sized portions and gather each into a ball. Cover with a kitchen towel, and set aside to rest for 15 minutes.
- In a bowl combine together the sesame, water and honey. Keep for about 40 minutes, then drain.
- Meanwhile, place your pizza stone or steel in the oven, and preheat to 250 C/ 482 F it for at least 40 minutes. and if a baking steel is something you don’t have, then follow this method: You preheat the oven sheet for about half an hour before baking, so it’s screaming hot by the time you gently transfer the dough in. That ultra-hot environment is what gets you the kind of crust you would only expect from a bakery.
- Lightly dust your countertop with flour. Take one piece of the dough and using your fingertips, push out the dough from all the sides, flattening it to a thickness of ½ inch (no need to use a rolling pin).
- Sprinkle the drained sesame on sheet pan, and dip the flattened dough in sesame seeds, making sure to cover them on both sides, using your finger, press into the center of the flattened dough forming 4 holes, (watch the video tutorial). Repeat with the remaining dough. Cover with kitchen towels, and leave to ferment for 1 more hour.
- Delicately, transfer the kaak to the heated baking steel or sheet, you may need to bake them in batches. and if a baking steel is something you don’t have, then follow this method: You preheat the oven sheet for about half an hour before baking, so it’s screaming hot by the time you gently transfer the dough in. That ultra-hot environment is what gets you the kind of crust you would only expect from a bakery.
- Bake to a golden color, it takes about 8-9 minutes, but keep an eye on them because ovens are different.
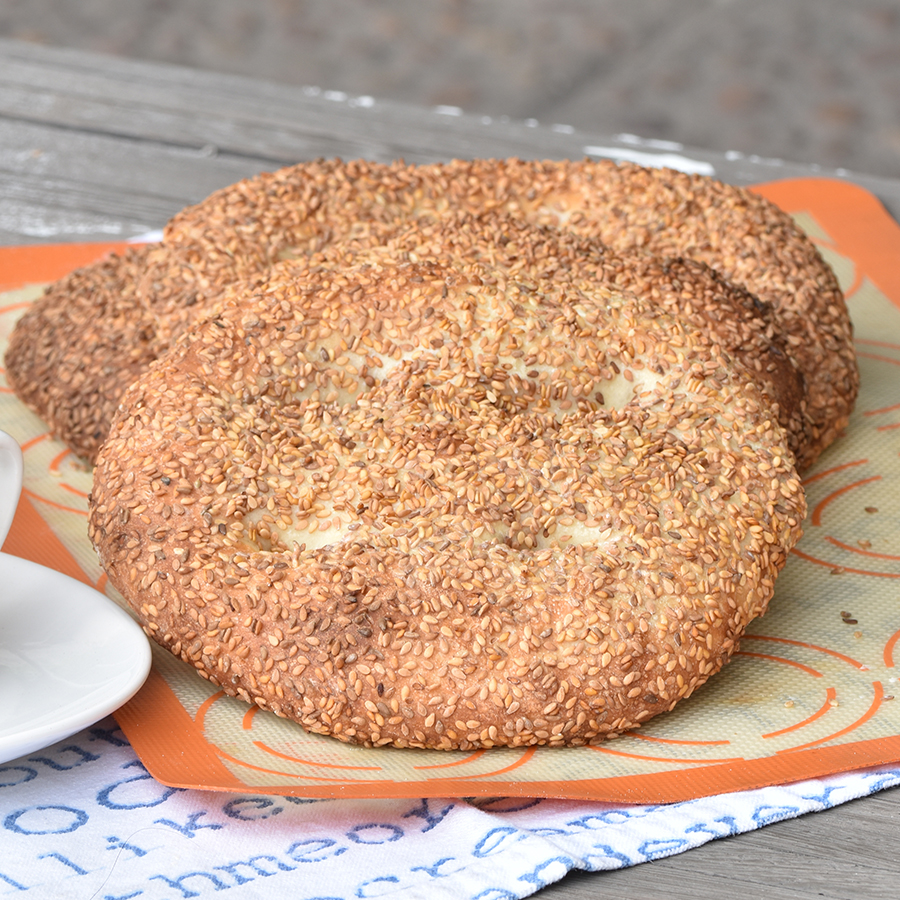
- Remove from the oven and leave them to cool a bit before you stuff them with cheese or whatever your heart desire. The most common way is to stuff with desalted Akkawai cheese. With a sharp knife, cut the kaak diagonally, add the desalted cheese (you can use mozzarella as a substitute). Before you are ready to serve, heat your panini machine, put the kaak on the press, coat with butter and press the grill until cheese melts. Serve with a cup of tea. Sublime!
Video
Notes
 Storage: The kaak are best the same day they are baked, they can be stored tightly wrapped or in an airtight container for up to 3 days. Wrapped in plastic wrap and foil, the kaak can be frozen for up to a month. To reheat, place in a 450-degree oven for 6 to 8 minutes. If kaak have been frozen, unwrap and defrost before reheating.
If you make the "Kaleeta/ North Lebanese Flat Kaak", share your pictures on Facebook! I would love to see your creations!Hashtag them #Hadia's Lebanese Cuisine
Storage: The kaak are best the same day they are baked, they can be stored tightly wrapped or in an airtight container for up to 3 days. Wrapped in plastic wrap and foil, the kaak can be frozen for up to a month. To reheat, place in a 450-degree oven for 6 to 8 minutes. If kaak have been frozen, unwrap and defrost before reheating.
If you make the "Kaleeta/ North Lebanese Flat Kaak", share your pictures on Facebook! I would love to see your creations!Hashtag them #Hadia's Lebanese Cuisine


1 Comment
I want extra cheese on mine! I adore sesame seeds, so this bread sounds SO good.