


Pita bread, also known as Arabic bread or Lebanese bread, is a staple of Lebanese cuisine and a beloved part of Middle Eastern food culture. In Lebanon and across the Middle East, it is enjoyed as part of a daily ritual, with no meal feeling quite complete without it.
Soft, warm, and versatile, Lebanese pita bread is the perfect accompaniment to almost every Lebanese and Middle Eastern dish. It is traditionally used to scoop up dips, sauces, meats, vegetables, and other delicious foods, making it an essential part of the dining experience.
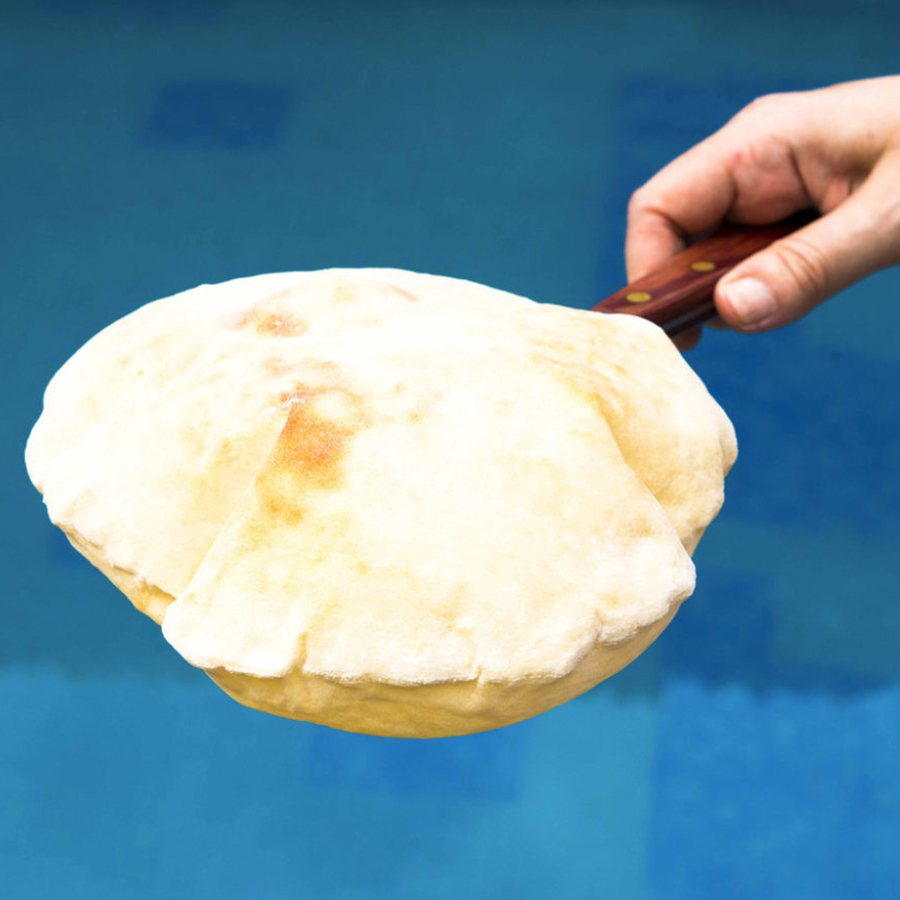
Many people think that making Lebanese bread (Arabic bread), known as khebz in Arabic, at home is difficult, but this easy recipe will completely change your mind. In fact, homemade Lebanese bread is surprisingly simple to make and requires no special bread-baking skills or equipment.
This easy Lebanese bread recipe takes less than an hour from start to finish. The dough needs just 30 minutes to rise, followed by 5–8 minutes of baking. The result is soft, fresh, and delicious Arabic bread that is perfect for dipping, wrapping, or serving with your favorite Middle Eastern dishes.
Making bread by hand can also be incredibly therapeutic. There’s something deeply satisfying about working with the dough and watching it transform into warm, freshly baked bread. It gives you a wonderful sense of achievement—and once you try making homemade khebz, you may never want to buy it again!
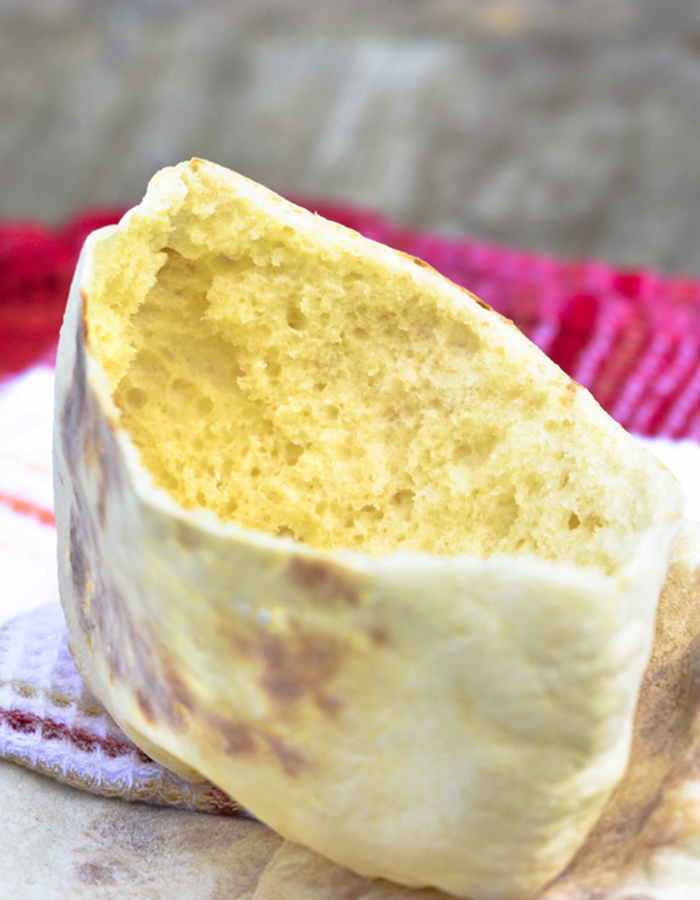
Step-by-Step Instructions for Homemade Pita Bread
1. Preparing and Kneading the Pita Dough
-
- Proof the yeast: In a large bowl, combine the active dry yeast, sugar, and ¼ cup of lukewarm water. Let it sit for 5–8 minutes until it becomes frothy and active.
- Mix the ingredients: Sift the flour and salt into a separate bowl. Add them to the dissolved yeast mixture, then slowly pour in the remaining lukewarm water.
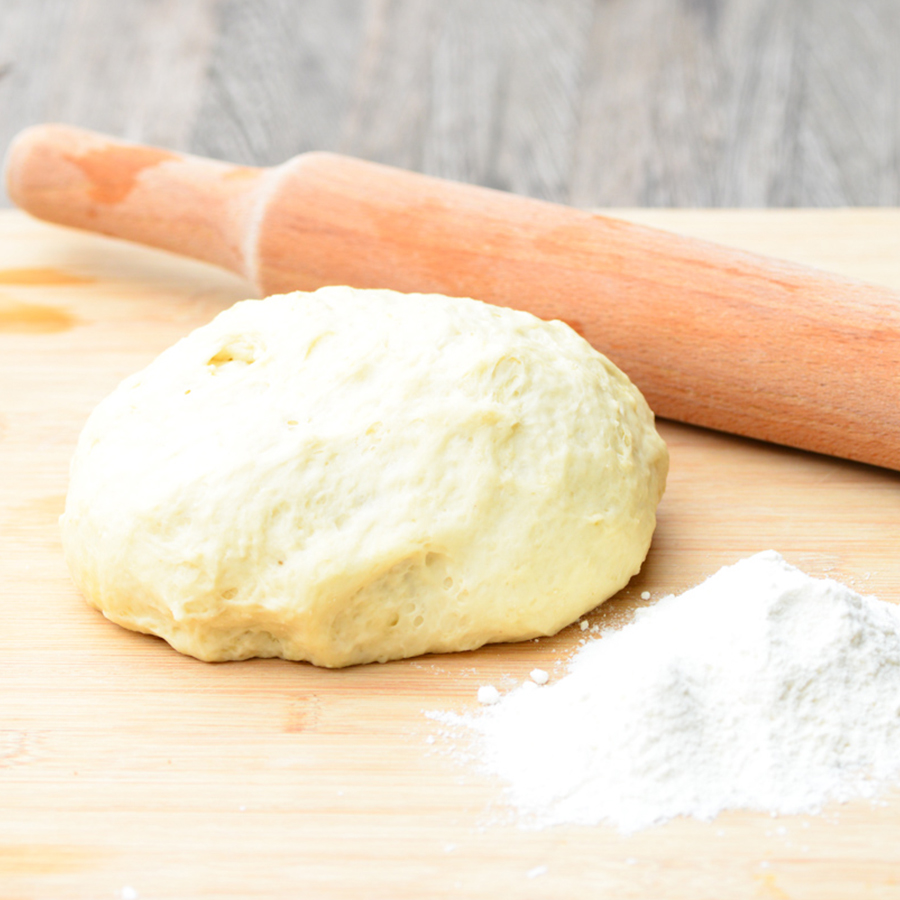
- Knead thoroughly: Knead the dough by hand or in a stand mixer for about 5 minutes until it is smooth, uniform, and pliable. The dough should feel considerably wet, but thicker and drier than a batter.
- Develop the gluten: Slam the dough against your work surface a couple of times. This key technique helps develop the gluten structure, resulting in a much fluffier texture.
- The first rise: Transfer the dough to a clean bowl, cover it with a kitchen towel, and let it rest for 20–25 minutes, or until it has doubled in size.
2. Dividing and Shaping the Dough Balls
-
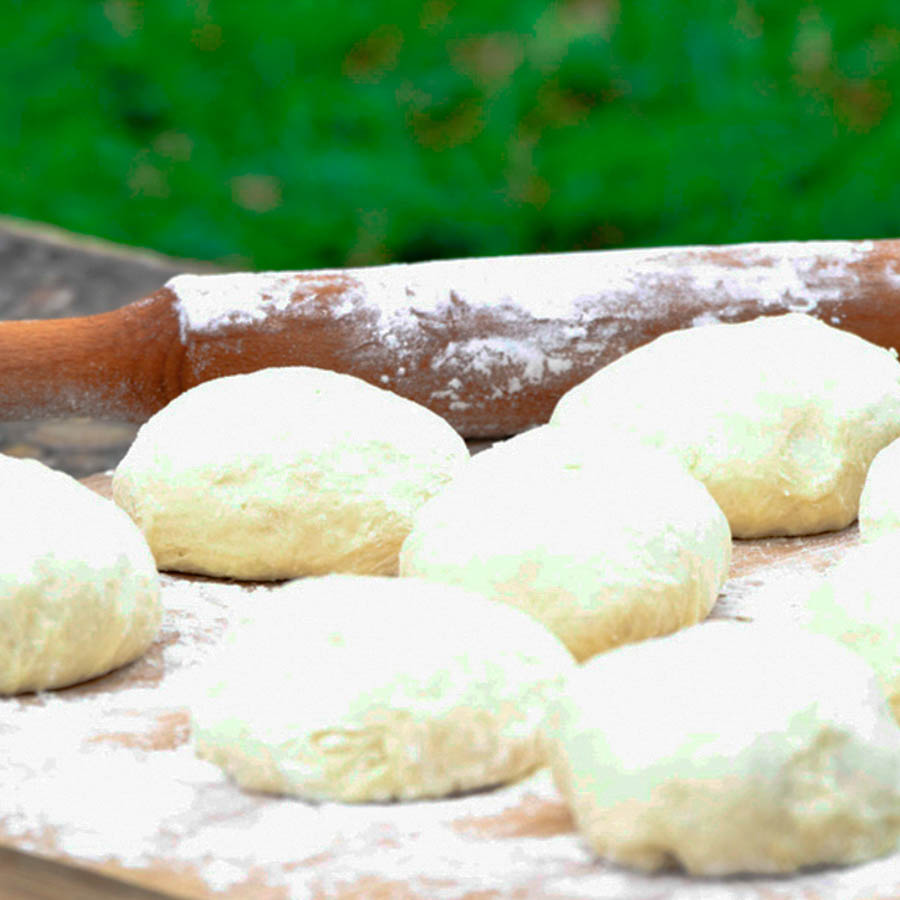
- Punch it down: Sprinkle some flour over your countertop and gently knock the dough back.
- Portion evenly: Divide the dough into 8 equal-sized portions.
- Shape into balls: Smooth each portion into a neat ball.
- The second rest: Cover the dough balls with a kitchen towel and let them rest for 15 minutes.
3. Rolling out the Arabic Bread Circles
-
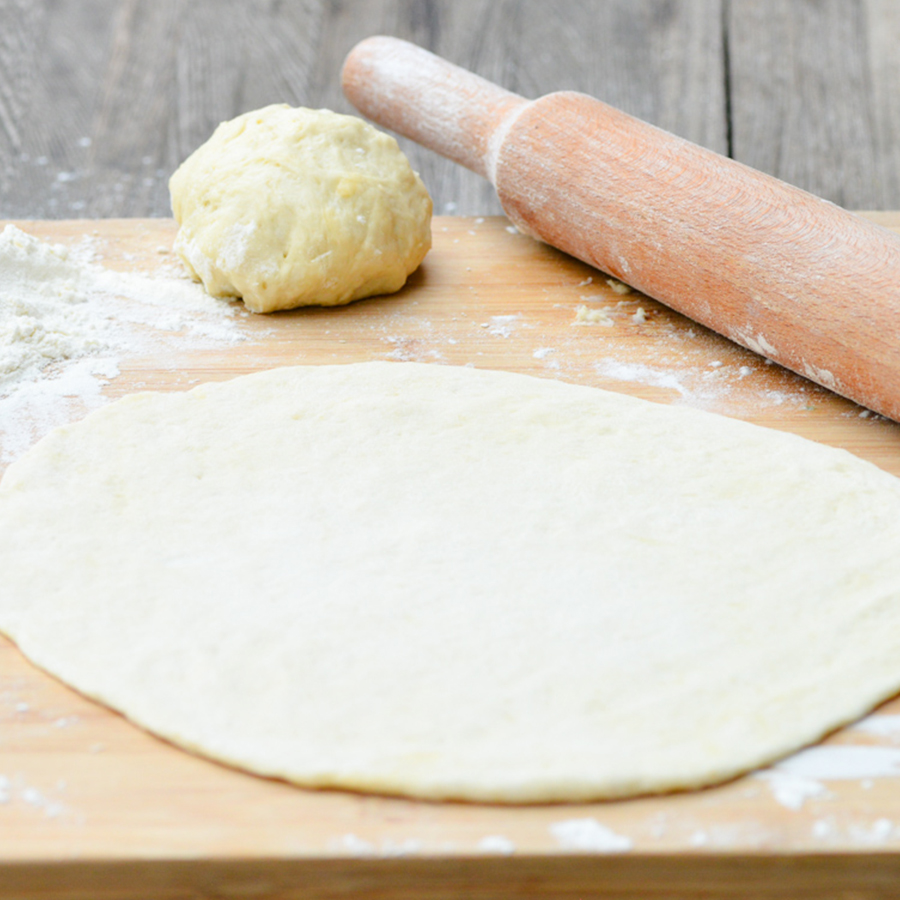
- Roll evenly: On a well-floured countertop, use a rolling pin to stretch each ball into a flat circle.
- Check dimensions: Target a circle about 8 inches (20 cm) in diameter and slightly less than ¼ inch thick.
- Avoid tears: Ensure your dough circles are neat and free of any cuts, incisions, or tears. Weak spots will release steam and prevent the pita from puffing up.
4. Baking in a High-Temperature Oven
-
- Preheat the pan: Heat your sheet pan directly inside a very hot oven before lining it with parchment paper.
- Bake individually: Delicately transfer one dough round at a time onto the hot, parchment-lined sheet pan.
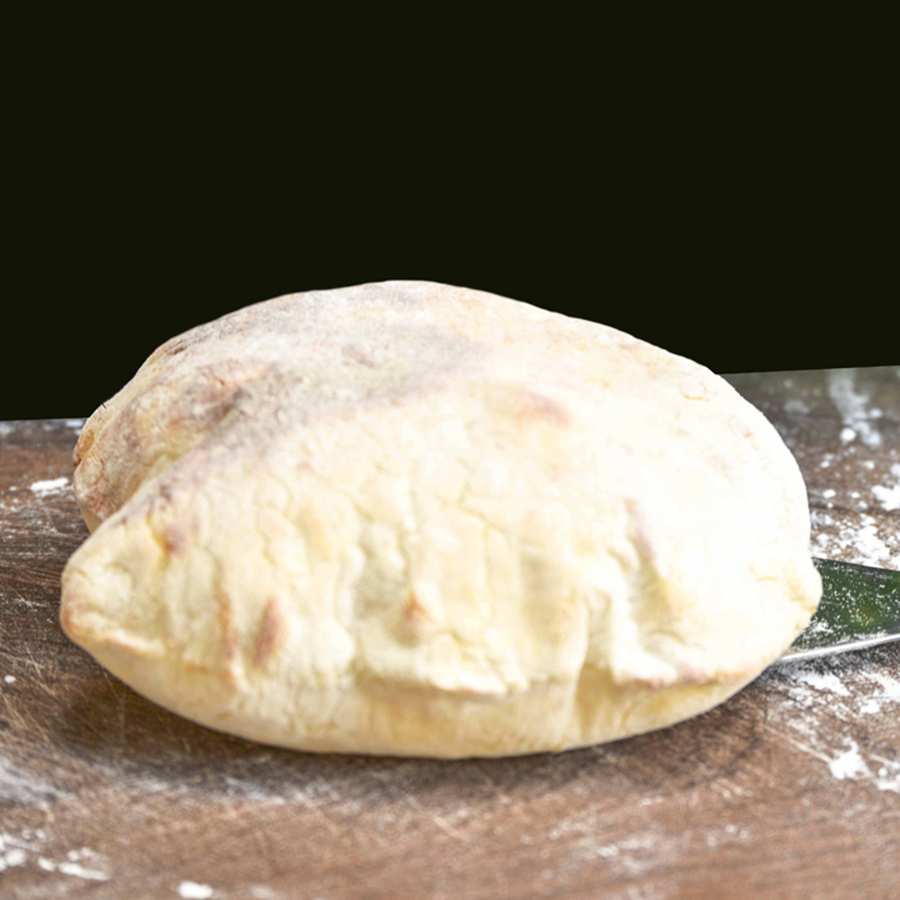
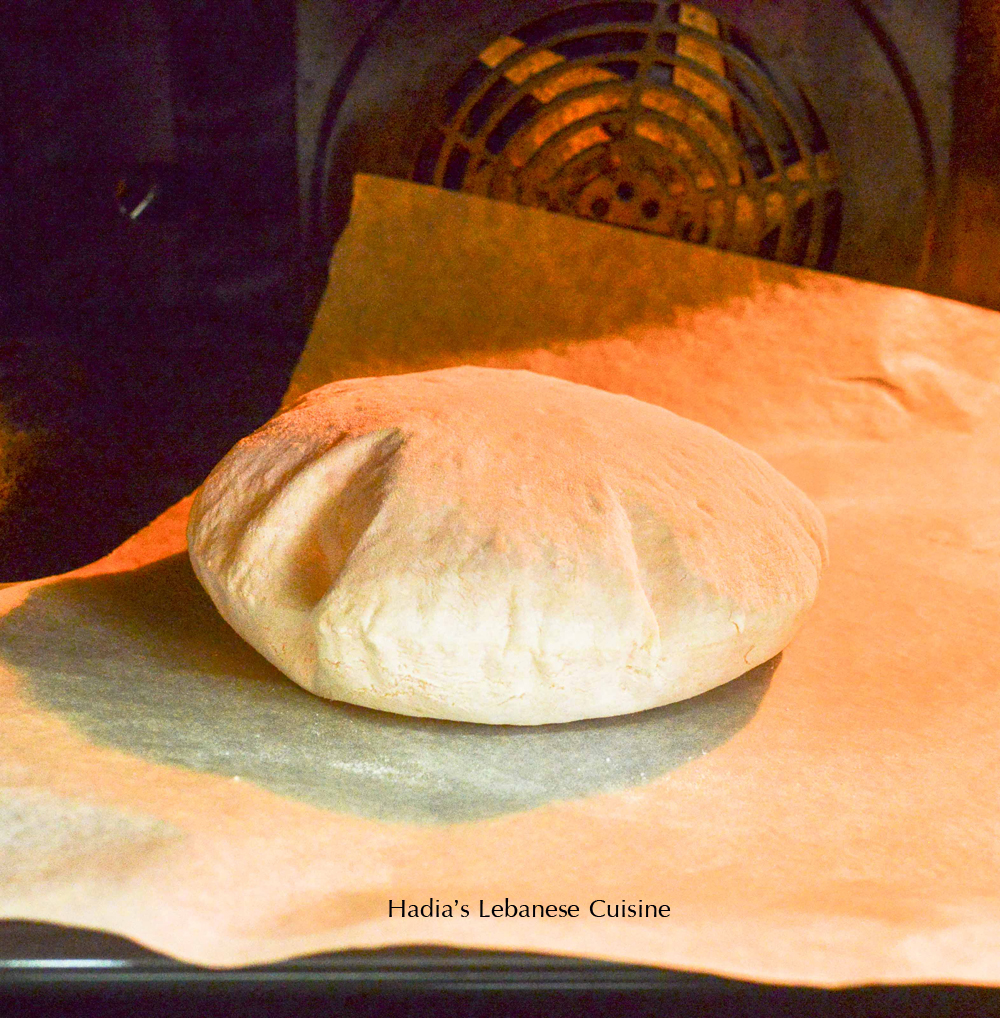
- Watch closely: Bake for 6–8 minutes until the bread is puffed up and pale golden. They bake incredibly fast, so don’t walk away!
Storage and Freezing Instructions
-
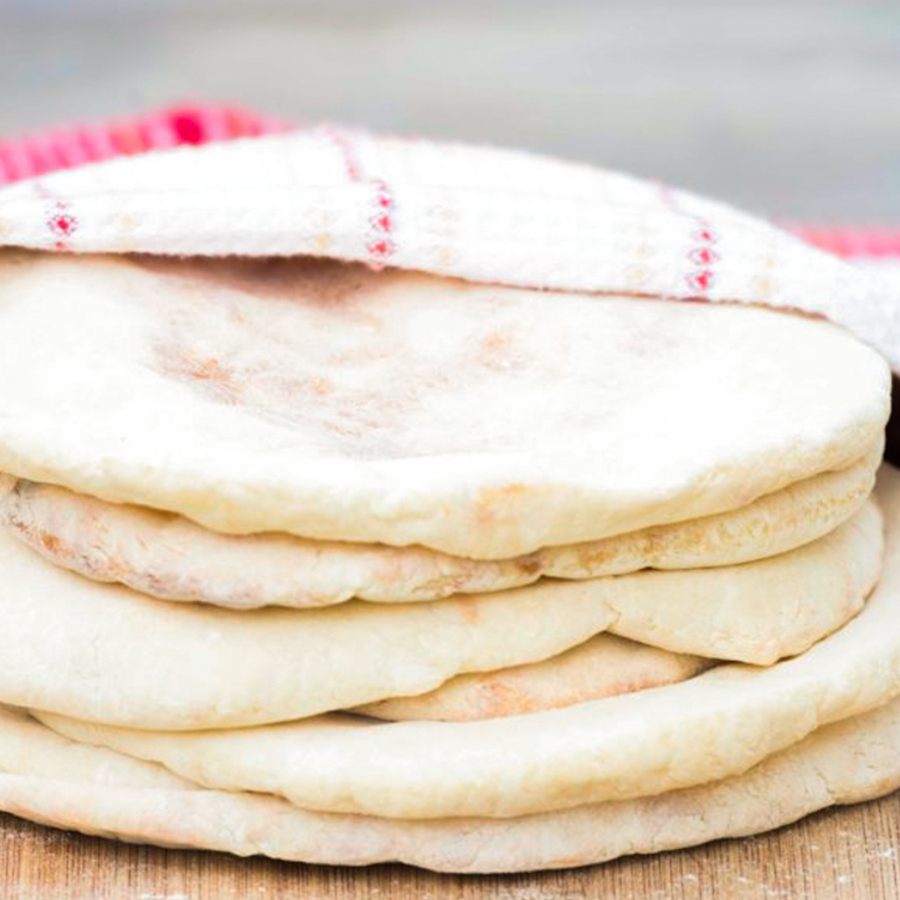
- Cool completely: Let the bread loaves cool down completely at room temperature before packing them away.
- Short-term storage: Keep them covered in an airtight bag or container at room temperature for up to 2 days.
- Long-term storage: Freeze your homemade pita bread for up to 1 month to preserve its freshness.
Frequently Asked Questions (FAQ) About Making Pita Bread
How do I know if my active dry yeast is still good?
What water temperature should I use for pita bread dough?
Why do I need to knead and slam the pita dough?
Why didn’t my pita bread puff up or form a pocket?
Why does pita bread need to be baked at a high temperature?
How do I keep homemade pita bread soft and fluffy?
How long does homemade Arabic bread stay fresh?
How do you serve and eat Lebanese pita bread?
More Lebanese Breads and Savory Baked Favorites
 Let’s Stay in Touch!
Facebook, Instagram, YouTube , Pinterest and TikTok!
Pita Bread / Arabic Bread
Description
Ingredients
- 3½ cups all-purpose flour
- 1½ tablespoons active dry yeast
- 2 tablespoons sugar
- 2 teaspoons salt
- 1½ cups warm water
Instructions
- In a bowl, sift the flour and add the salt.
- In a large bowl, combine the active dry yeast, sugar, and ¼ cup of lukewarm water, reserving the remaining water for kneading. Let the mixture sit for 5–8 minutes, or until the yeast becomes frothy.
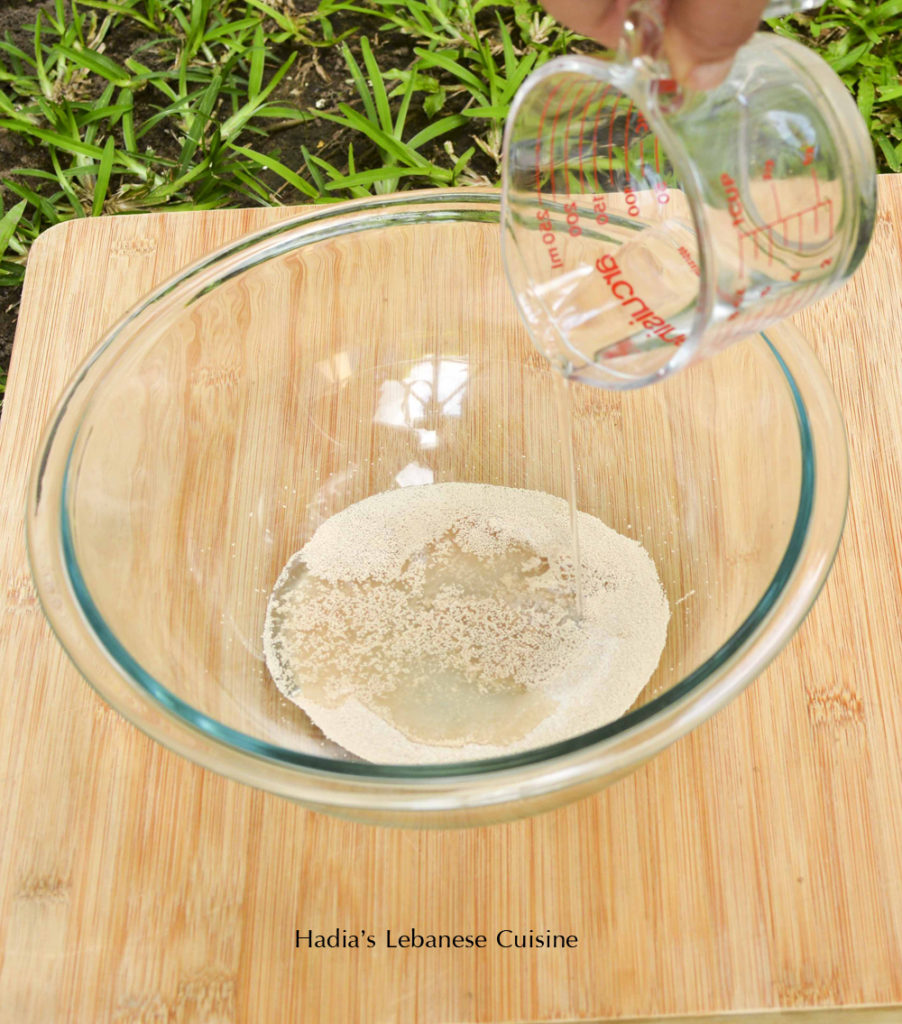
- Add the flour to the dissolved yeast, then slowly add the remaining water.
- Knead the dough by hand or in a stand mixer—I personally prefer kneading it by hand—until it becomes smooth, pliable, and uniform in texture. If the dough feels too sticky, add a little flour as needed, but be careful not to add too much.Continue kneading and working the dough for another 5 minutes. The dough should be well kneaded and quite soft and moist, but still noticeably firmer than a batter.For even better results, slam the dough against the work surface a few times, as shown in the video. This helps develop the gluten, resulting in a lighter, softer, and fluffier texture.
- Transfer the dough to a clean bowl, cover it with a kitchen towel, and let it sit for 20–25 minutes, or until it doubles in size.
- Preheat the oven to 230 °C / 450 °F.
- When the dough has doubled in size, sprinkle some flour over the countertop and knock it back. Divide it into 8 equal-sized portions and shape each into a ball. Cover with a kitchen towel and set aside to rest for 15 minutes.
- On a floured countertop, stretch each ball, using a rolling pin, into a circle about 8 inches/20 cm in diameter and slightly less than ¼ inch thick. Make sure to roll it into a smooth, even circle without any incisions or tears, as these can create weak points that may prevent the pita from puffing up.
- Preheat the sheet pan before lining it with parchment paper, then delicately transfer one dough round at a time onto the parchment-lined sheet pan.
- Bake for about 6–8 minutes, until the dough is puffed up and pale golden. They bake very quickly, so keep an eye on them. Happy eating!
Video
Notes






















21 Comments
The pita at our markets is awful—your homemade version looks SO much better! Looking forward to baking up a batch!
I don’t do well with yeast, but I love pita bread, eat it regularly. I think I may just need to give yeast a try again.
Thanks for the recipe. It is one of my favorite flat breads!
I grew up on homemade pita bread. Store bought is not even bread! I am so looking forward to trying yours!!
You are so so right, Hadia, everyone should bake pita bread at least once in their lifetime. And, even though it’s on every corner in the Morocco and other places, there’s nothing better than pulling it out of your oven. Sharing this on FB, luv!
Now this is pita bread! The stuff in the packages really isn’t! It is easy to make and I’m so glad you showed us!
We absolutely love pita, but I’ve never made my own before! That’s going to change soon… Your recipe looks amazing!
This looks amazing!
THIS looks so good!
Thank you! I’ve been reading more of your posts and can’t wait to try more. So much you can do with pita!
[…] Traditional Lebanese Pita Bread (Arabic Bread) […]
[…] Lebanese Moutabal, also known as Baba Ghanouj or Baba Ghanoush in many Western countries, is a classic Middle Eastern roasted eggplant dip made with smoky eggplant, creamy tahini (sesame paste), fresh lemon juice, and garlic. Finished with a generous drizzle of extra-virgin olive oil, this delicious Lebanese eggplant dip is best enjoyed with warm pita bread. […]