


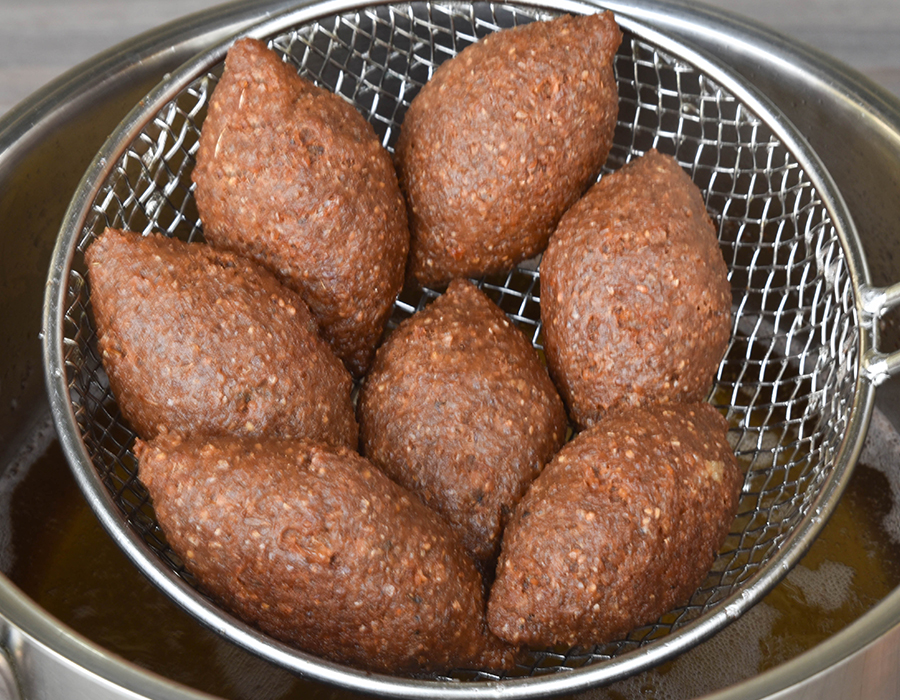
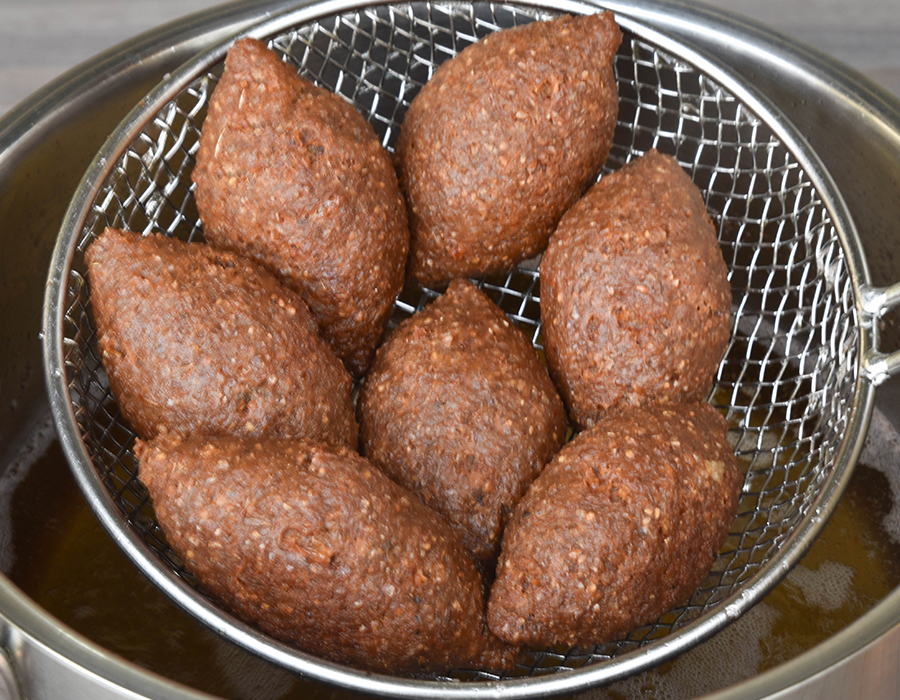
Lebanese Fried Kibbeh Balls are meatball-style snacks with a crispy exterior and an oozy, savory filling of meat and spices. These crusty fried kibbeh are made with ground meat, onions, and pine nuts, which are stuffed inside a shell of herby, spiced meat-and-bulgur dough. They are fried to golden-brown perfection and served warm.
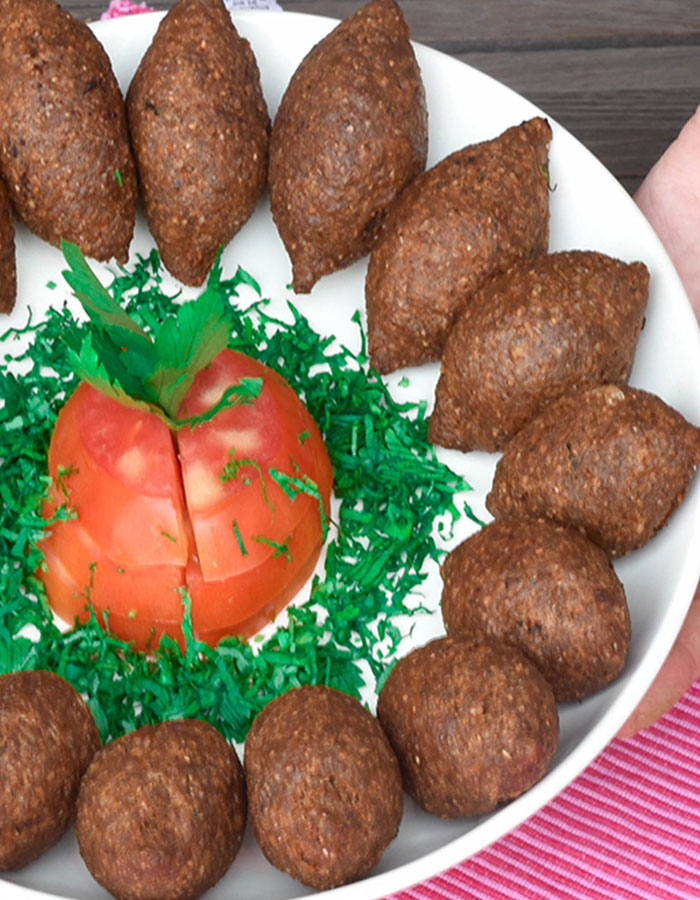
Lebanese Fried Kibbeh Balls / Authentic Kibbeh
Lebanese people love their kibbeh, and why wouldn’t they? A Lebanese table filled with mezze isn’t complete without kibbeh. This beloved dish is enjoyed throughout the Middle East, but it is particularly popular in Lebanon, where it is considered the national dish.
Kibbeh comes in many different forms, but the most popular versions are fried, baked, and raw. In today’s post, we’re going to make the wonderfully crunchy fried kibbeh balls that have gained popularity around the world.
Our recipe is easy to scale up to feed a crowd, and you can make extra kibbeh balls and freeze them for later. Making kibbeh balls may seem daunting at first, but once you get the hang of shaping them, you’ll be delighted with the results.
Our family recipe is authentic and luscious, and I’ve kept it just the way my granny and mom made it.
I come from a family of confident cooks who could put together wonderful feasts, even when they were incredibly time-consuming to prepare. Fried kibbeh balls are something that truly ties me to those memorable days when my granny, mom, and aunties would gather around the kitchen table, crafting kibbeh in huge batches.
As a child, I took their incredible ability for granted. But years later, after I got married and had a kitchen of my own, I began to understand the value of these precious family recipes. I knew I had to learn them by heart and preserve them for generations to come—and kibbeh was one of them.
Eventually, I became known for making kibbeh, and I’ve been preparing this recipe for more than 30 years. Over the years, I’ve earned a reputation for being a great kibbeh maker, and now I’m here to unlock all the secrets of our treasured family recipe.
Preserving my family’s kibbeh recipe is like preserving a part of my history and keeping it alive for future generations. Our family recipe is authentic, flavorful, and succulent. If you’ve never made kibbeh before, you’ll be delighted with the result.
Watch the detailed video tutorial below, where I’ll show you exactly how to make these delicious kibbeh balls and share all the secrets I’ve learned over the years.
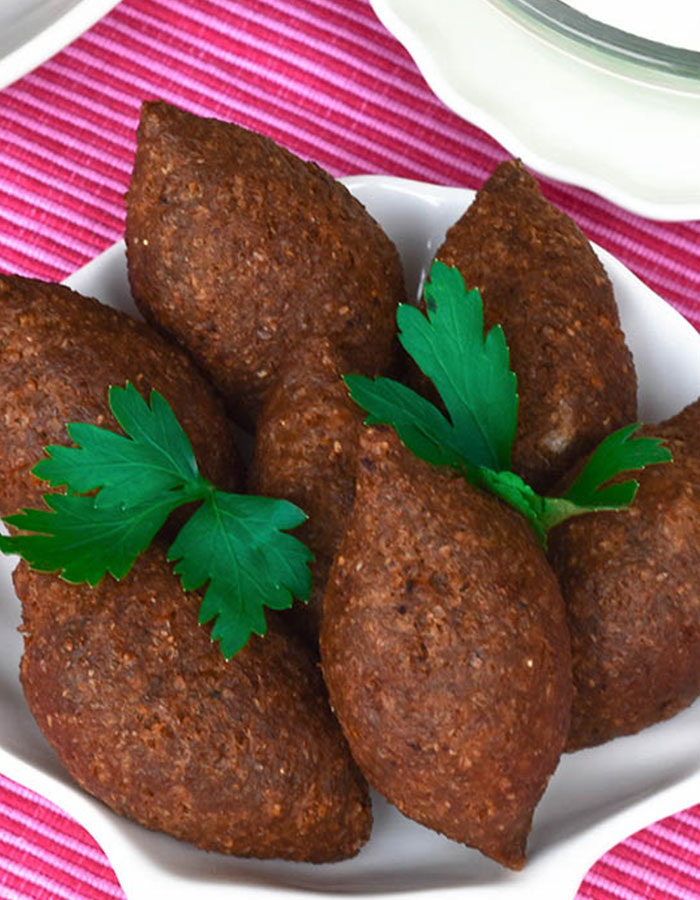
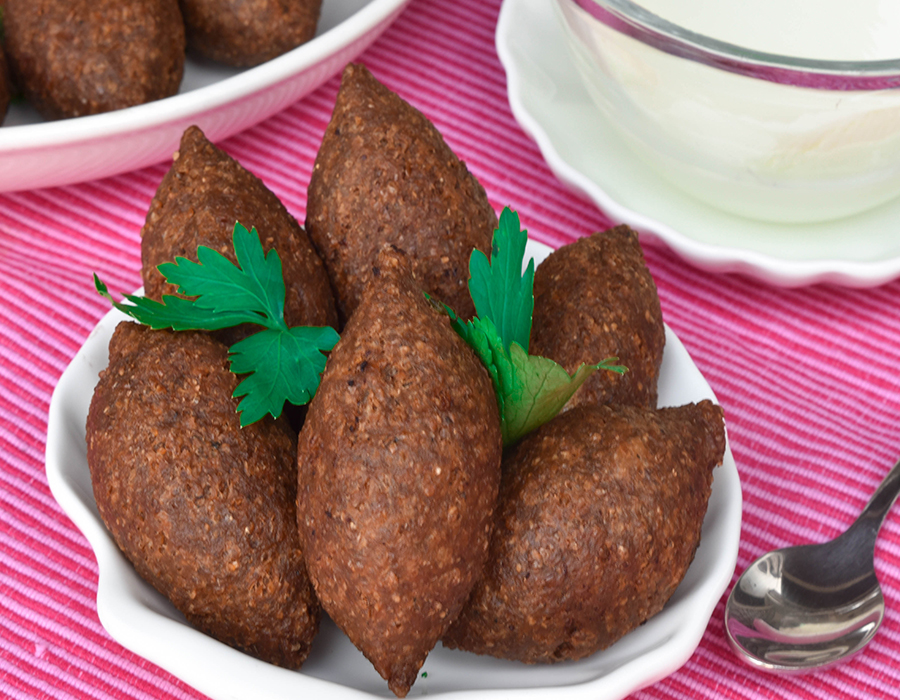
Serve it as an appetizer or as part of a mezze spread, but I would happily enjoy it with some plain yogurt or a yogurt and cucumber salad as a satisfying lunch or dinner. Nothing equates to fried kibbeh balls, piping hot straight from the fryer.
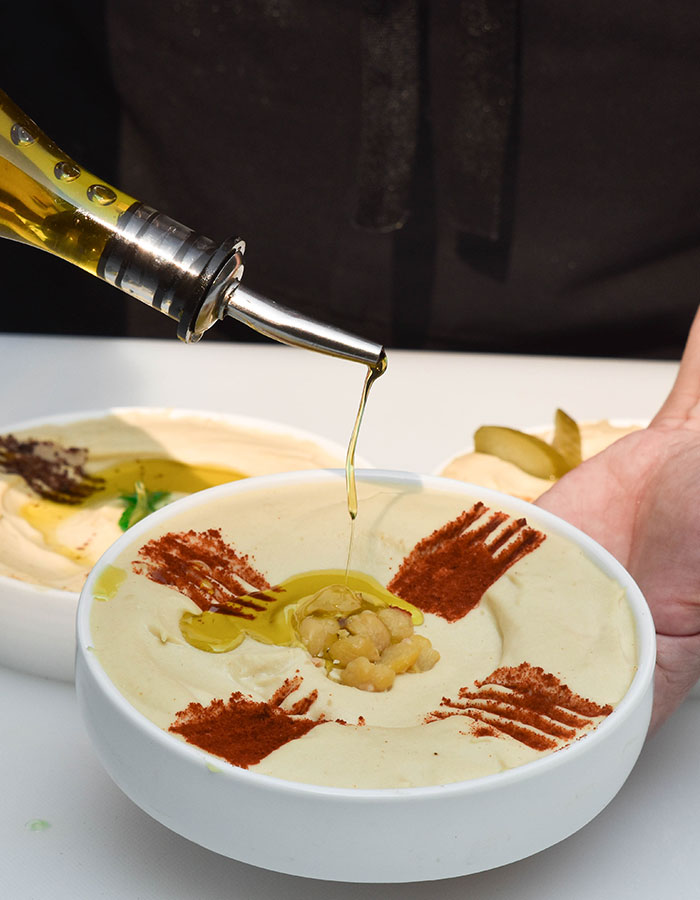
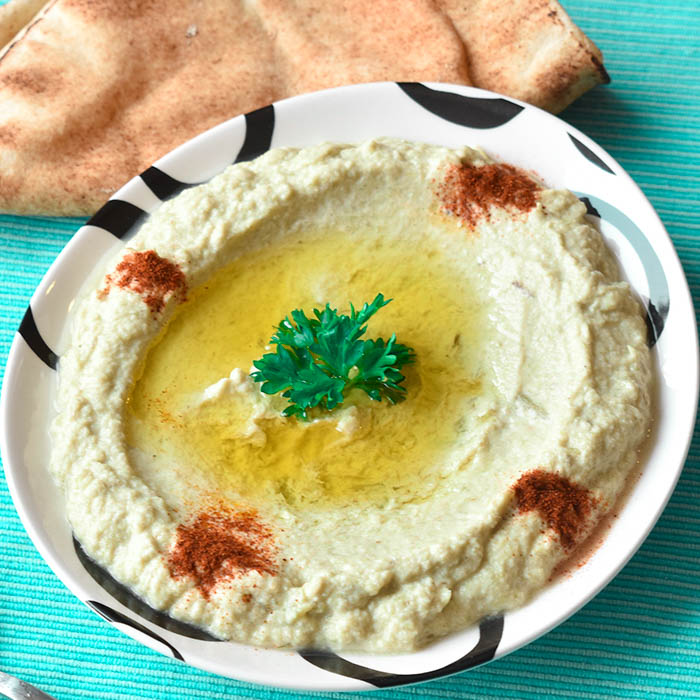
Or serve it with a decent bowl of hummus. Fried kibbeh balls and hummus are a match made in food heaven.
Making kibbeh balls involves five phases:
Phase 1: Prepare the flavor enhancer
Prepare the flavor enhancer, which we call kamouneh. This will deepen and enhance the flavor of the kibbeh.
Phase 2: Prepare the kibbeh dough
Prepare the bulgur-based kibbeh dough, which forms the outer shell of the kibbeh.
Phase 3: Prepare the stuffing
Prepare the minced meat and onion stuffing.
Phase 4: Form the kibbeh
Shape the kibbeh into balls, enclosing the stuffing inside the outer shell.
Phase 5: Freeze or fry the kibbeh
The kibbeh can either be frozen for later use or fried immediately.
To prepare the flavor enhancer:
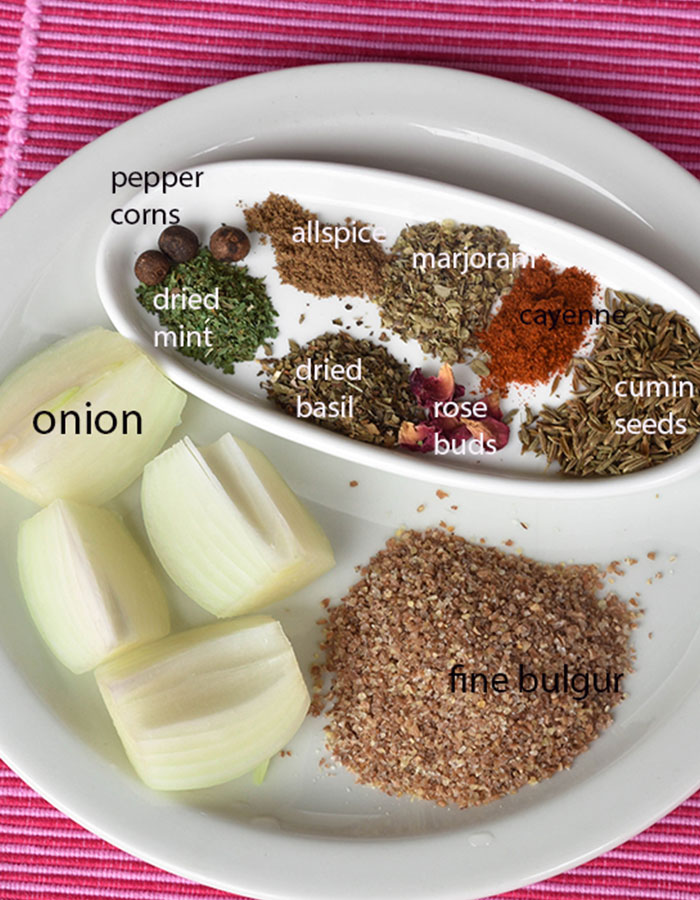
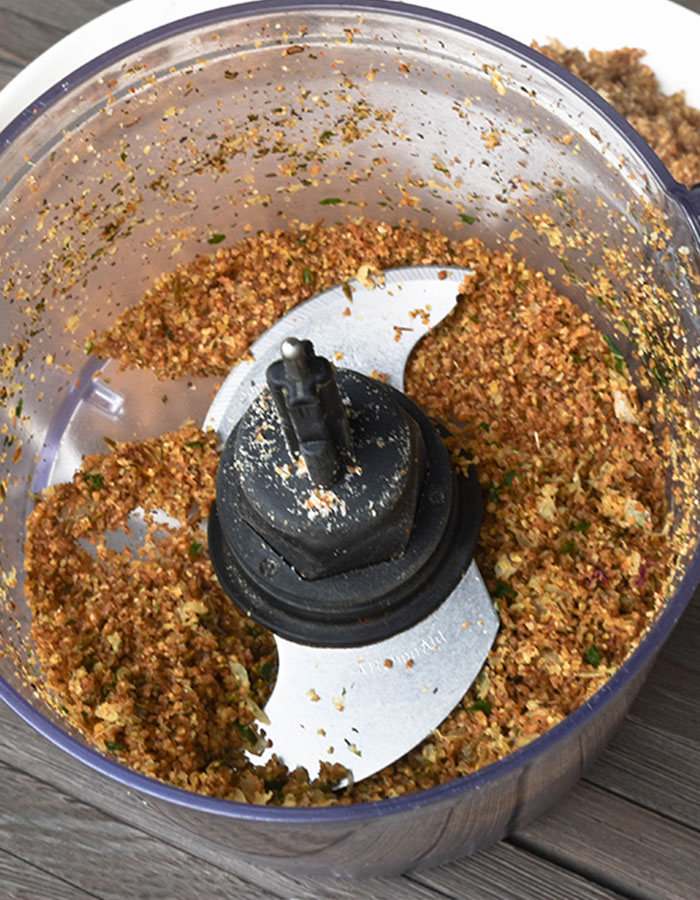
Start by making the flavor enhancer mix (kamouneh): In the bowl of a food processor, add the cumin seeds, dried basil, dried marjoram, dried mint, peppercorns, allspice, edible rosebuds (if using), chili flakes (if using), bulgur, and chopped onion. Pulse a few times, then blend until the mixture reaches a uniform texture. Set aside.
To prepare the bulgur kibbeh dough:
Using a sharp knife, cut the veal into small cubes, removing any fat and silver skin in the process. Place the meat in the freezer for 20 minutes; this will facilitate the grinding process.
Using a food processor, grind the meat cubes to a paste-like consistency, preferably in two batches. Alternatively, ask the butcher to grind the meat using an electric grinder, and then grind it again at home using your food processor. This will make the process much easier for you.
Refrigerate.
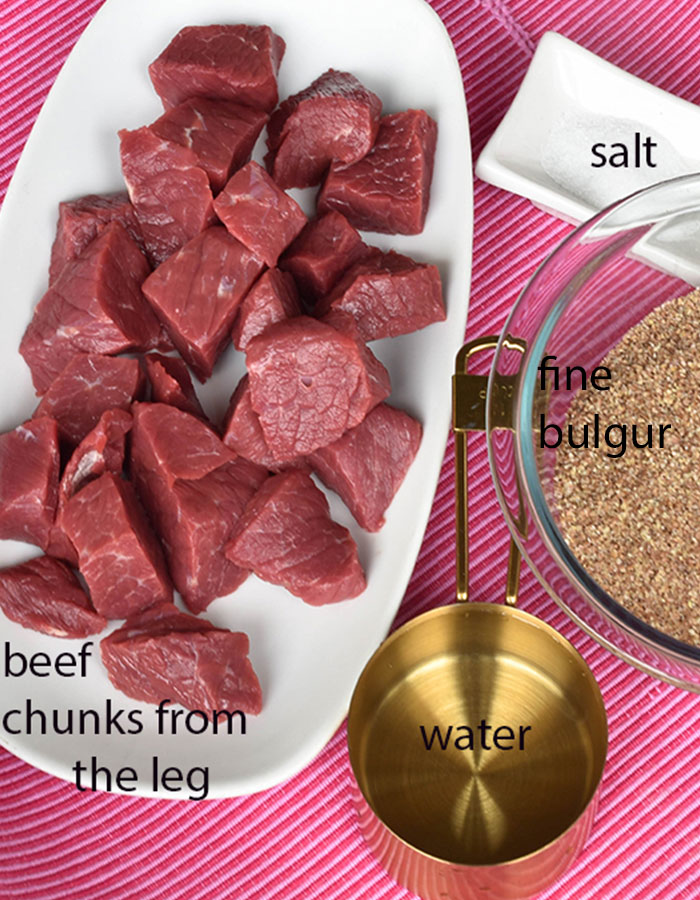
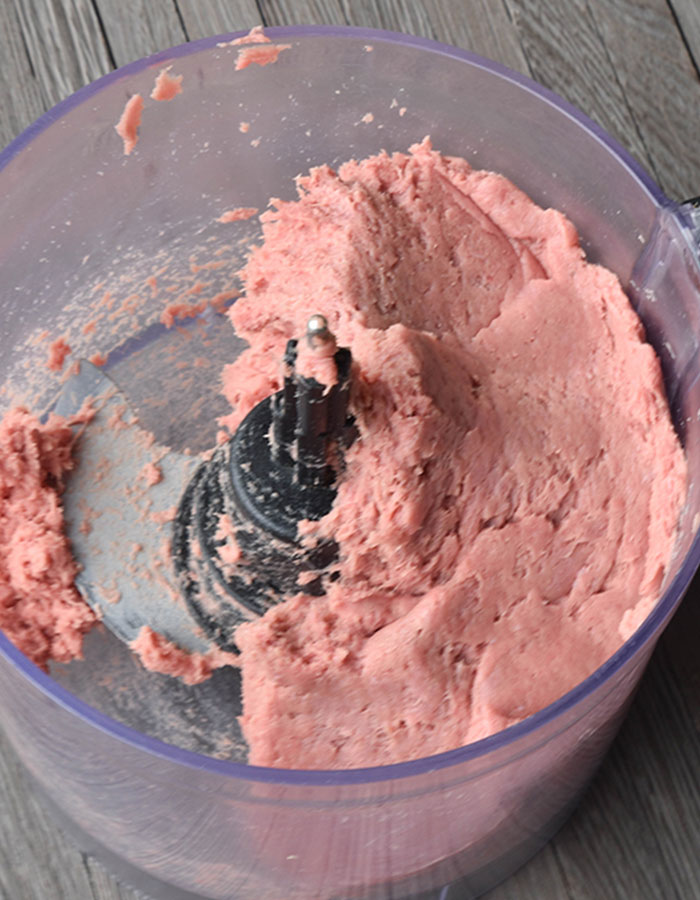
Put the 2 ½ cups of bulgur in a large, heatproof dish and pour in 1 ¼ cups of boiling water. Give it a quick stir and set aside for a minimum of 30 minutes, allowing the bulgur to hydrate and swell considerably. This is an important step.
Add the flavor enhancer (kamouneh) you prepared to the hydrated bulgur and mix well to infuse everything together.
After 40 minutes, knead the bulgur while gradually adding the iced water. Knead with your hands for 20 minutes—the more you knead, the better the result will be. I don’t knead the bulgur in a food processor; I use my hands, just like my granny and mama did. It is more tedious, as it takes about 20 minutes of kneading, but believe me, this will yield much crispier kibbeh balls. Take my word for it!
If you are short on time, you can still process the bulgur in a food processor. However, the result, particularly in terms of crispness, will not be the same. The vigorous action of a food processor produces a different texture. Watch the video tutorial to learn the proper kneading technique.
At this stage, you will notice that the bulgur has softened. Remove the meat from the refrigerator and add it to the bulgur. Knead well until the mixture is fully incorporated and the dough is soft and comes together into a cohesive ball.
Add the salt. You may need to add a little more iced water, depending on the consistency of the mixture. Watch the video tutorial to see what the final consistency should look like.
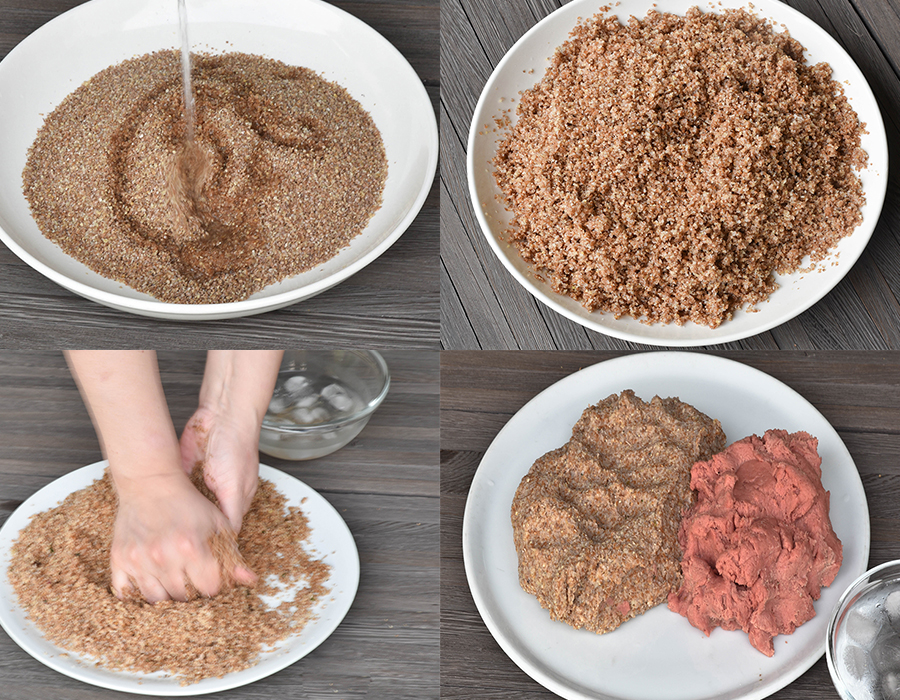
Now your kibbeh dough is ready. Refrigerate.
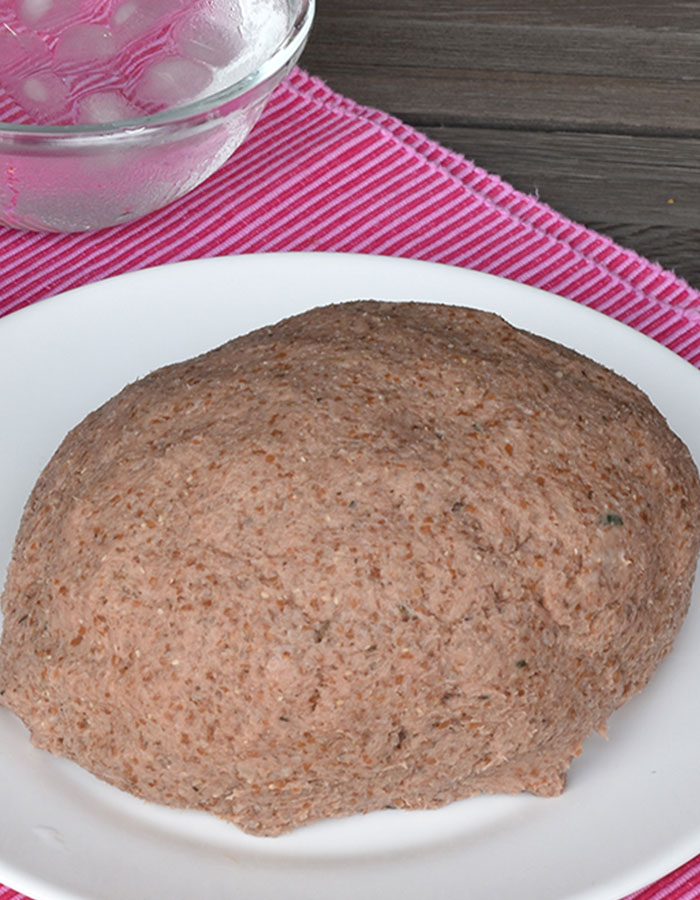
To prepare the stuffing:
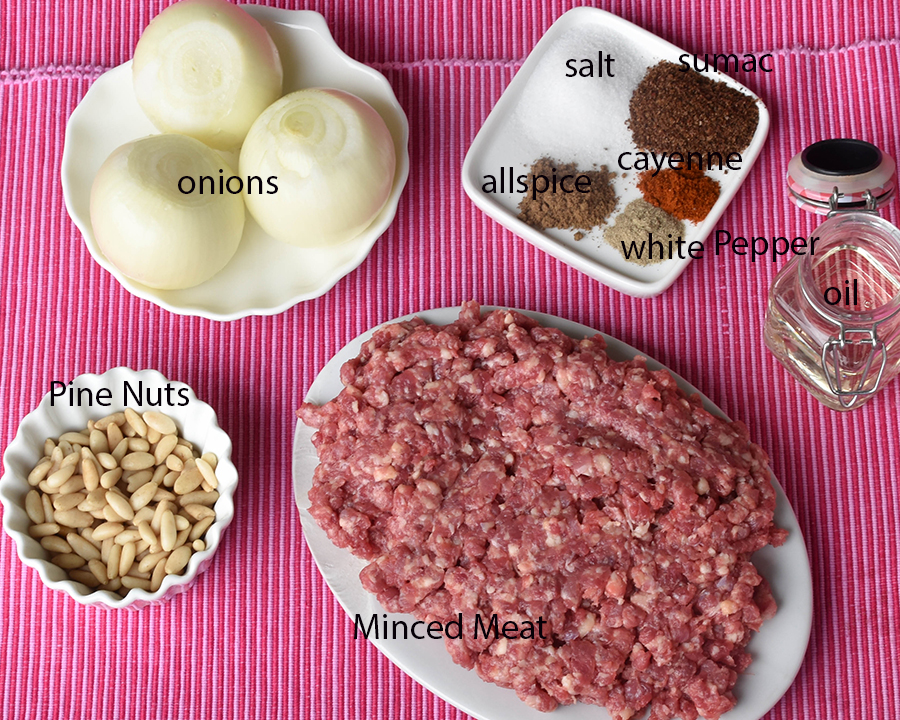
Prepare the Stuffing
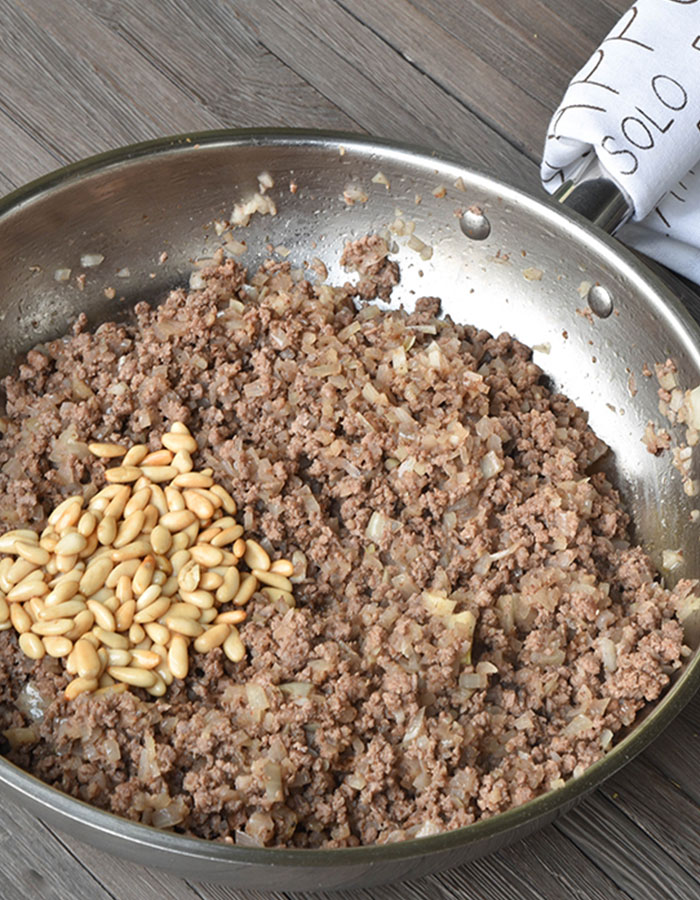
Add 1/4 cup of oil to a skillet and place over medium heat. Sauté the pine nuts until golden brown. Remove them with a slotted spoon, drain on paper towels, and set aside.
Using the same oil, sauté the minced meat over medium-high heat for about 7 to 10 minutes, until the meat is browned and no longer pink. Add the onions and cook for an additional 5 to 7 minutes over medium heat, allowing the onions to soften.
Add the salt, sumac, allspice, white pepper, and cayenne, if using. Toss in the toasted pine nuts, mix well, and taste as you go. Set aside and allow the stuffing to cool completely.
To put the kibbeh together:
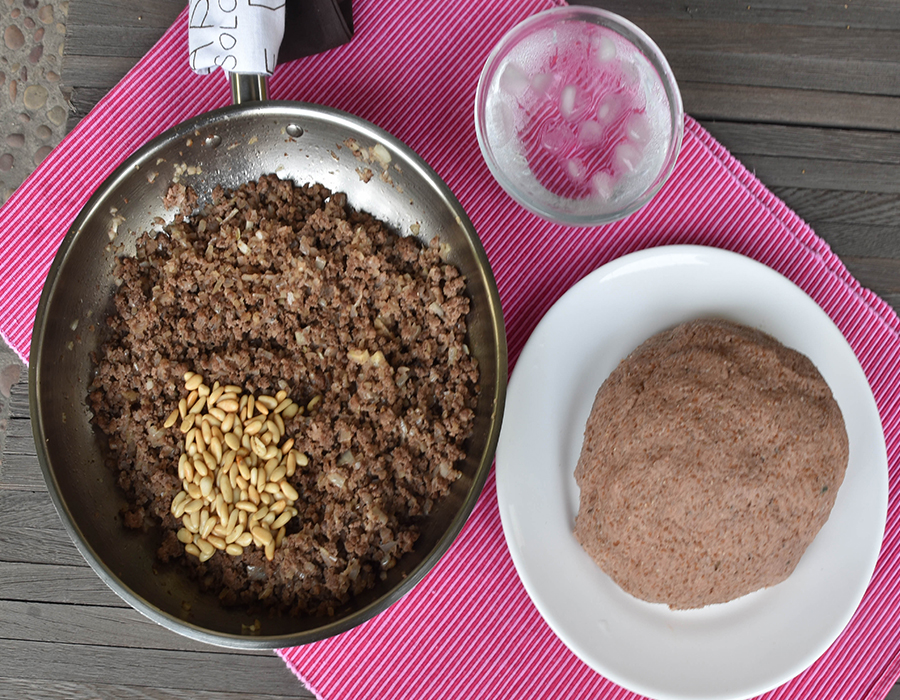
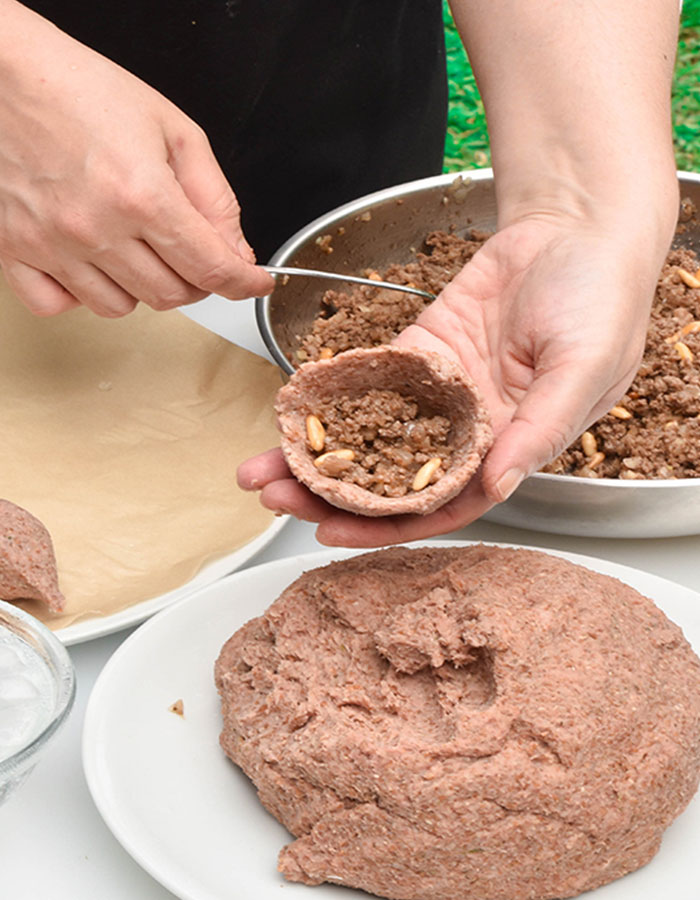
Dampen your hands with some iced water and grab a handful of the raw kibbeh, about the size of an egg. Working with one portion at a time, use your finger to make a hole in the center, then work around the hole by pressing your finger against the sides to create a thin wall. Aim for a wall thickness of about ½ cm, if possible. (Watch the video tutorial for guidance.)
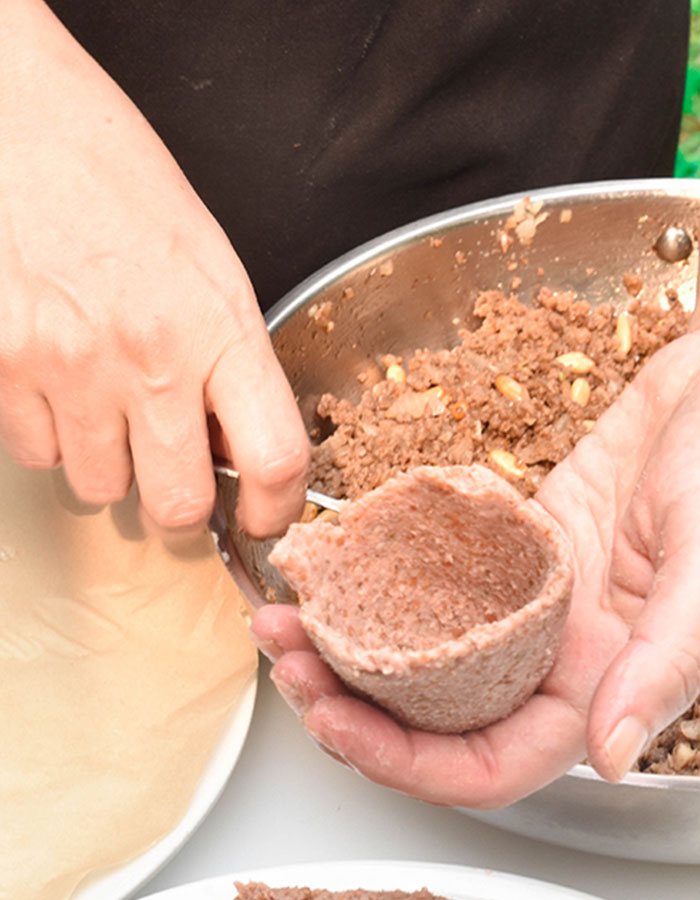
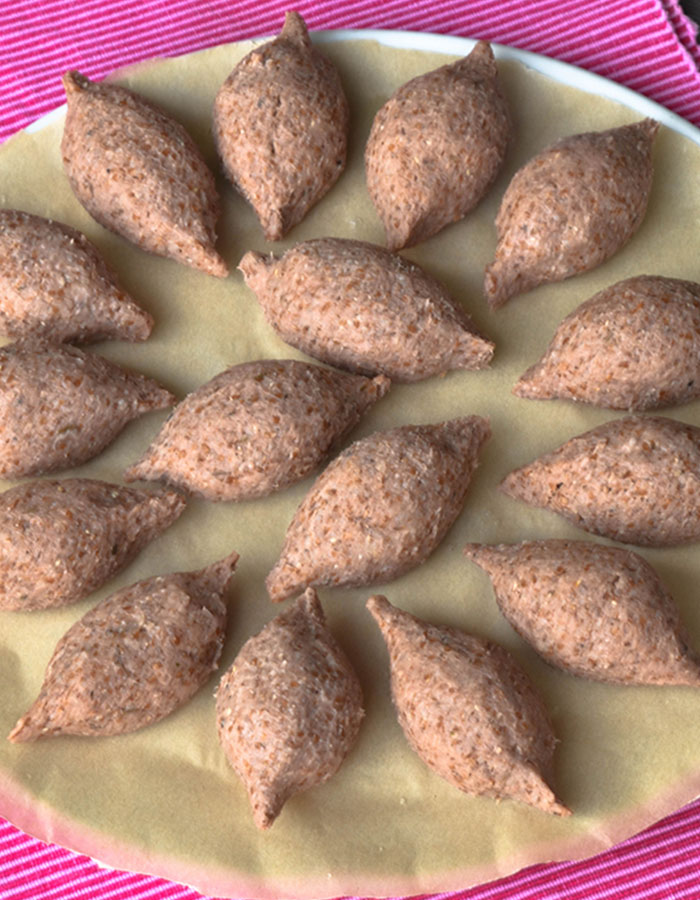
Place 1 teaspoon of the stuffing in the center. Seal and shape the dough into an oval, adding a touch of cold water if needed to keep it smooth and ensure there are no pokes or openings.
Set the kibbeh balls on a tray as you make them.
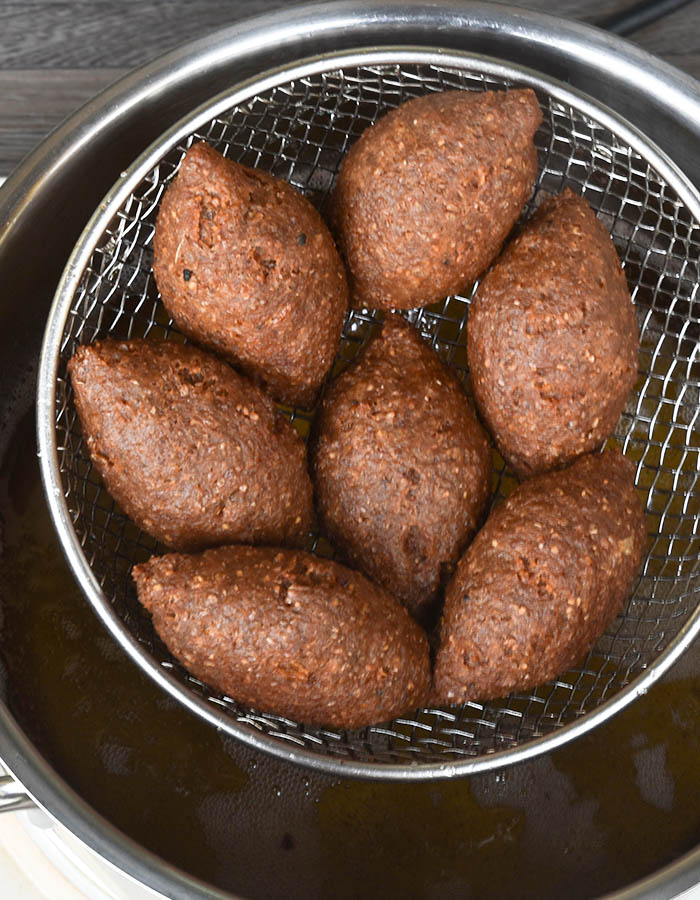
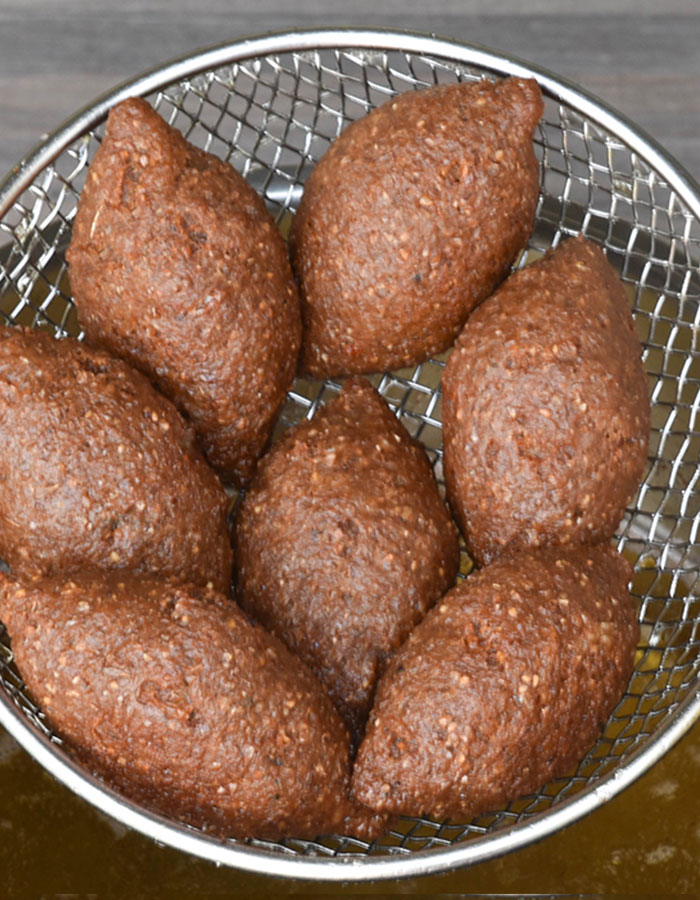
Heat the oil to the appropriate frying temperature (170°C/340°F) and deep-fry the kibbeh in batches. Avoid overcrowding the frying pan, as this can cause the kibbeh to become mushy. Fry until browned on all sides. Drain on paper towels and serve warm. Kibbeh can be stored in the refrigerator for up to 5 days.
Tips to Consider
-
Kibbeh balls are great for parties and entertaining. The good news is that they freeze well in their raw stage, so you can easily double or triple the recipe.
-
Learn how to make kibbeh balls, as they are the foundation for many other kibbeh recipes that I will be sharing with you in the near future.
-
Shaping kibbeh balls is an art that can be perfected with practice. If you’ve ever seen anyone making kibbeh, you know that the trickiest part can be keeping the kibbeh balls intact and crack-free as you shape and seal them. If, for any reason, the kibbeh cracks, simply add a touch of cold water with your finger and gently smooth the surface to reconnect it and seal the crack.
-
When making the kibbeh dough, I highly recommend using veal or beef chunks (usually from the leg) with about 5% fat. Most people think the meat should have zero fat, but believe me, that 5% fat helps prevent the kibbeh balls from becoming gummy and helps them turn out crispy. Make sure to remove any silver skin during the process.
-
It is advisable to use fatty lamb or beef for the filling for a juicier, more flavorful result.
-
Adding plenty of onions to the filling yields a moist interior.
-
Fine bulgur, often labeled #1, can be found at Middle Eastern markets as well as online. Please don’t use coarse bulgur—it won’t work here.
-
Hydrating the bulgur with boiling water will yield much crispier kibbeh balls. (Granny’s tip!)
-
I don’t knead the bulgur in a food processor. I use my hands, just like my granny and mama did. It is more tedious, as it takes about 20 minutes of kneading, but believe me, this will yield much crispier kibbeh balls. Take my word for it! If you are short on time, you can still grind the bulgur in a food processor, but the result, in terms of crispness, will not be the same.
-
Wet your hands with ice water when molding the balls. This will help you shape the kibbeh balls more easily.
-
They freeze beautifully, so you might want to double or even triple the ingredients.
Hungry for more bite sized appetizers?
- Vegetarian stuffed grape leaves
- Sfeeha
- Lebanese Meat Fatyer
- Lebanese meat rolls
- Cheese sambousek
- Baked kibbeh cups with muhammara
- Zaatar and sumac crackers
- Fried Potato kibbeh balls
While making kibbeh balls is a straightforward process, it does require careful attention to technique. Honor the ingredients and let them shine, and you will be delighted by the result.
The best way to learn how to make kibbeh is visually, so be sure to watch the detailed video tutorial.
Let’s Stay in Touch
If you enjoy my recipes, subscribe via email or connect with me on social media:
Facebook, Instagram, YouTube , Pinterest
and TikTok!
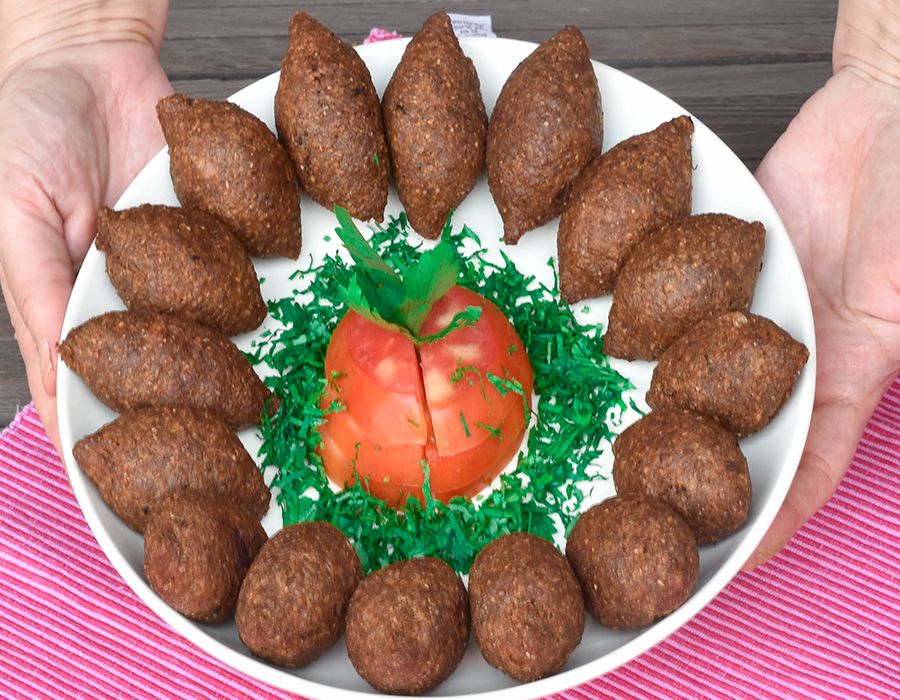
Lebanese Fried Kibbeh Balls/ kibbeh Akras
Description
Equipment
- Food Processor
Ingredients
Kibbeh Shell
- 500 grams / 1 lb 2 oz veal chunks usually from the leg, with zero percent fat
- 2 ½ cups fine bulgur
- 1 teaspoon salt or to taste
- 1 cup boiling water
- Flavor Enhancer Mix Kamouneh
- This mixture is added to the kibbeh dough:
- 1 onion finely chopped
- 1 tablespoon cumin seeds
- 1 teaspoon dried basil
- 1 teaspoon dried marjoram
- ¼ teaspoon dried mint
- 4 tablespoons fine bulgur
- 4 black peppercorns
- ½ teaspoon allspice
- 4 dried edible rosebuds optional
- Chili flakes optional
Filling Ingredients (Hashweh)
- 500 grams / 1 lb 2 oz minced veal or lamb
- 3 large onions finely chopped
- 1 teaspoon salt or to taste
- 1 teaspoon allspice
- 1 tablespoon sumac
- ½ teaspoon white pepper
- A dash of cayenne pepper optional
- ⅓ cup pine nuts or roughly chopped walnuts
- ¼ cup sunflower oil or ghee
For Deep-Frying
- Sunflower oil or any neutral oil as needed for deep-frying
Instructions
To make the kibbeh Dough:
- Start by making the flavor enhancer mix (kamouneh): In the bowl of a food processor, add the cumin seeds, dried basil, dried marjoram, dried mint, peppercorns, allspice, edible rosebuds (if using), chili flakes (if using), bulgur, and chopped onion. Pulse a few times, then blend until you achieve a uniform texture.
- Using a sharp knife, cut the veal into small cubes, removing any fat and silver skin in the process. Place the meat in the freezer for 20 minutes; this will facilitate the grinding process.Using a food processor, grind the meat cubes to a paste-like consistency, preferably in two batches. Alternatively, ask the butcher to grind the meat in an electric grinder, and then grind it again at home using your food processor. This will make the process much easier for you.Refrigerate.
- Put the 2 ½ cups of bulgur in a large, heatproof dish and pour in 1 cup of boiling water. Give it a quick stir, then set it aside for a minimum of 30 minutes, allowing the bulgur to hydrate and swell considerably. This is an important step.
- After 30 minutes, knead the bulgur while gradually adding 1 cup of iced water. Knead with your hands for 15 minutes. The more you knead it, the better the texture will become. (Watch the video tutorial to learn the kneading technique.)At this stage, you will notice that the bulgur has softened. Remove the meat from the refrigerator and add it to the bulgur. Knead well until the mixture is fully incorporated and the dough is soft and comes together into a cohesive ball.Add the salt. You may need to add a little more iced water, depending on the consistency of the mixture. Watch the video tutorial to see the desired consistency.Your kibbeh dough is now ready. Refrigerate until ready to use.
To make the filling (hashweh):
- Add 1/4 cup of oil to a skillet and place over medium heat. Sauté the pine nuts until golden brown. Drain on paper towels and set aside.
- Using the same oil, sauté the minced meat over medium-high heat for about 7 to 10 minutes, until the meat is browned and the juices have evaporated.
- Add the onions and cook for an additional 5 to 7 minutes over medium heat. Add the salt, sumac, allspice, white pepper, and cayenne, if using. Add the toasted pine nuts, mix well, and set aside to cool completely.
To put together:
- Dampen your hands with ice water, then grab a handful of the raw kibbeh, about the size of an egg.
- Working with one portion at a time, use your finger to make a hole in the dough. Work around the hole, gently pressing with your finger to create a thin wall. The wall should be approximately 2 mm thick on all sides (watch the video tutorial for guidance).Place 1 heaped teaspoon of the stuffing inside. Seal the opening and shape the dough into an oval. Add a little cold water if needed to keep the dough smooth and prevent any pokes or openings.Place the kibbeh balls on a tray as you make them.
- Heat the oil to an adequate frying temperature (170°C/340°F). There should be enough oil to completely cover the kibbeh while frying. Deep-fry the kibbeh in batches, making sure not to overcrowd the frying pan, as this can result in mushy kibbeh. Fry until browned on all sides. Drain on paper towels and serve warm or cold. The kibbeh can be stored in the refrigerator for up to 5 days.
Video
Notes
How to Freeze Kibbeh Balls
You have two ways to freeze the kibbeh balls: 1. Freeze the kibbeh balls raw:Line a freezer-safe tray with parchment or wax paper. Arrange the raw kibbeh balls on the parchment paper, leaving some space between them. Freeze them for 7 hours, or until they are solid, then transfer them to a freezer bag. They will keep well in the freezer for up to 4 months. 2. Freeze the kibbeh balls after baking:
Bake the kibbeh balls in the oven and allow them to cool completely. Arrange the baked kibbeh balls on a parchment-lined, freezer-safe tray, leaving some space between them. Freeze them for 6 hours, then check that they have completely solidified. Once they are firm, transfer them to a freezer bag. They will keep well in the freezer for [insert number] months. When you are ready to eat them, fry the kibbeh balls straight from the freezer.
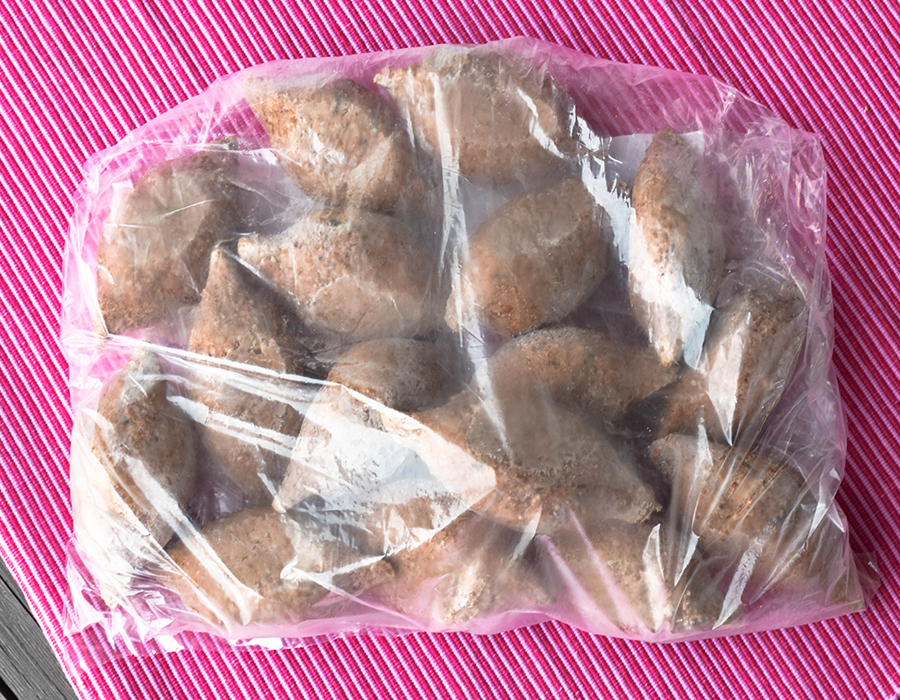 Freezing: I always have raw kibbeh in my freezer. I double or triple the quantity mentioned here and portion it into groups of four dozen each!





















3 Comments
I haven’t tried it yet but it looks exactly how my grandmother would make it. I have a question: do they fry better (taste and quality-wise) baked frozen or raw frozen? Thank you!
Hi Hussein. Yes it sounds your grandma makes it the way my grandma makes it, because I learnt it from her. Both versions work well in terms of taste, but bake it in the oven, freeze than fry it yields better looking kibbeh. Let me know how you like it, Hussein, xoxo.