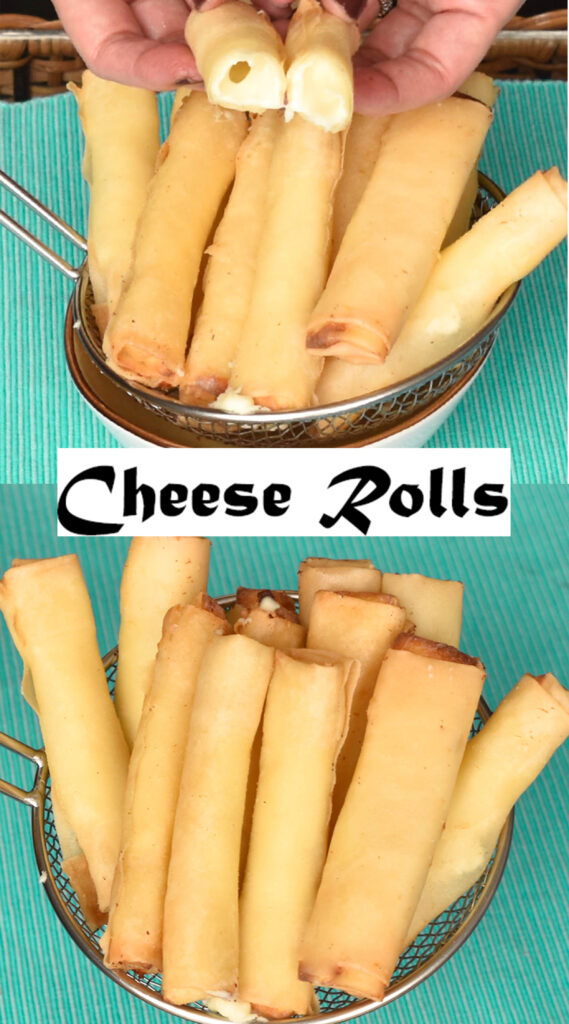


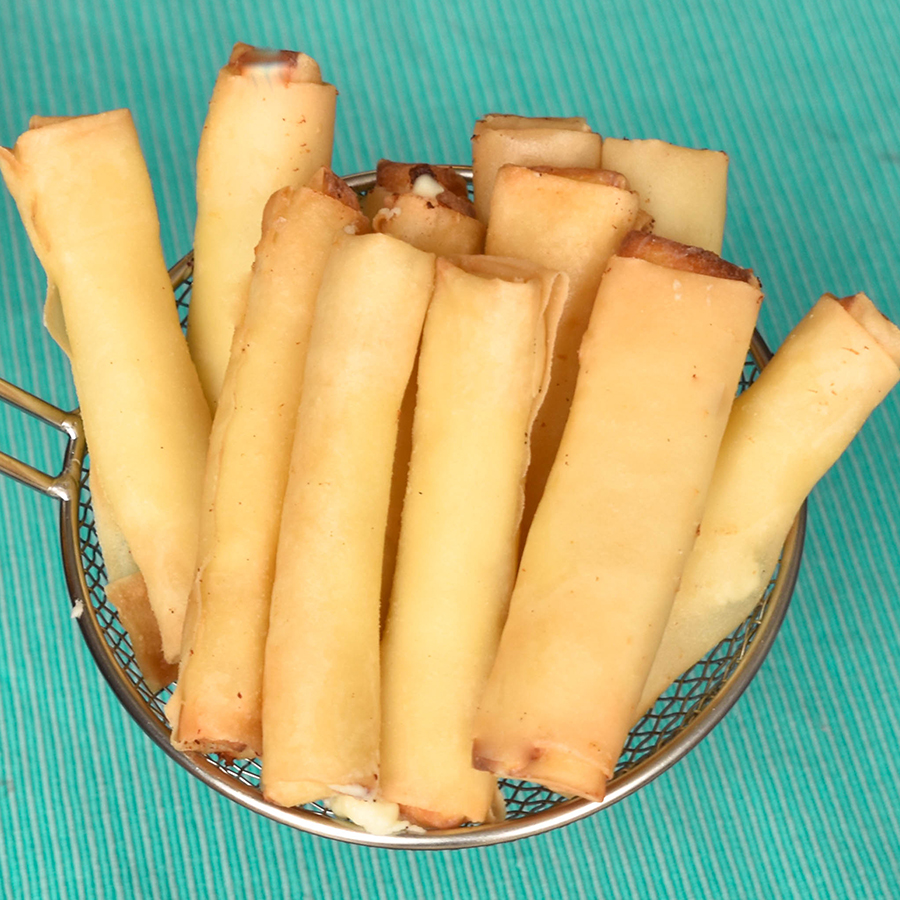
Rkakat Jibneh aka cheese rolls are one of those culinary ideas too good not to be learned and made. They are light, crispy, and filled with the most delicious oozy melted cheese. Lebanese and Middle Easterns call it rkakat jibneh. The crisp, golden packages are the perfect dish to celebrate any occasion. Look no further for restaurant-quality cheese rolls that are super delectable and fun to make.
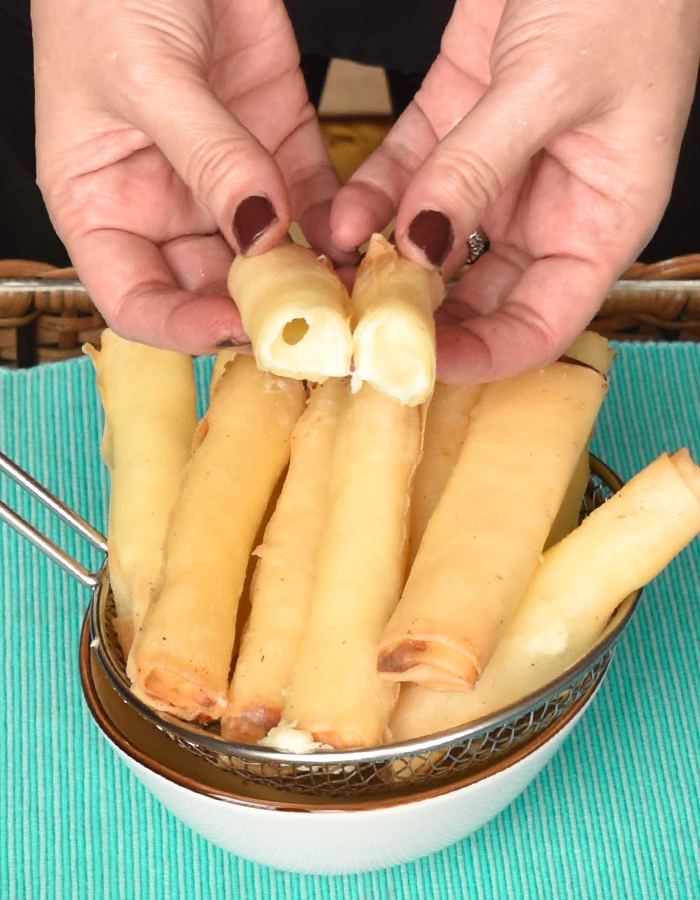
One of the favorite appetizers to order at a Lebanese or Middle Eastern restaurant are these fried cheese rolls, luckily, they can easily be made at home; it’s hard to eat just one; they are super decadent with a stretchy oozy filling and a thin and crispy wrapper. For the best results, fry these, but if you are a health-consious person, you can cook these in your air fryer. The result will not be nearly as crispy, but they will still taste good.
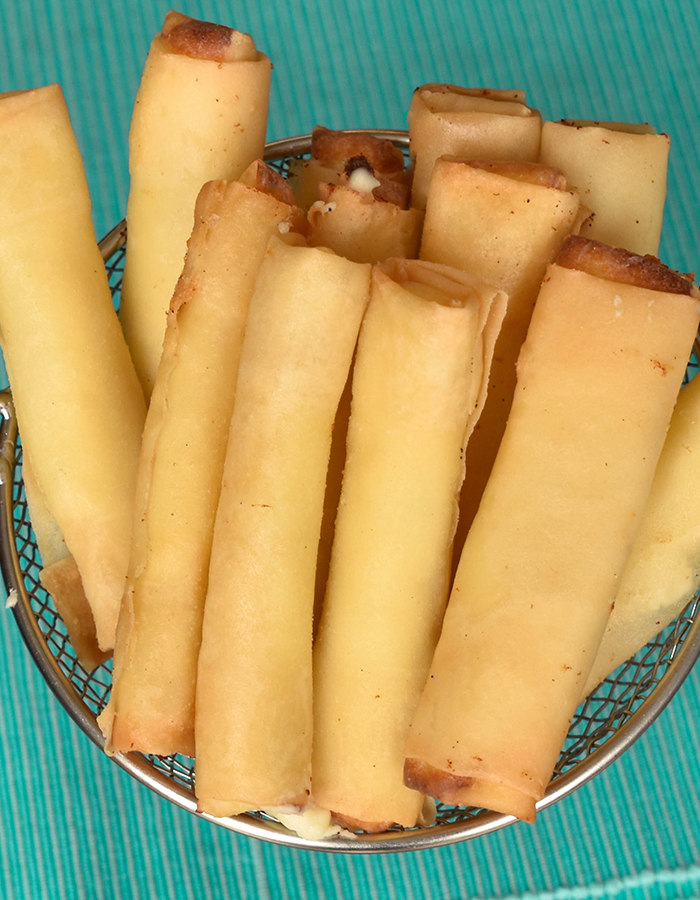
The secrets to making good cheese rolls are four:
- quality cheese,
- the thinnest wrappers available,
- freeze for 1 hour prior to frying and
- high heat
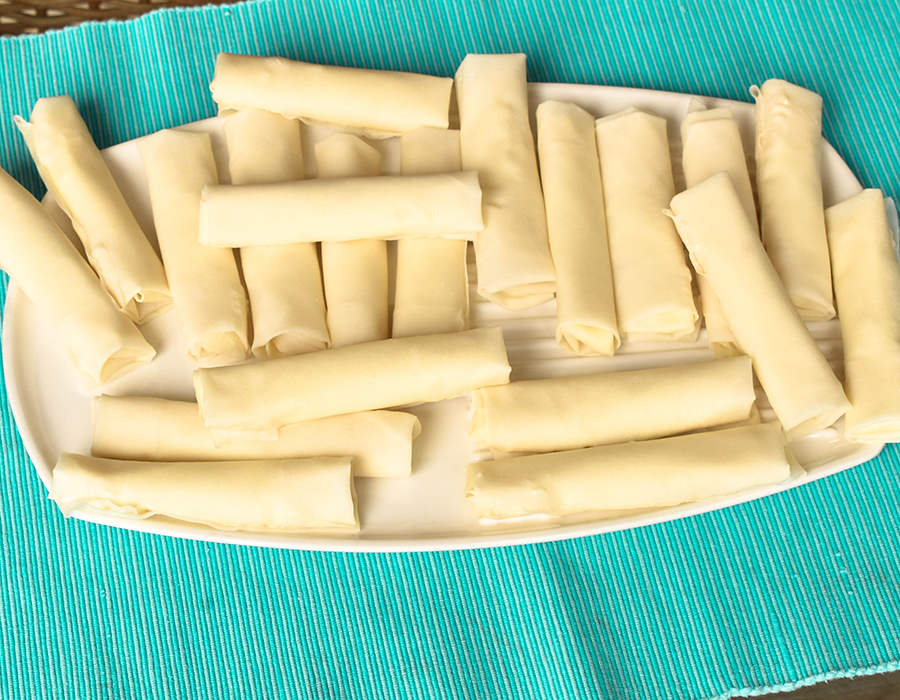
Can you prepare the cheese rolls ahead of time?
Absolutely yes, no matter the time of year, you’ll find these cheese rolls in my freezer, the good news is that they can go directly from freezer to fryer. For freezing: Line a sheet pan with parchment paper. Spread the cheese rolls in a single layer, leaving the rolls separated. Freeze for several hours until they solidify, remove from the sheet pan and store in a zip-top (this will prevent them from sticking together), they keep in the freezer for 2 months.
Why do you cook the cheese filling?
I have 2 different recipes in my repertoire for the cheese rolls, the first one where I mix the cheeses together with a raw egg, stuff, roll and fry, easy peasy right? But after testing, I found the cooking method on the stove top with a with a light bechamel included, takes the cheese rolls to another level, interms of taste and stretchiness, a fancy recipe that will make you look and feel like a total pro chef.
Tips to consider when making Lebanese-Style Cheese Rolls
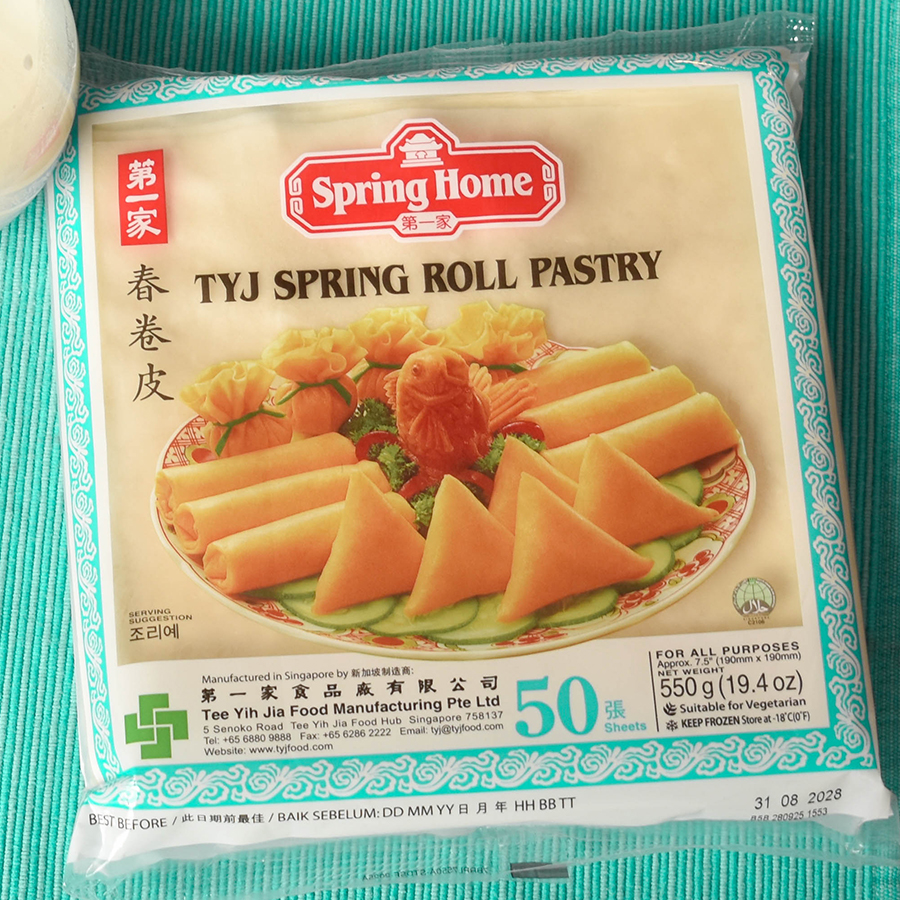
- Thaw the spring roll wrapper package in the fridge overnight, this will make it easier to separate the wrappers so you don’t tear them up.
- To prevent the cheese rolls from leaking while frying, freeze the rolls for a 1 hour prior to frying or baking.
- For the best results, control your oil temperature and keep it at 350°F / 177 °C. If the temperature drops too much, the cheese rolls will absorb too much oil; if it gets too high the outside will burn before the cheese melts.
- To prevent the oil temperature from dropping, work in batches, and don’t overcrowd the frying pan.
I don’t like the taste of bechamel!
You will not notice the presence of the bechamel, you will just feel a more stretchy cheese filling, so no worries here.
Do I have to stick to mozzarella cheese?
The recipe is adaptable and any stretchy cheese can be used as a substitute.
Why do I have to freese the cheese rolls prior to frying?
Yes, to prevent the cheese rolls from leaking while frying, freeze the rolls for about 40 minutes prior to frying or baking, this will prevent the cheese rolls from leaking when exposed to high temperature.
Let’s stay in touch
If you like seeing my recipes subscribe via email or, connect with me on my social media platforms:
Facebook, Instagram, YouTube , Pinterest and TikTok!
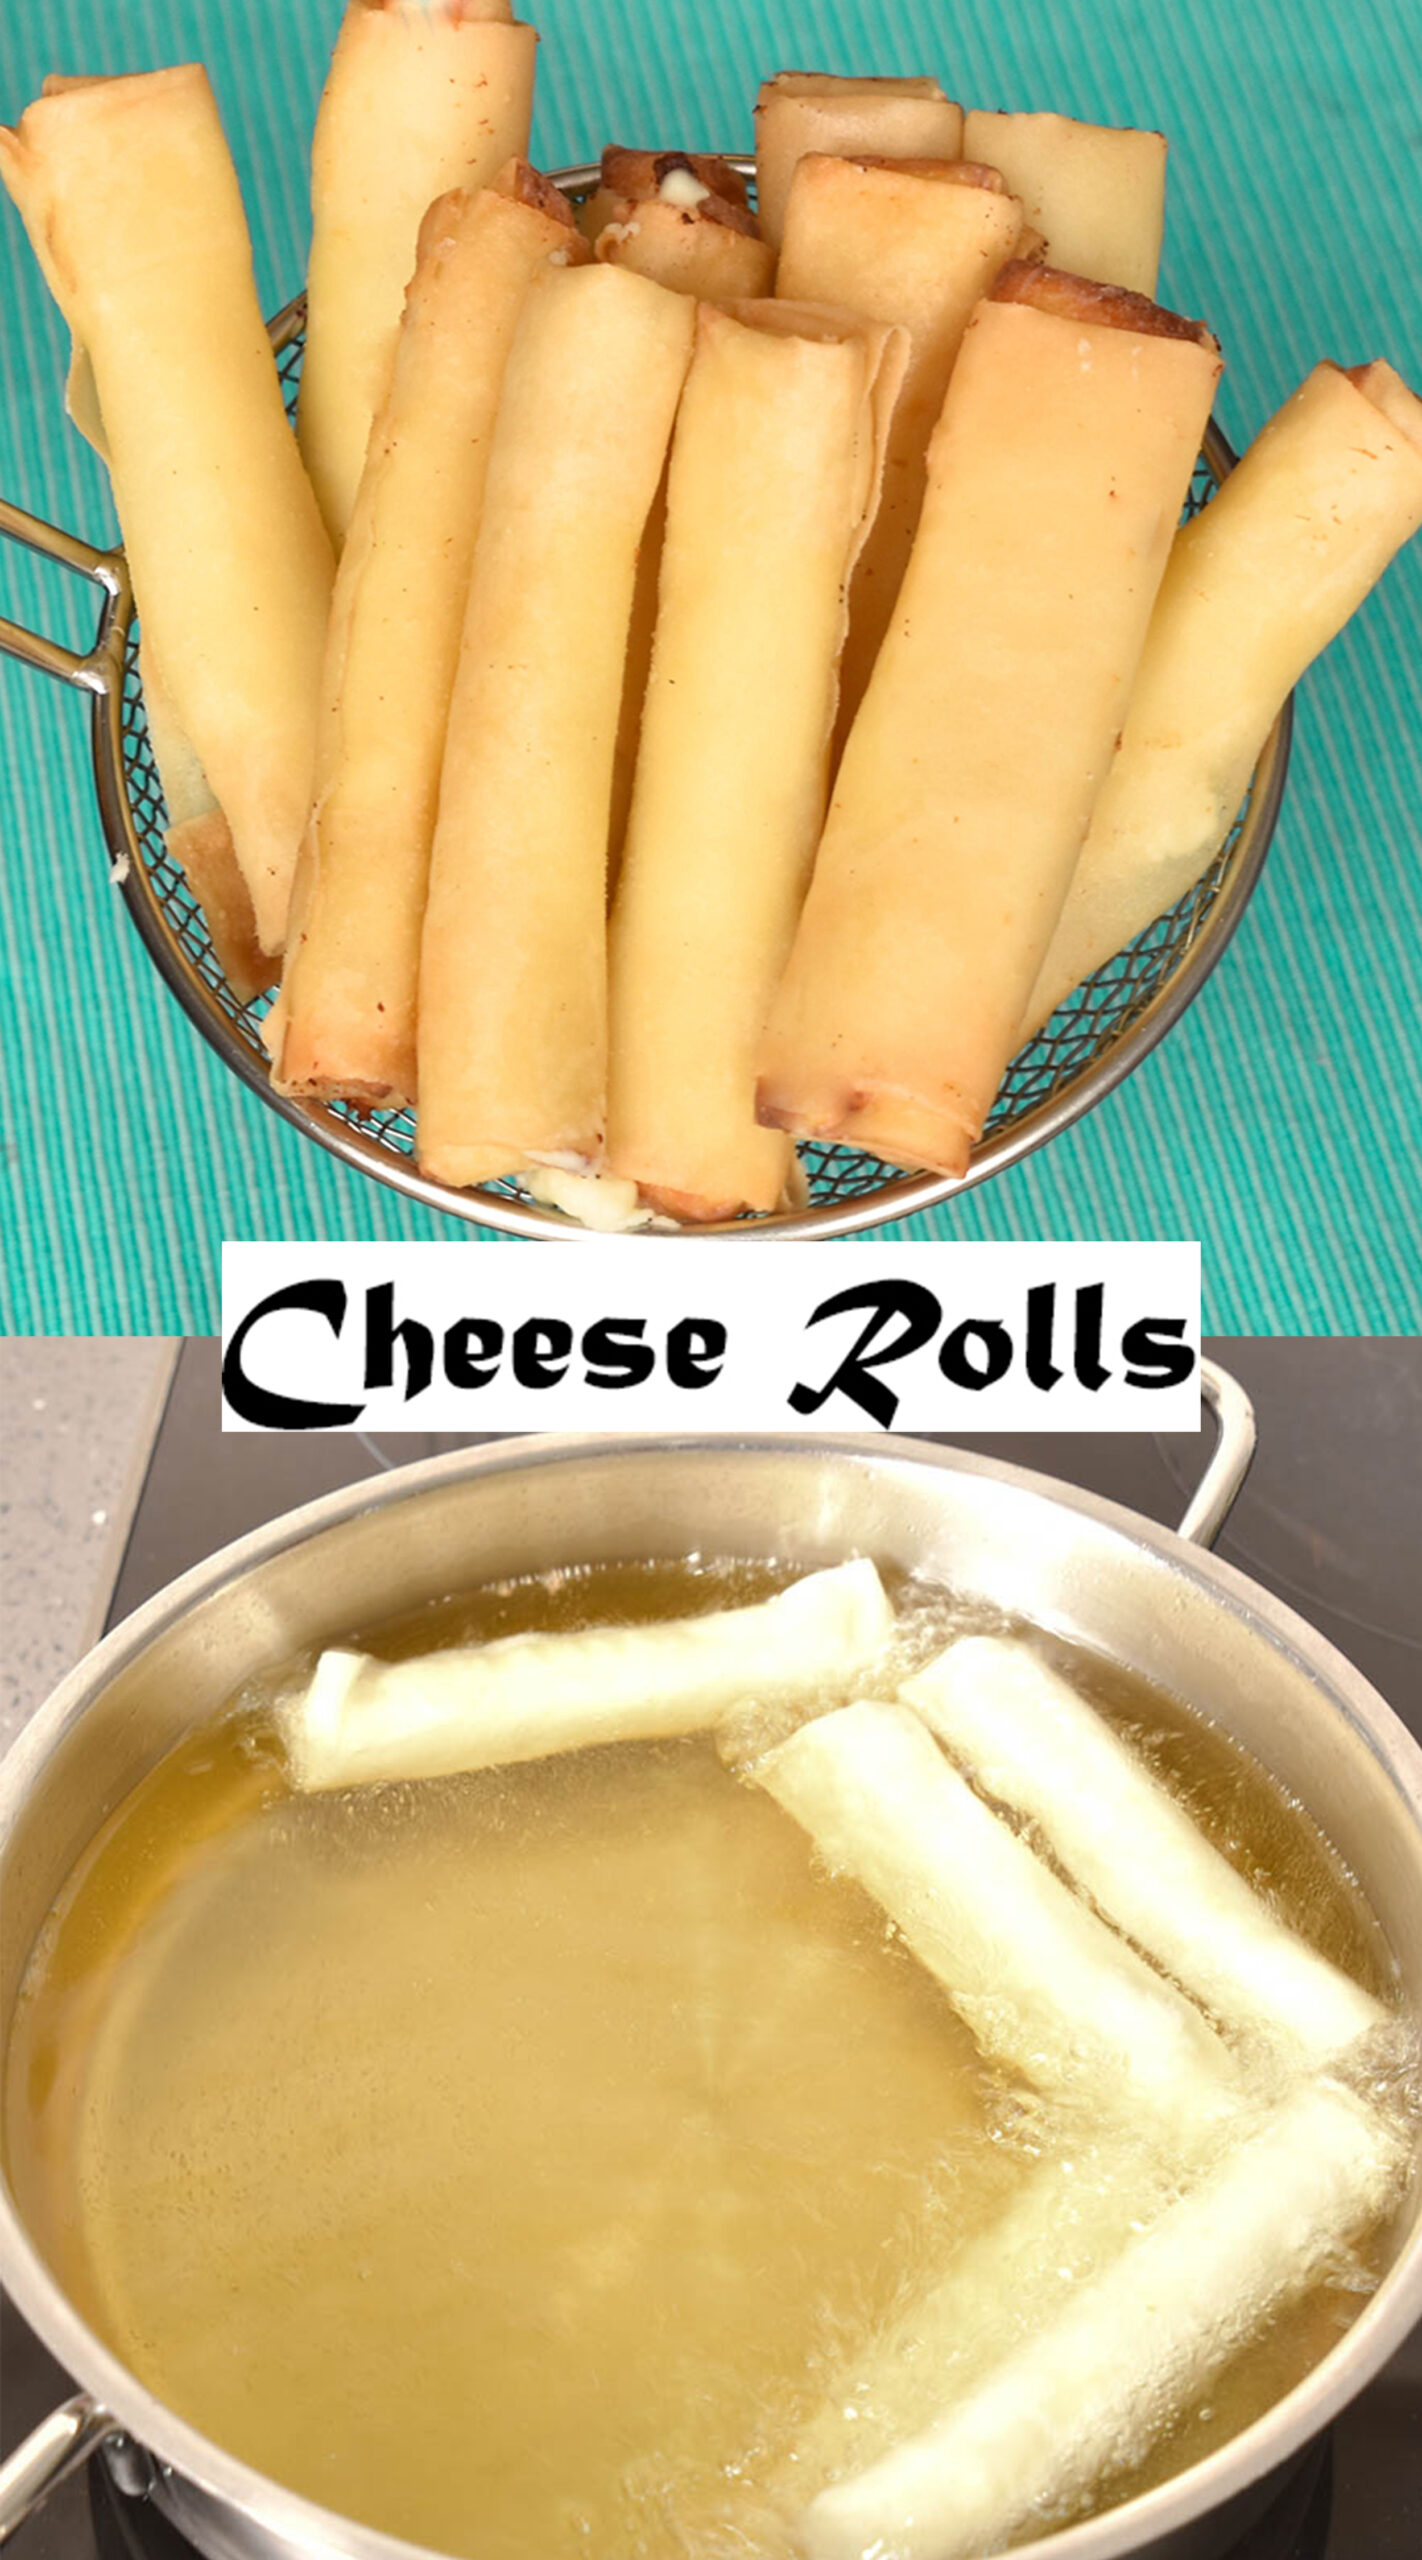
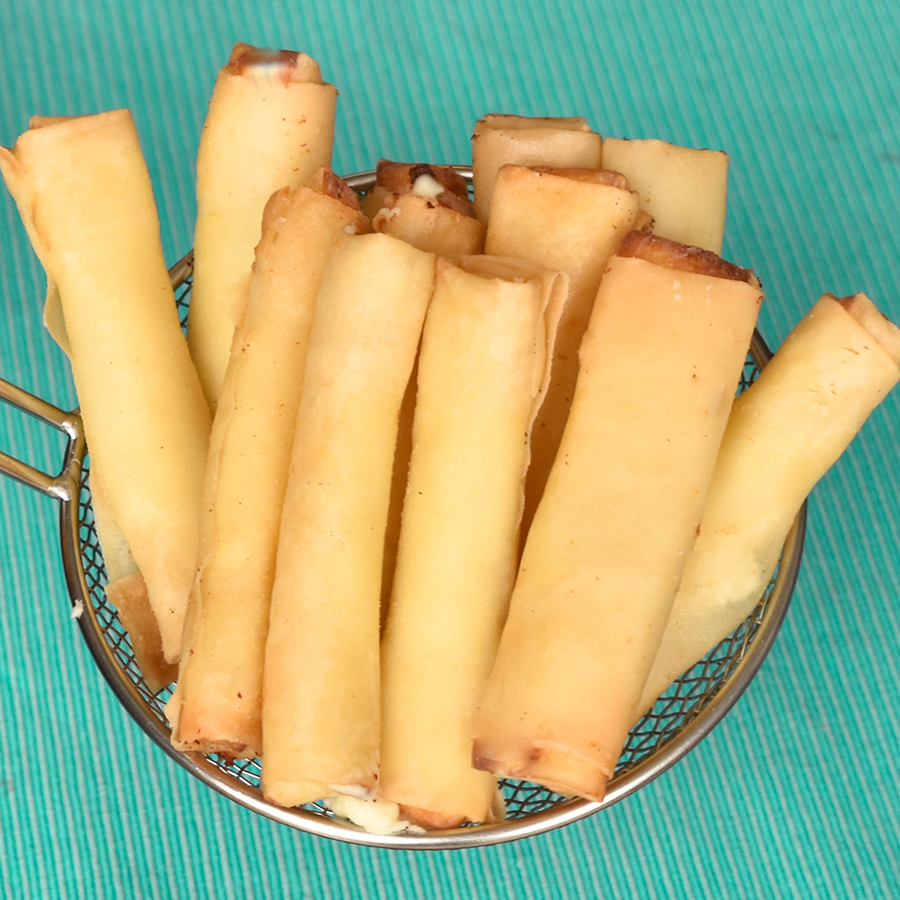
Cheese Rolls/ Rkakat Jibneh
Description
Ingredients
For the cheese filling:
- 400 grams mozzarella
- 3 tablespoons sunflower oil
- 2 tablespoons all-purpose flour
- 1 cup milk
To make the slurry:
- 1/3 cup flour
- 1/3 cup water
A package of spring roll wrappers
Instructions
- Shred the cheese using a grater.
- Thaw the frozen spring roll wrapper in the fridge overnight, this will make it easier to separate the wrappers so you don’t tear them up.
- Heat sunflower oil in a saucepan for a couple of seconds, add the 2 tablespoons flour whisk together to form a paste and let it cook for 30 seconds. Add 1 cup of the milk and whisk constantly to remove any lumps, even if you still have lumps, no worries they will dissolve totally with the cheese. Keep on stirring until the mix totally thickens up.
- Add the cheese and whisk constantly over medium heat to melt the cheese and integrate the everything together, ending up with a stretchy cheese mix of one texture. Adjust salt to your taste preference, we don't want a bland falvor.
- You should end up with a smooth, pliable and stretchy mix with no lumps! Leave it to cool down completely before filling the rolls.
- To make the slurry: Whisk the flour and water in a small bowl to a paste consistency.
- Spread the spring roll sheet, one at a time, on a flat surface. With your index, wet the corners with the slurry.
- Add 1 tablespoon of the cheese filling close to the bottom edge of the pastry sheet.
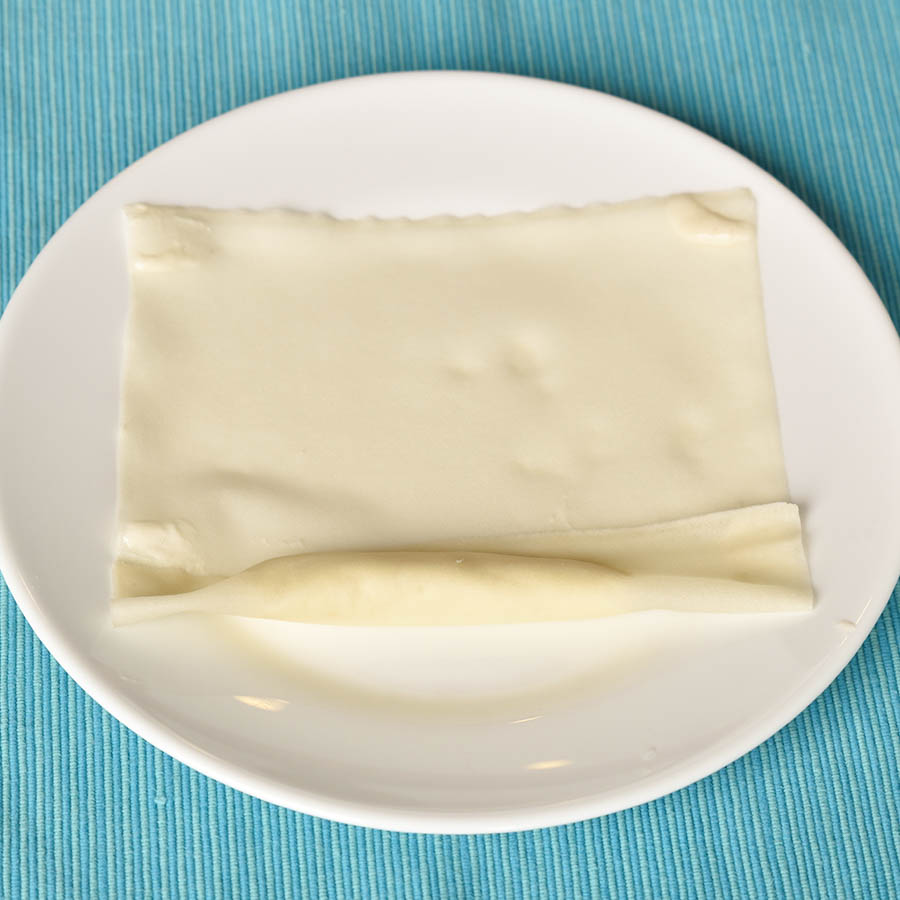
- Roll over, tuck in the sides.
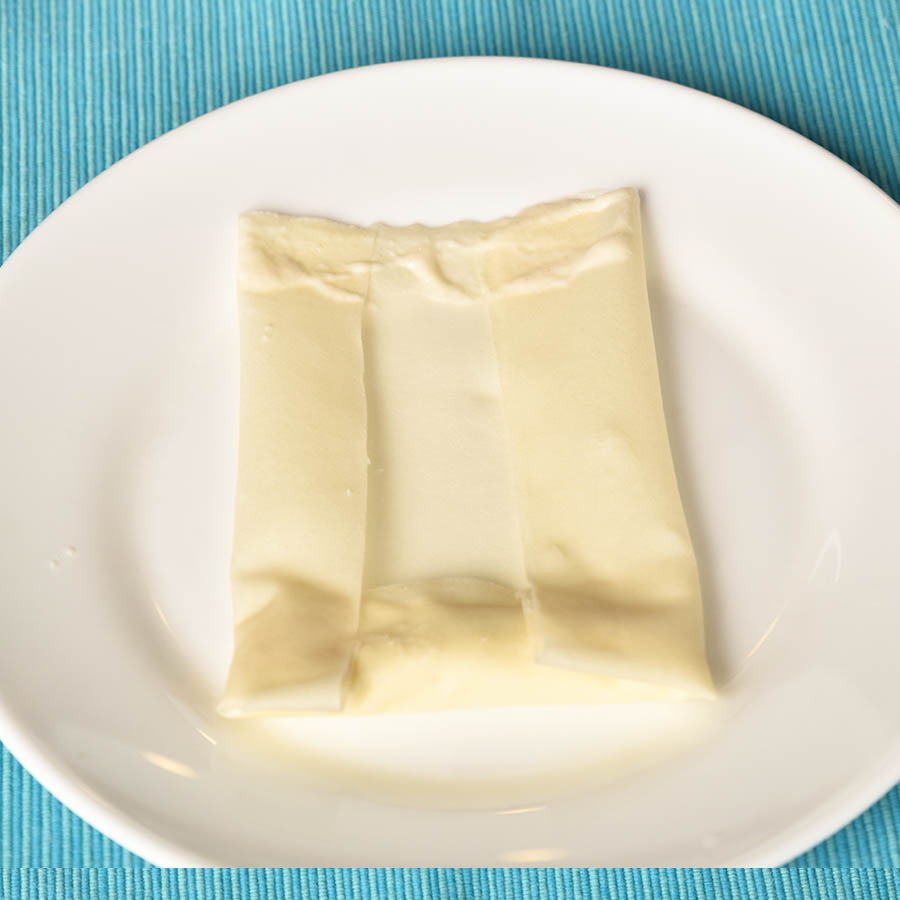
- Resume rolling until you reach the tip, make sure it is well sealed, repeat as necessary.
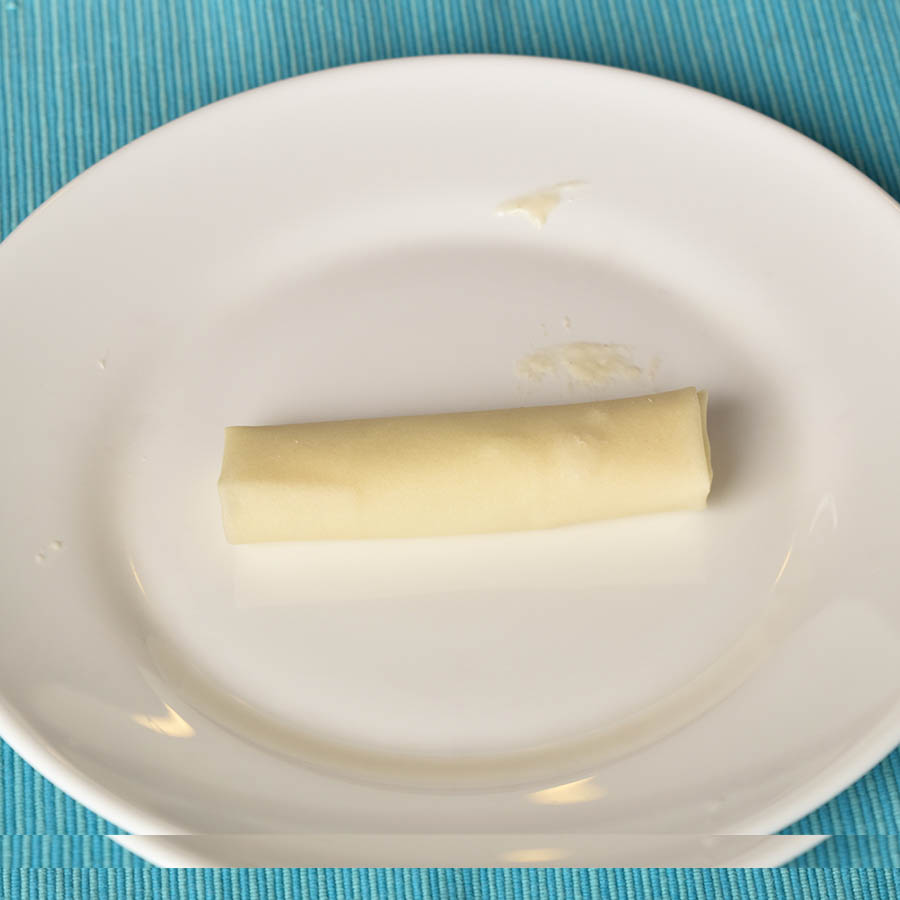
- In a deep fryer, heat oil to an adequate frying temperature, fry every 5 rolls together (don't crowd the frying pan) to golden.
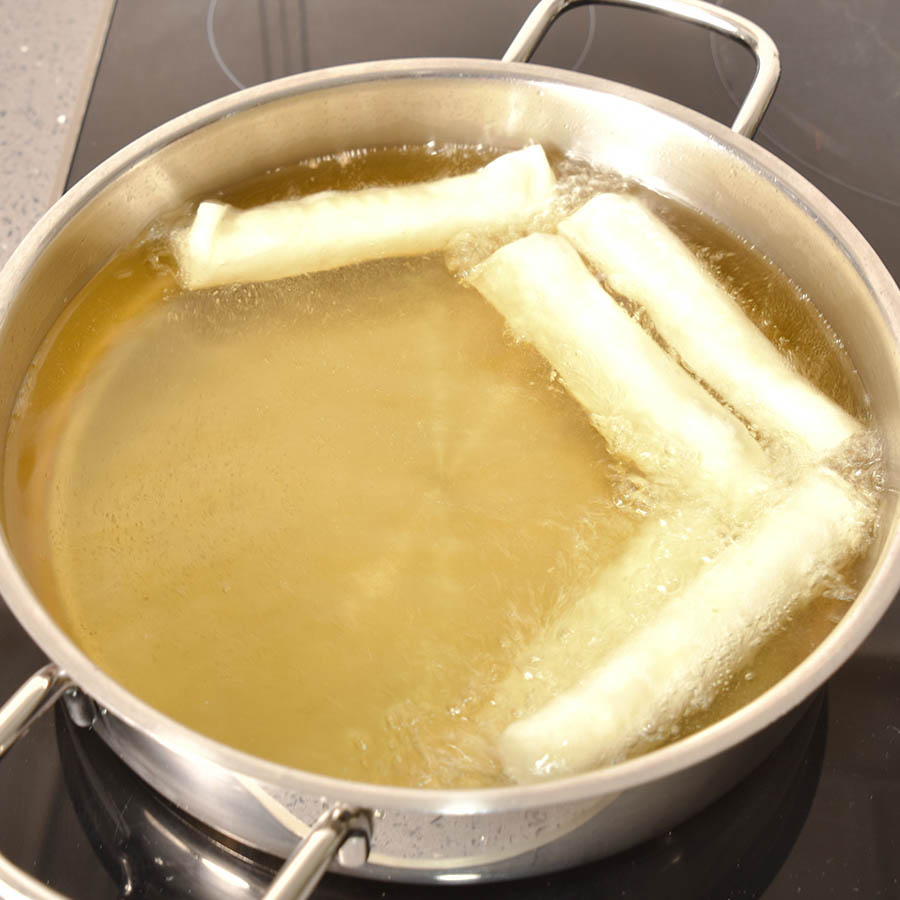
- Remove with a slotted spoon and drain on kitchen paper towels, serve warm.
Video
Notes