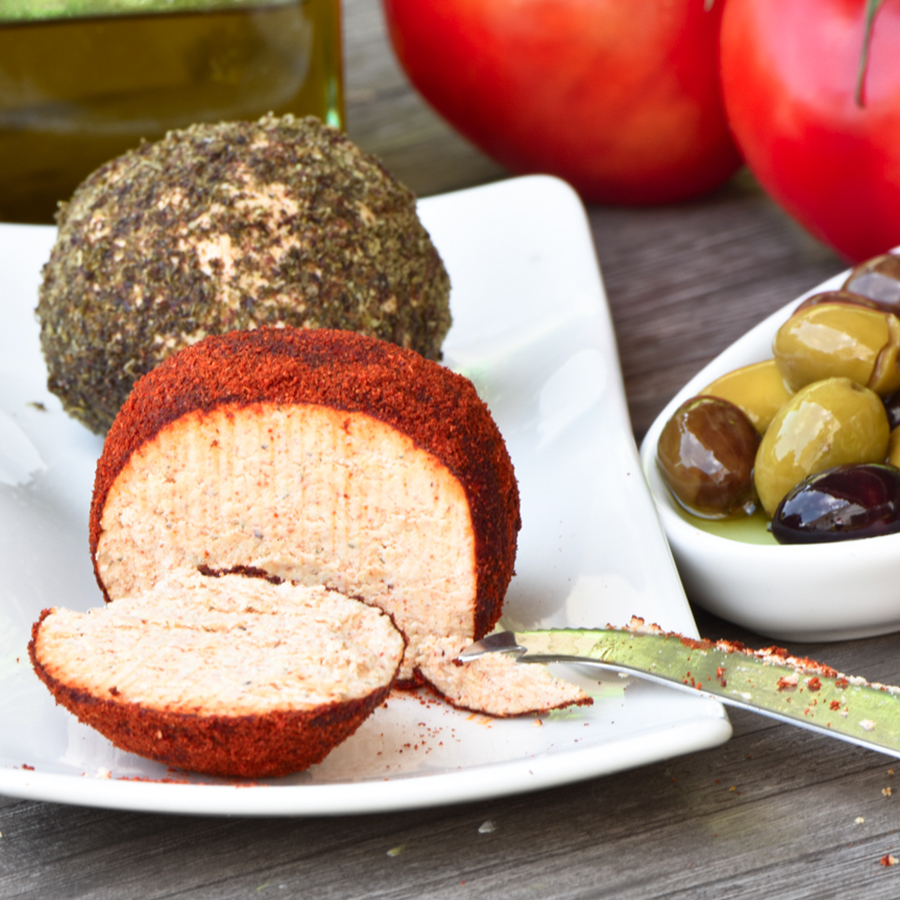
Shanklish/ Shankleesh
Description
Whenever I’m short on time or simply don’t feel like cooking, shanklish comes to the rescue. I toss it with diced tomatoes, onions, fresh parsley, and a generous drizzle of olive oil for a quick, flavorful meal that never disappoints. It takes just minutes to put together, yet it’s incredibly satisfying.I always recommend keeping some homemade shanklish in the fridge or freezer. It’s a wonderful staple to have on hand when you need to whip up a simple breakfast, lunch, or dinner without much effort. Once you master the technique, you’ll have a taste of traditional Lebanese comfort food ready whenever you need it.
Ingredients
- 4 kg 8 lb 14 oz plain whole-milk yogurt
- 1½ tablespoons sea salt
- 8 tablespoons white vinegar
- Seasonings
- 2 level tablespoons salt or to taste
- 1 tablespoon paprika optional, but recommended
- 1 tablespoon za’atar optional
- ½ teaspoon mahlab optional
Coating
- Za’atar Aleppo pepper, or paprika, as desired
Instructions
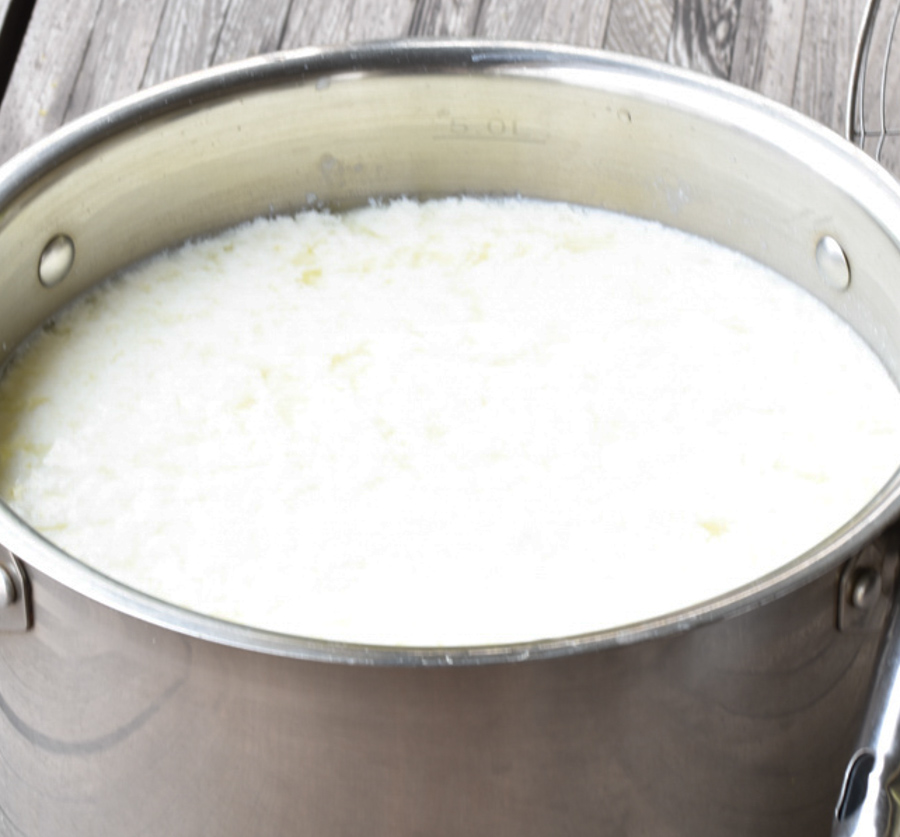
- Over medium heat, place the yogurt in a large pot and stir constantly to prevent it from scorching. Bring it to a boil, then add the white vinegar and sea salt. Turn off the heat and let the mixture cool. The yogurt will curdle considerably as the curds separate from the whey.
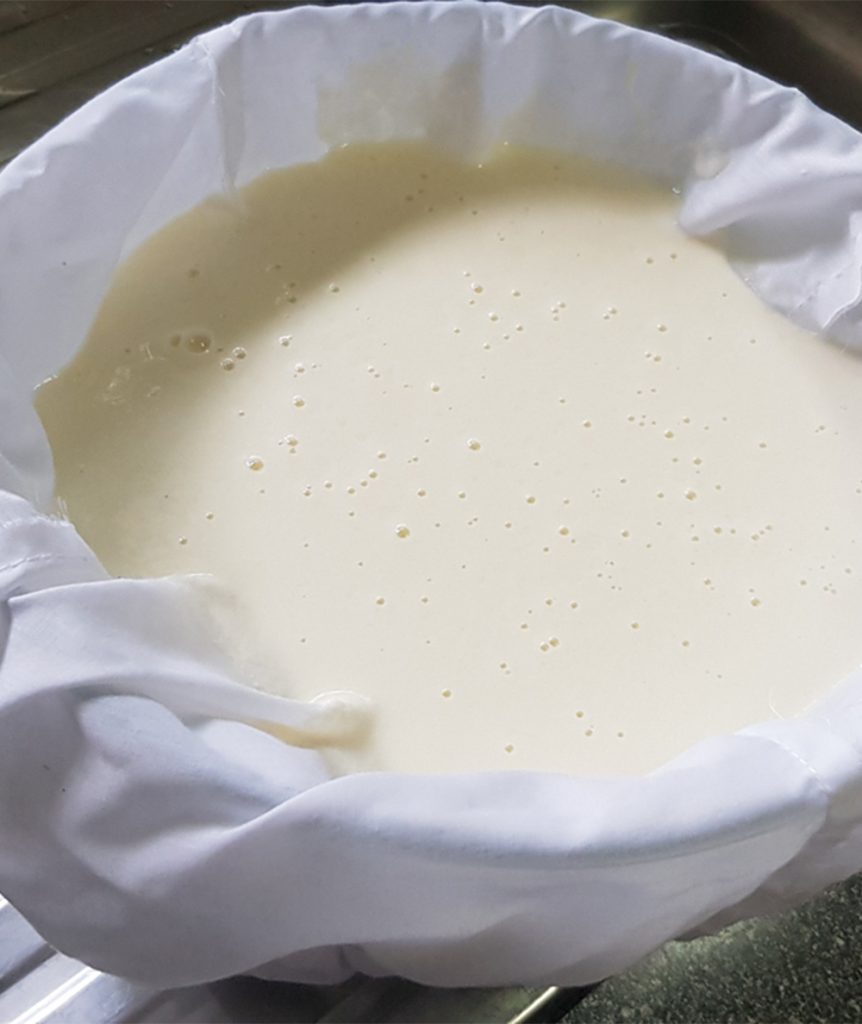
- Line a colander with cheesecloth and place it over a large bowl. Pour the mixture into the cheesecloth.
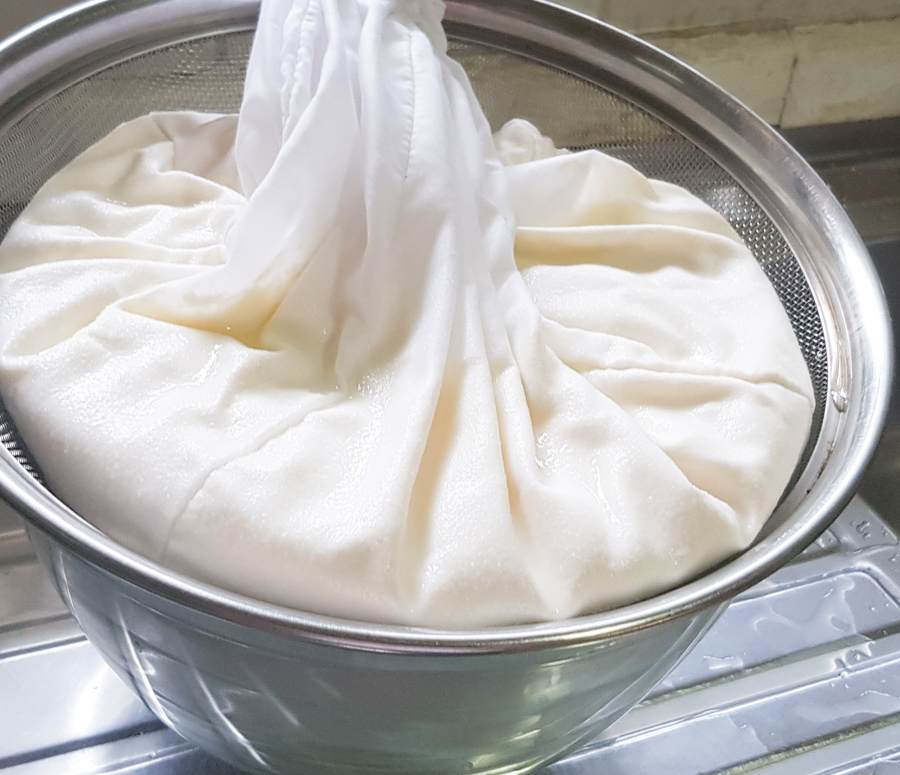
- Gather the cheesecloth around the curds and place a heavy object on top to apply pressure. Refrigerate for 24 hours, draining the collected whey from the bowl every few hours. By the end of this process, the curds should be dry and firm enough to shape into balls.
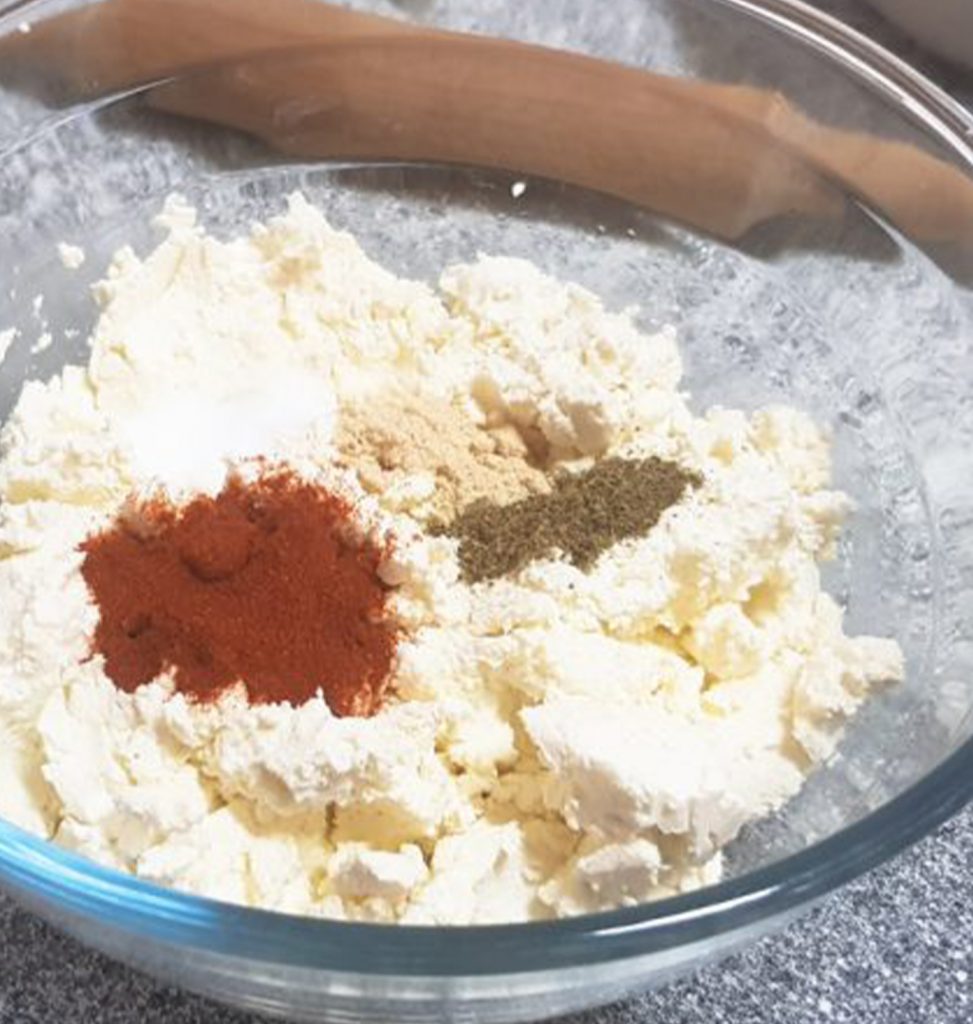
- Transfer the cheese from the cheesecloth to a bowl. At this stage, it should be firm and easy to handle. Add the paprika, salt, and mahlab, then mix well until the seasonings are evenly incorporated. Taste the mixture and adjust the salt as needed. Keep in mind that salt plays an important role in preserving the cheese.
- Line a flat tray with thick, absorbent kitchen paper towels.
- Using clean hands, shape the strained curds into evenly sized balls, roughly the size of a tennis ball, compressing them firmly as you work. Transfer the balls to the paper towel-lined tray, leaving some space between each one. I ended up with seven balls.Cover the cheese balls with another layer of kitchen paper towels to help absorb excess moisture. Leave them to dry in the sun for 6–7 days. Alternatively, you can place them in a well-ventilated area or near an air conditioner during the day, as the airflow helps draw moisture out of the cheese. Change the paper towels whenever they become saturated, and refrigerate the cheese balls overnight. This is the method I used.Drying time may vary depending on the temperature and humidity, so allow approximately 6–7 days, or longer if needed, until the cheese balls are sufficiently dry.
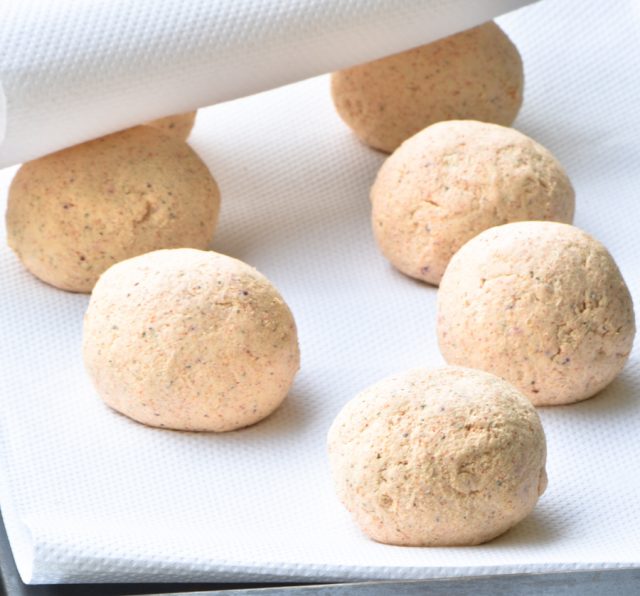
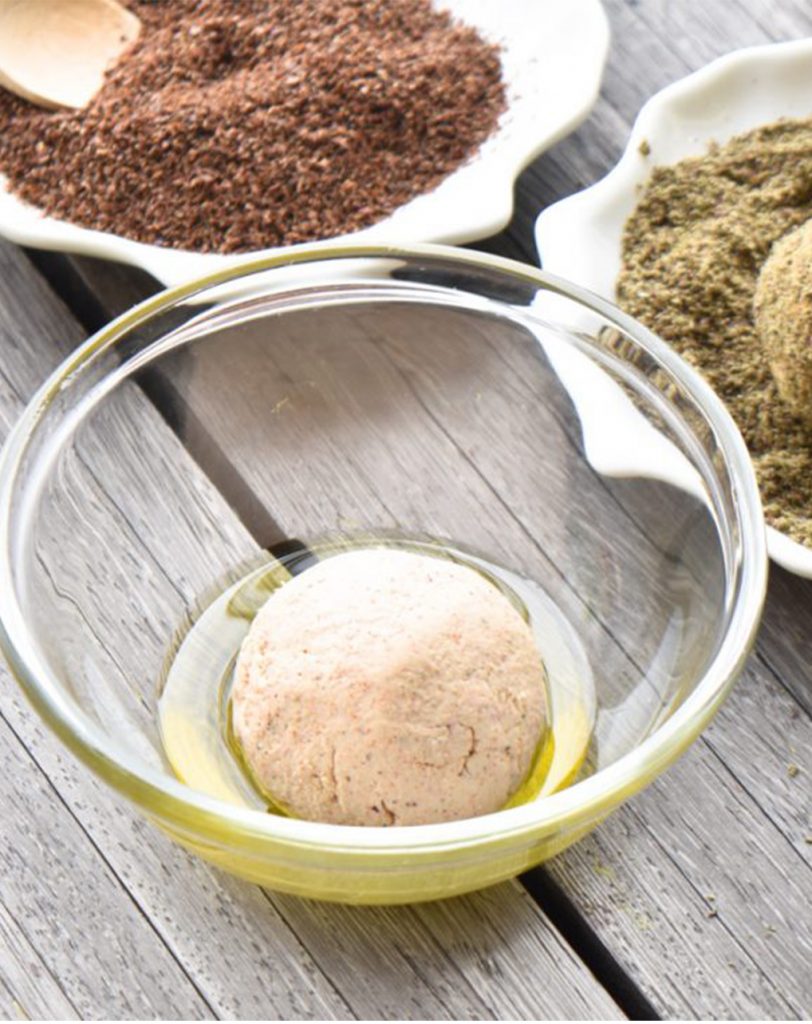
- By now, the cheese balls should be completely dry. You can serve them right away by dipping each ball in olive oil and coating it with za’atar, oregano, or paprika.Alternatively, wrap each ball individually in cling film and store it in the freezer. This is the short-aged version of shanklish, with a milder flavor and a creamier texture. Fully aged shanklish, on the other hand, develops a sharper, more pungent flavor and a firmer texture.If you prefer that distinctive, sharp shanklish flavor, skip Step 6 and keep reading to learn how to age the cheese!
How to Fully Age Shanklish
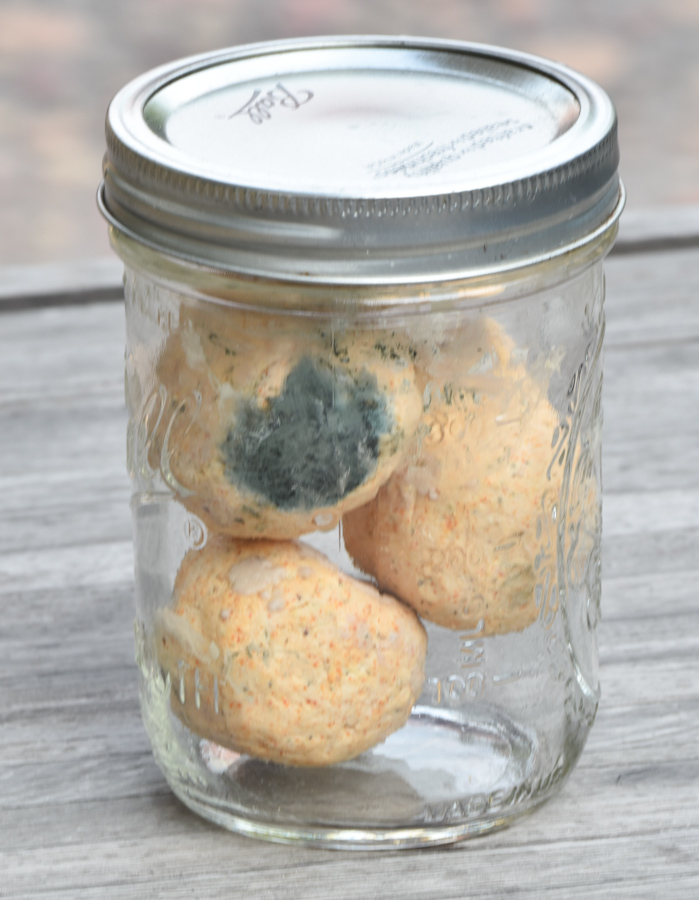
Before aging, make sure the shanklish balls are completely dry. A good indication is that the paper towels no longer feel damp to the touch.Transfer the cheese balls to a clean, dry jar and store them away from direct sunlight, preferably in a dark place, for at least one month to allow them to mature and develop their characteristic flavor. Check on the shanklish periodically throughout the aging process.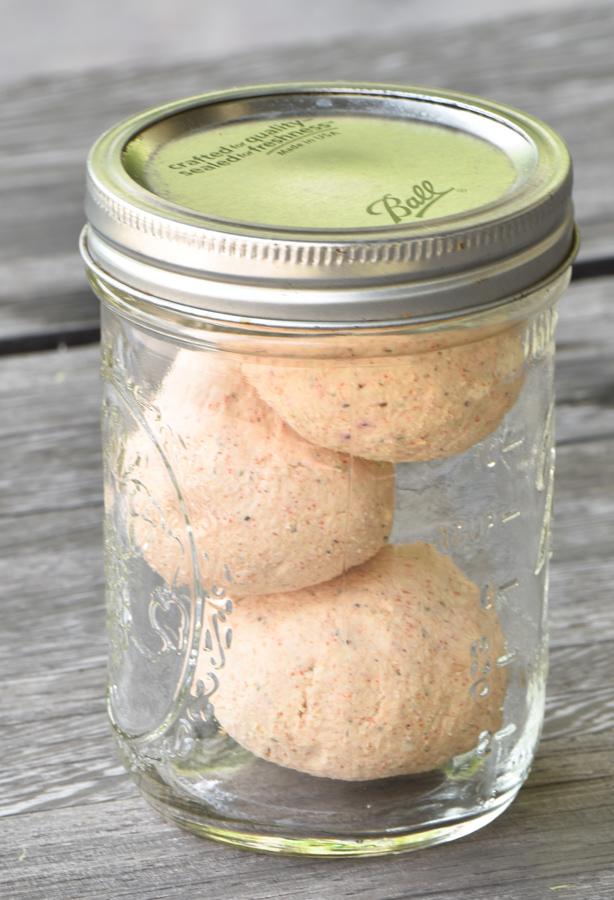
- Once mold develops on the surface, it indicates that the cheese has undergone a period of maturation. Rinse the cheese balls under running water and gently scrape away the surface mold. Pat them dry with paper towels, then coat each ball individually with za’atar, Aleppo pepper, or paprika.
- Store the shanklish in a covered container in the refrigerator, or wrap each ball individually in cling film and keep it in the freezer. It’s a lengthy process, but believe me, the delicious results are well worth the effort!
Notes
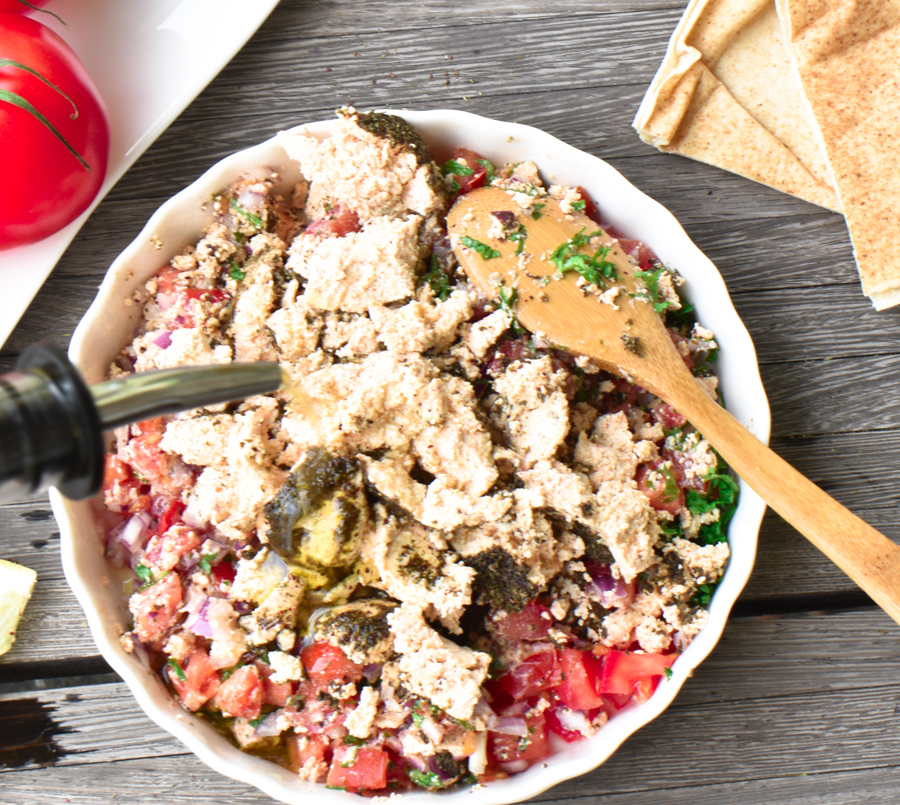
How to Serve Shanklish with Tomatoes, Onions, and Olive Oil
One of the most popular ways to enjoy shanklish is to crumble it and toss it with diced tomatoes, finely chopped onions, and fresh parsley, finished with a generous drizzle of extra virgin olive oil. Tear off a piece of pita bread or Arabic bread and scoop up the mixture. I’m telling you, it makes me ridiculously happy! It’s seriously hard to resist. Just make sure to use high-quality extra virgin olive oil, as it makes all the difference.Ingredients
- 1 ball of shanklish
- 1 small onion, finely diced
- 1 medium tomato, diced
- 1 tablespoon chopped fresh parsley
- ⅓ cup extra virgin olive oil, or more as needed
- Pita bread or Arabic bread, for serving
Instructions
- Crumble the shanklish with a fork until it breaks into small, flaky pieces.
- Add the diced onion, tomato, and chopped parsley, then mix gently to combine.
- Drizzle generously with extra virgin olive oil and serve immediately with pita bread or Arabic bread for scooping.
Tried this recipe?Let us know how it was!