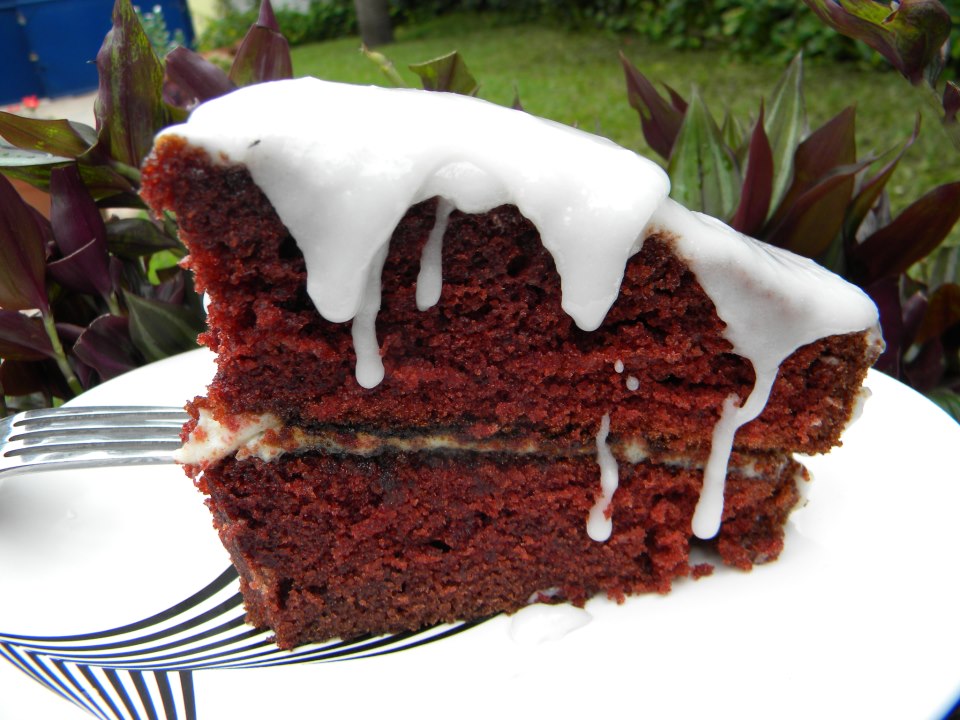
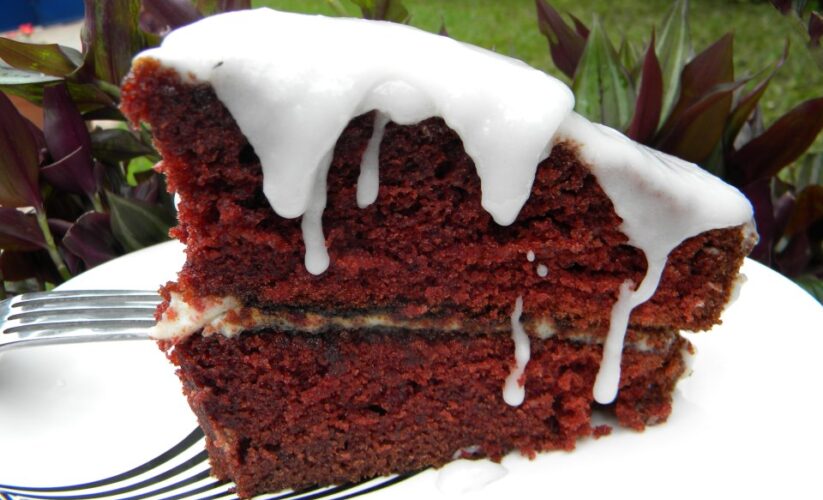
Red Velvet Cake
Honestly this is my favorite. The most moist, tender, decadent cake ever with a wonderful cream cheese frosting. Heavenly delicious!
Red Velvet Cake
No ratings yet
Cook: 29 minutes minutes
Servings 2 person
Course
desserts
Cuisine
RECIPES FROM AROUND THE WORD
Description
Honestly this is my favorite. The most moist, tender, decadent cake ever with a wonderful cream cheese frosting. Heavenly delicious!
Ingredients
- 2 cups flour
- 2 cups sugar
- 1 cup canola or vegetable oil
- 2 eggs
- 1 cup milk mixed with 1 tablespoon white vinegar. Allow to sit for 10 minutes before using
- 1 teaspoon baking soda
- 1 teaspoon baking powder
- ½ teaspoon salt
- 2 tablespoons unsweetened cocoa powder
- ½ cup hot coffee Nescafe works well
- ½ teaspoon vanilla extract
- 3 tablespoons red food coloring
For the cream cheese frosting:
- 400 g./14 oz. cream cheese
- 1 ⅓ cups icing sugar powdered sugar
- 78 g./⅓ cup butter softened
Instructions
- Place a rack in the center of the oven.
- Preheat the oven to 180°C/350°F. Coat 2 round cake pans 22cm/9 inches with a piece of butter and lightly dust with some flour.
- Sift the flour cocoa, baking soda, baking powder, and salt in a large bowl.
- To another bowl add the sugar, canola oil, eggs, milk (mixed with vinegar), vanilla, red food coloring, and hot coffee. Whisk well to incorporate.
- Pour the wet ingredients over the dry ingredients. Beat gently to incorporate.
- Divide the batter equally in the two coated pans.
- Bake for 30 minutes or until you insert a toothpick in the center of the cake and it comes out clean.
- Remove from the oven and set aside to cool down completely.
Meanwhile prepare the frosting:
- Place the icing sugar and cream cheese in a large bowl and beat with an electric mixer on medium speed for 1 minute.
- Add the butter and beat for another minute to obtain a smooth frosting.
To put together:
- When the two cakes have completely cooled down, spread half of the frosting over the surface of one of the cakes.
- Place the second cake on top and spread the remaining frosting on the surface.
Notes
If you enjoyed this recipe, be sure to subscibe to our newsletter so you never miss a single recipe.
All photos and content are copyright protected. Please don’t use photos without prior written permission.
Tried this recipe?Let us know how it was!


