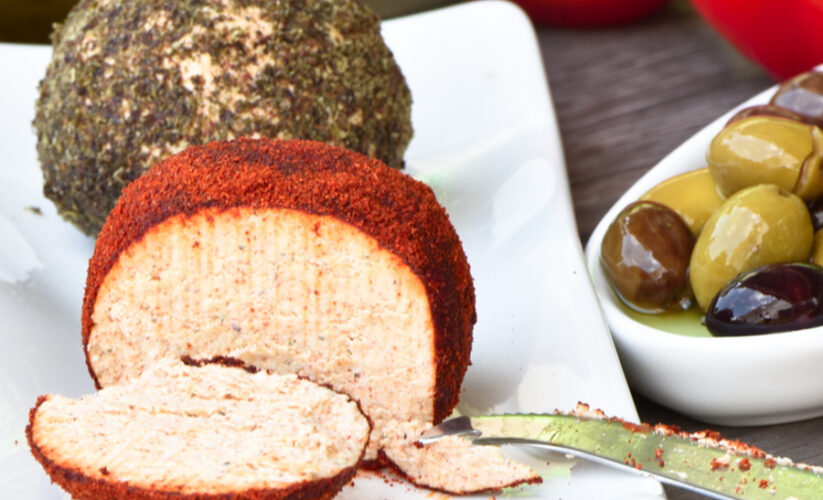
My heart has a special spot to shanklish / shankleesh, the Middle Eastern version of blue cheese, and the only aged cheese in the region. Shanklish can be found in most grocery shops all over Lebanon, Syria and Turkey. If living abroad, you must have seen shanklish on the shelves of Middle Eastern food stores, those vacuumed cheese balls with an off-white interior, crusted with zaatar or Aleppo pepper. Shanklish is commonly served at Lebanese restaurants as part of the mezze spread, smashed and mixed with diced tomatoes, onions and parsley. Full of lively sharp flavors, and once you make it you will find yourself craving it over and over.
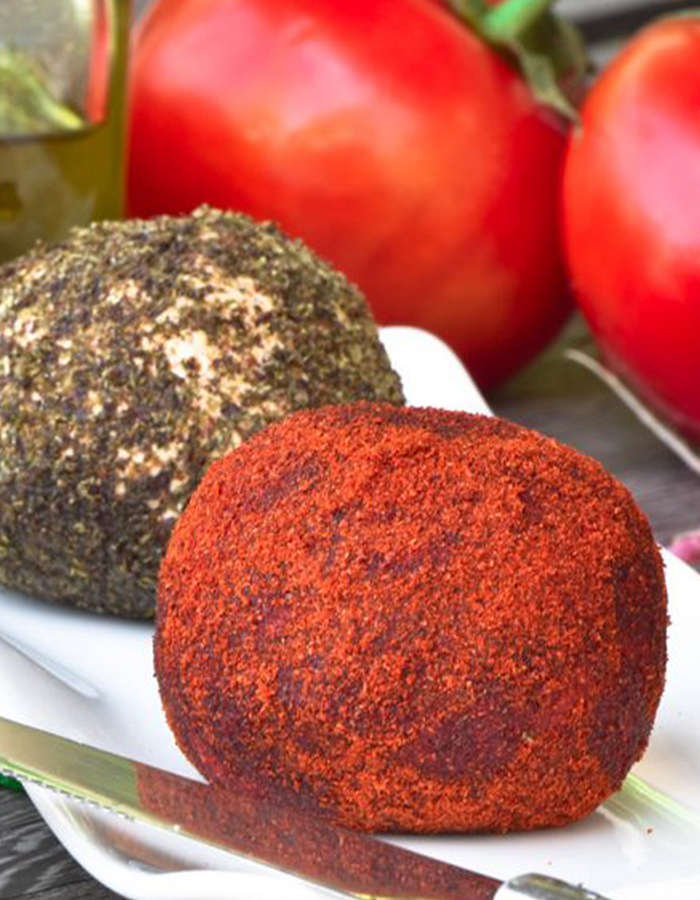
Shanklish/ Shankleesh
Aging shanklish in the Middle East was originally a way to make it last longer, but still with all the modern cheese-making development and the availability of cheese varieties year-round, this hasn’t stopped families from making shanklish in certain places like the Northern Lebanese region in Akkar, Beqaa’s dairies or the Syrian coastal plain around Tartus. I am intrigued to know where the idea of aging shanklish came from and how people back then developed to handle it; history of food has always fascinated me. According to Fouad Kassab, the face behind the food blog, shanklish is thought to have originated from Kurdistan. Kassab explains: “Shankleesh is a compound word derived from the Kurdish ‘shan’, denoting a small terracotta pot; and ‘qareesh’, a Bedouin term for fermented milk”. Intersting! No matter what the origin of shanklish is, I think it is crucial to pass down this treasured cheese-making technique to future generations who tend to eat on the run, it is good to slow down, and consider how we should preserve those heritage recipes.
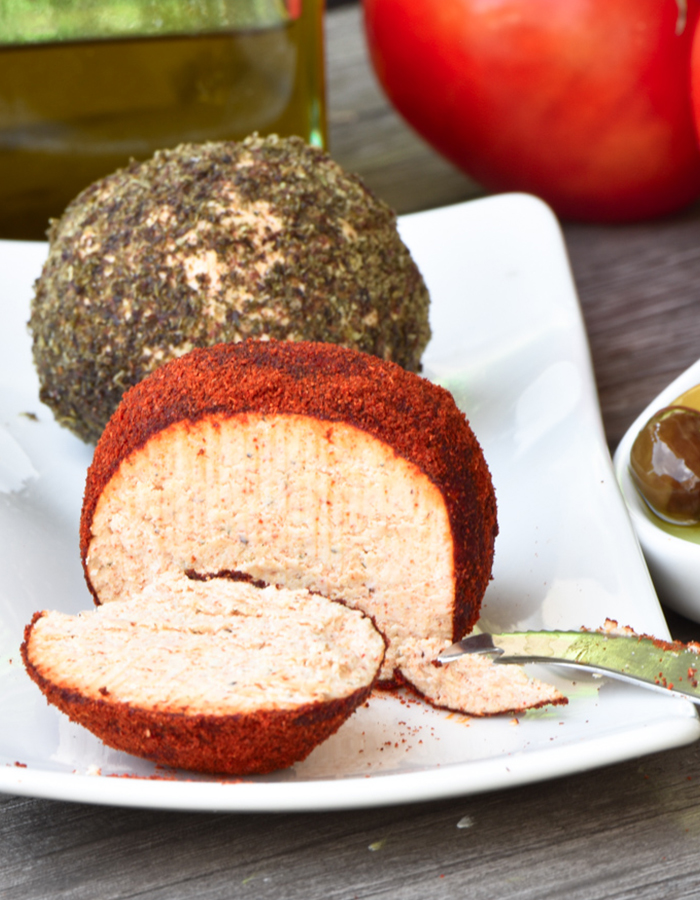
How the process works?
Making shanklish is a labor-intensive manual method. The process of transforming yogurt into shanklish consists of four phases: coagulation, dewatering, shaping and maturing. First you need to acidify the yogurt to coagulate it and separate it from the whey, the curd is strained until dry, then you need to salt and season it. Afterward it is shaped to tennis-sized balls that are dried in the sun for a few days. Last step would be the aging stage, the shanklish balls are left in tight glass jars away from sunlight, and preferably a dark place, until they develop some rots on the surface, usually it takes about 1 month or more, depending on the temperature and humidity. The flavor in shanklish intensifies with age, the longer shanklish is aged the more sharp, flavor and character it develops. The shanklish balls are scraped clean to remove the rots created by time, finally the balls will be rolled in zaatar/ paprika/ Aleppo pepper or chili flakes. Brief, shanklish gets its taste by fermentation, added flavors and aging. It takes precious time to make, but believe me, you will be rewarded with a special unique type of cheese.
Short-aged shanklish versus fully mature
The longer you age shanklish the firmer and more intense it becomes. Short aging or only sun-drying the cheese balls will result in a more mild paste and softer taste. It is still something you would enjoy at this stage, but if you need the sharp shanklish taste, leave balls to ferment in tight glass jars away from sunlight, and preferably a dark place, until they develop a moldy layer on the surface, usually it takes about 30 days or more. Those molds are part of the aging process and are integral to the flavor and texture of shanklish. A well-aged shanklish will be more pungent and less creamy.
Flavor variations:
- Shanklish is delicious as it is, it is pungent alone without the addition of spices and herbs, but you can add whatever suits your taste; some folks would add anise seeds, fennel seeds, cumin powder or nigella seeds. I simply don’t. Brief, season to suit your taste.
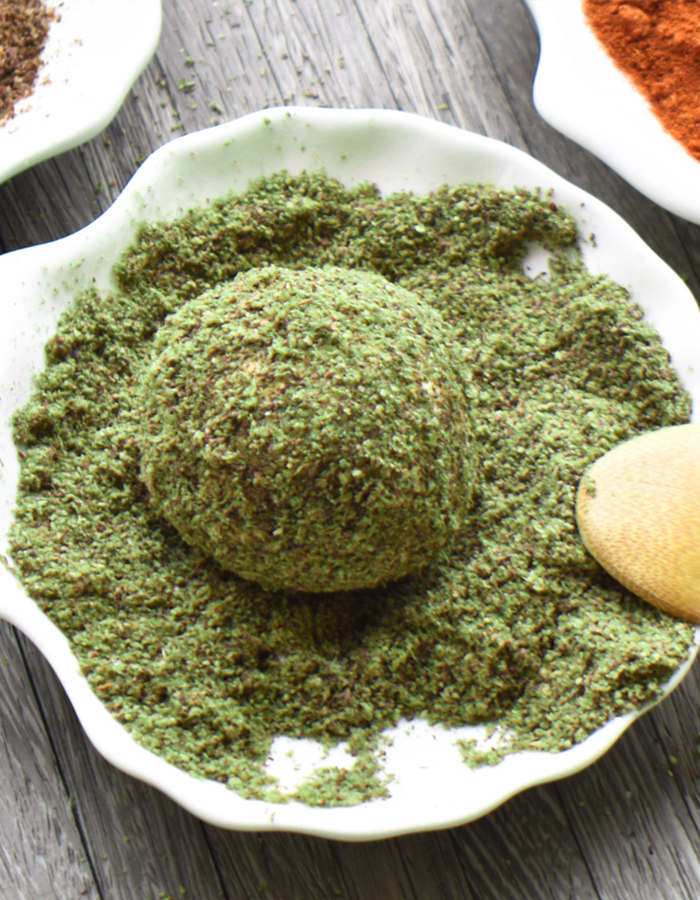
- Coating: You can coat shanklish with zaatar, sumac, chili powder or paprika, though the most common in Lebanon is zaatar.
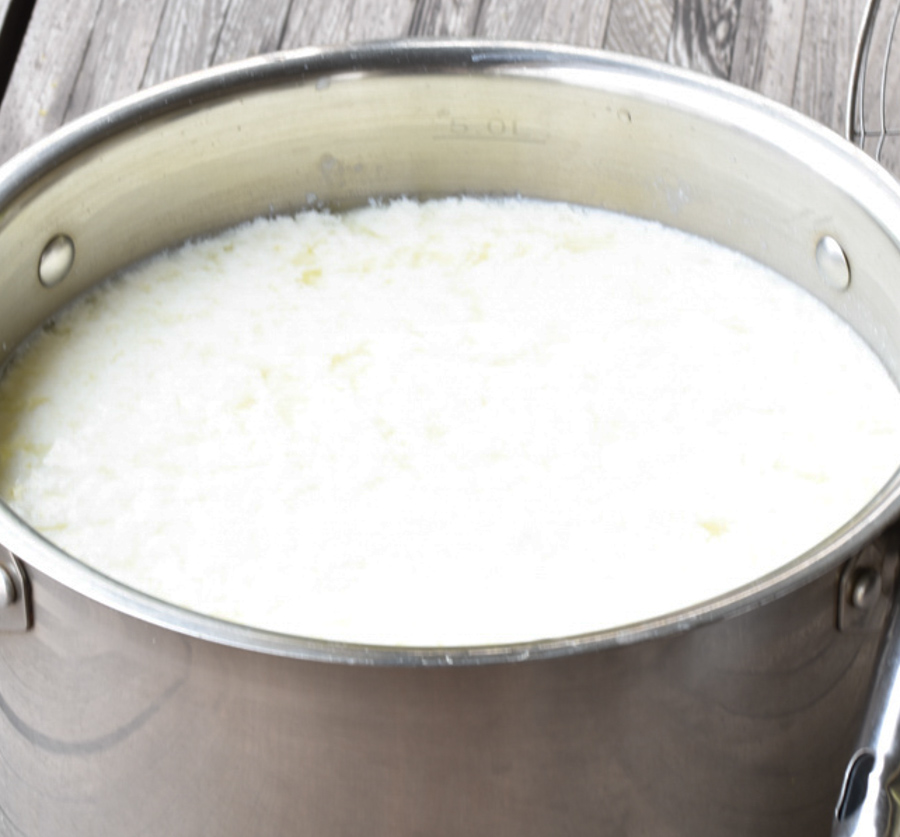
And now Let’s get started: Over medium heat, place the yogurt in a large pot and stir all the time to prevent it from scorching. Bring to a boil and add the white vinegar and sea salt and turn the heat off. Leave it until it cools down. The yogurt will considerably curdle.
And now Let’s get started: Over medium heat, place the yogurt in a large pot and stir all the time to prevent it from scorching. Bring to a boil and add the white vinegar and sea salt and turn the heat off. Leave it until it cools down. The yogurt will considerably curdle.
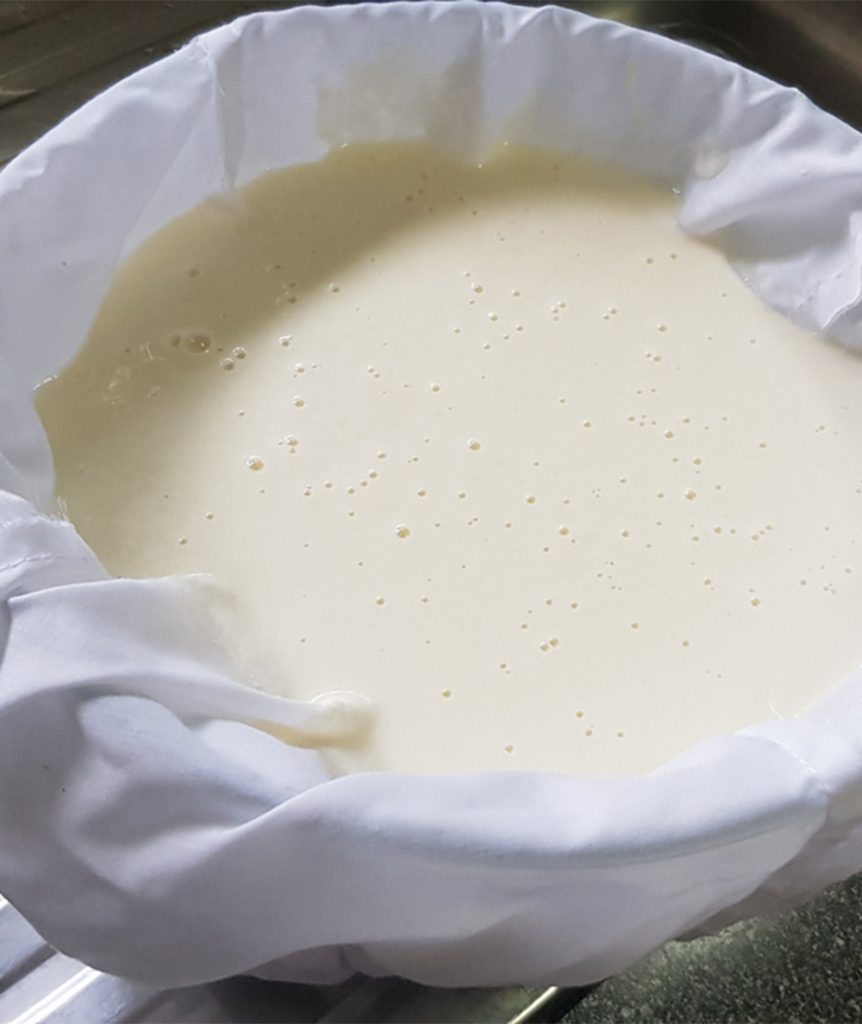
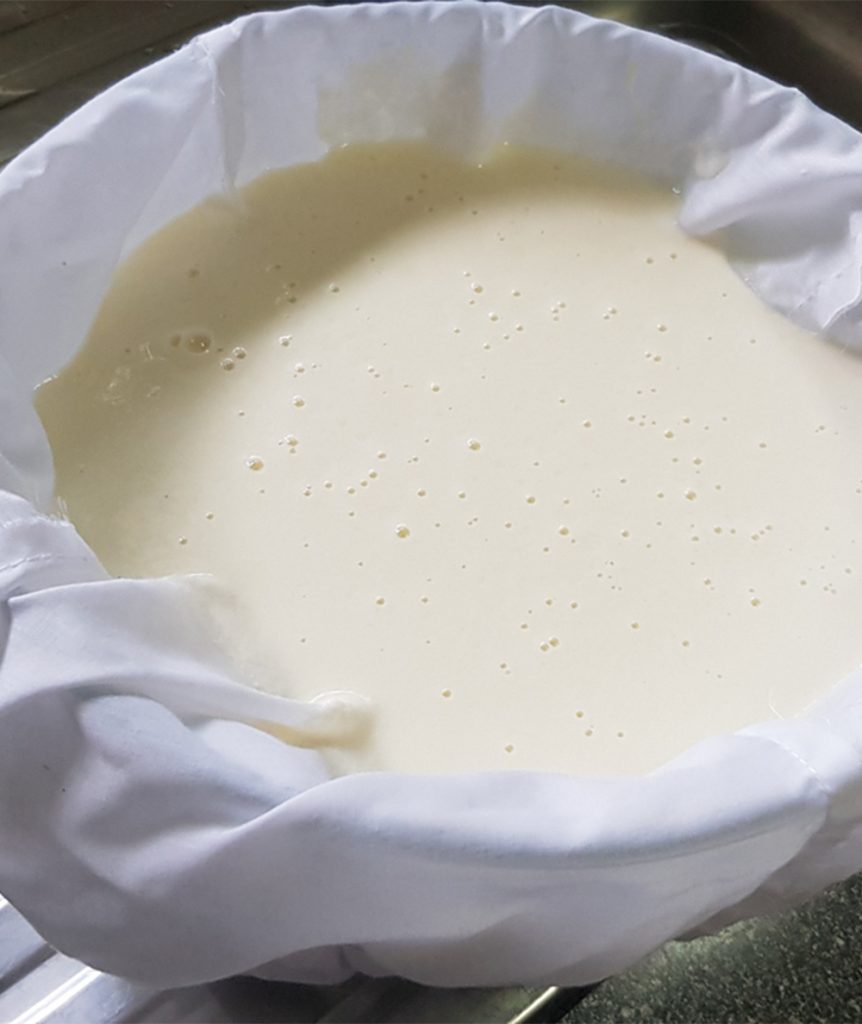
Line a colander with a cheesecloth suspended over a large bowl and tip the mixture in the cheesecloth.
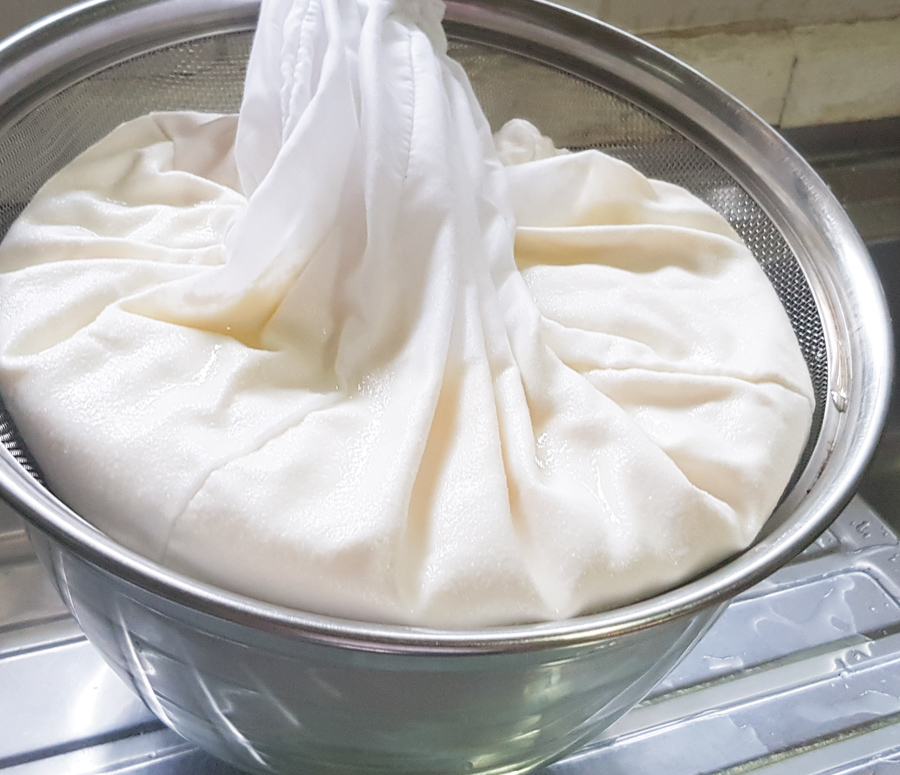
Gather the cloth around the cheese. Put a heavy object on top of the curd to help exert pressure. Refrigerate for 24 hours, making sure to get rid of any excess liquid dripping every few hours.
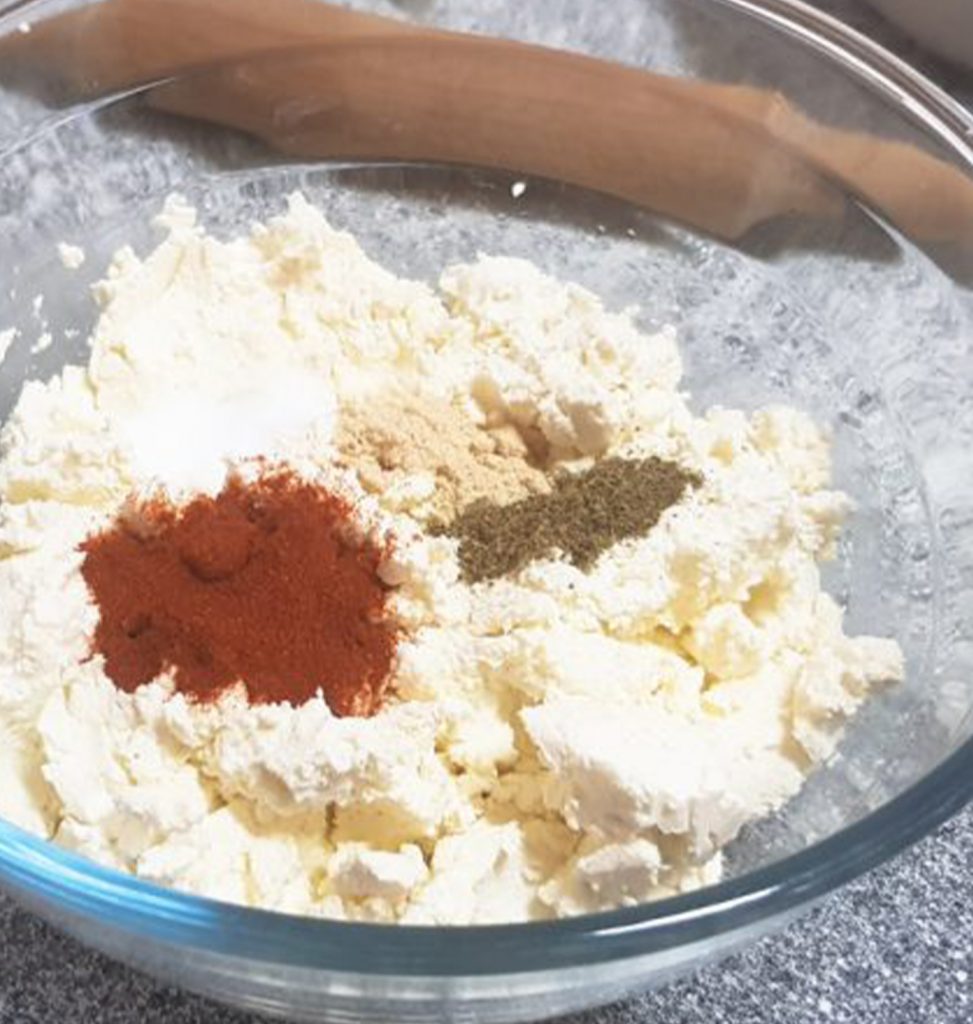
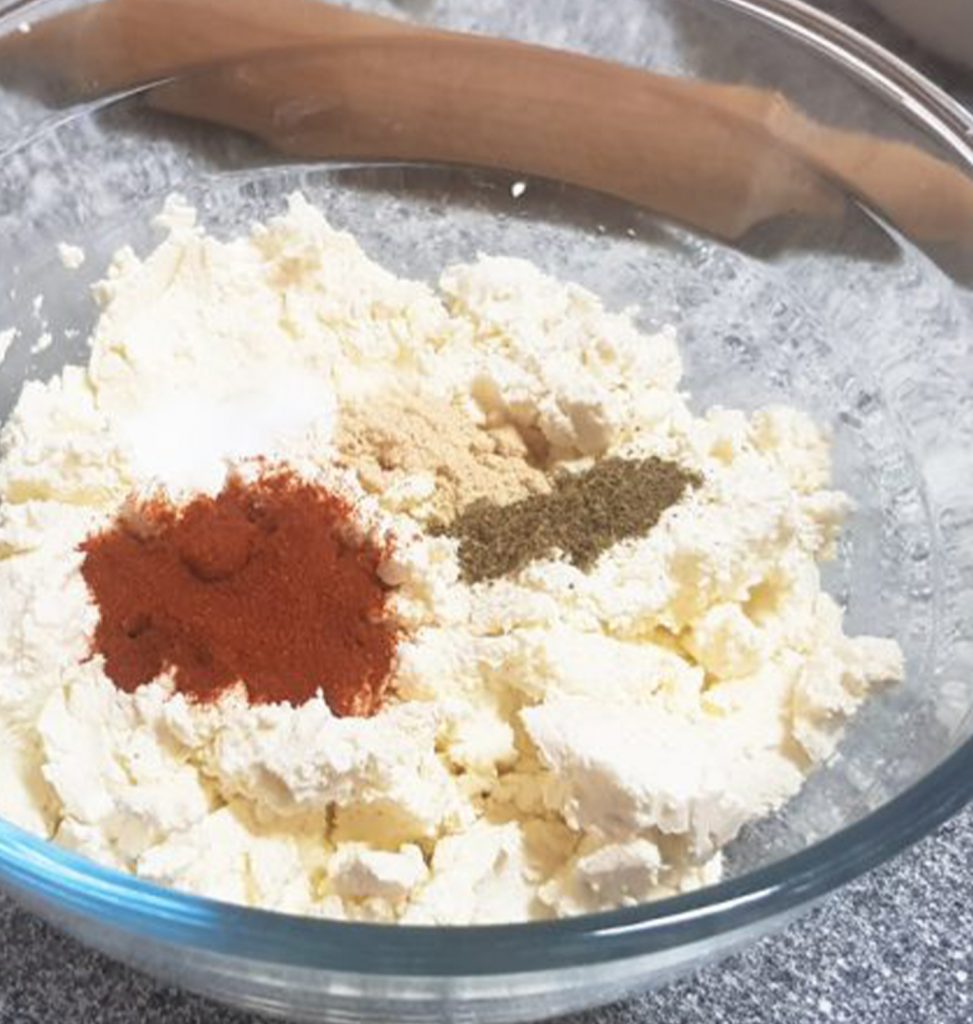
Transfer the content in the cheesecloth to a bowl, the cheese, at this stage, should be firm and easy to work with. Add the seasoning: paprika, salt, zaatar and mahlab, mix well to integrate the mixture together. Try a bite to see if you want to add more salt; salt should be pretty obvious, since it acts as a preservative.
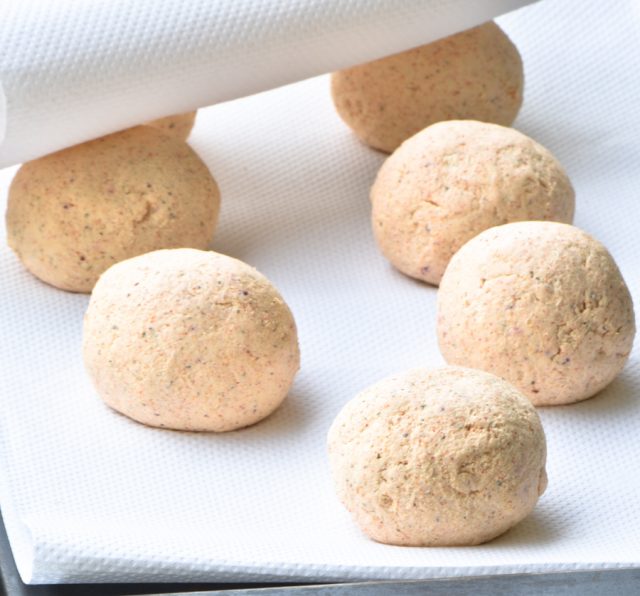
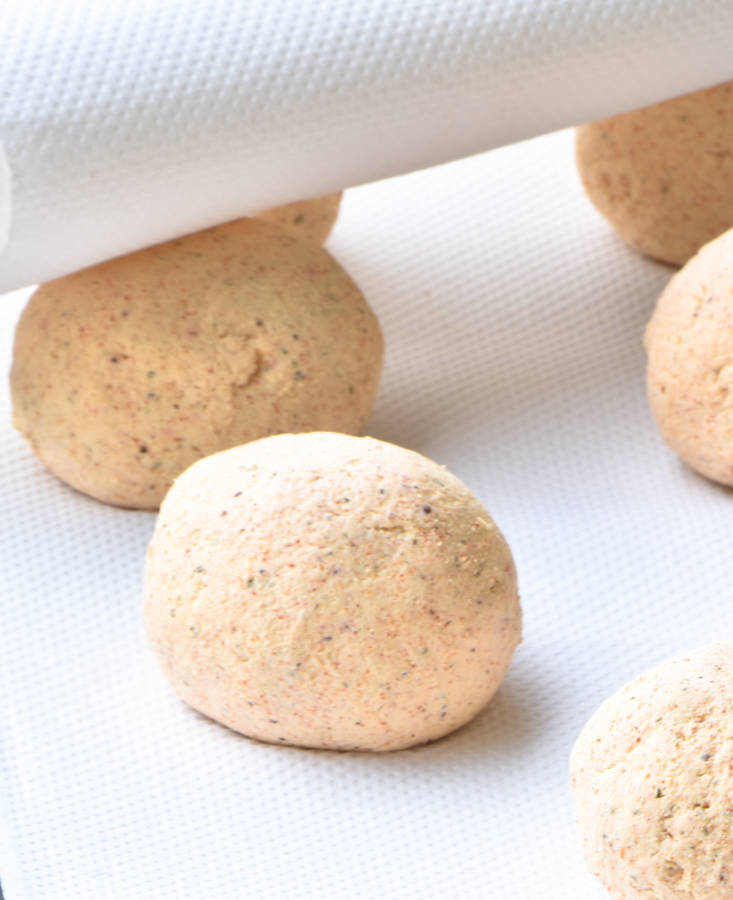
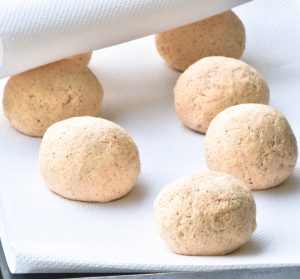
Using clean hands, shape and compress the strained curd to equal balls, roughly the size of a tennis ball, and transfer them to the tray lined with kitchen paper towels, leaving space between one another. I ended up with 7 balls. Cover them with kitchen paper towels. The paper towels will absorb the moisture from the balls. Leave them to dry out in the sun for 6 to 7 days, or alternatively you can expose the cheese balls to ventilation or air condition during day time, control of air flow will draw moisture from the cheese balls and help dry out, making sure to change the paper towels whenever they get saturated, and by night refrigerate, that’s what I did. Usually it take 6 to 7 days depending on the temperature and humidity.
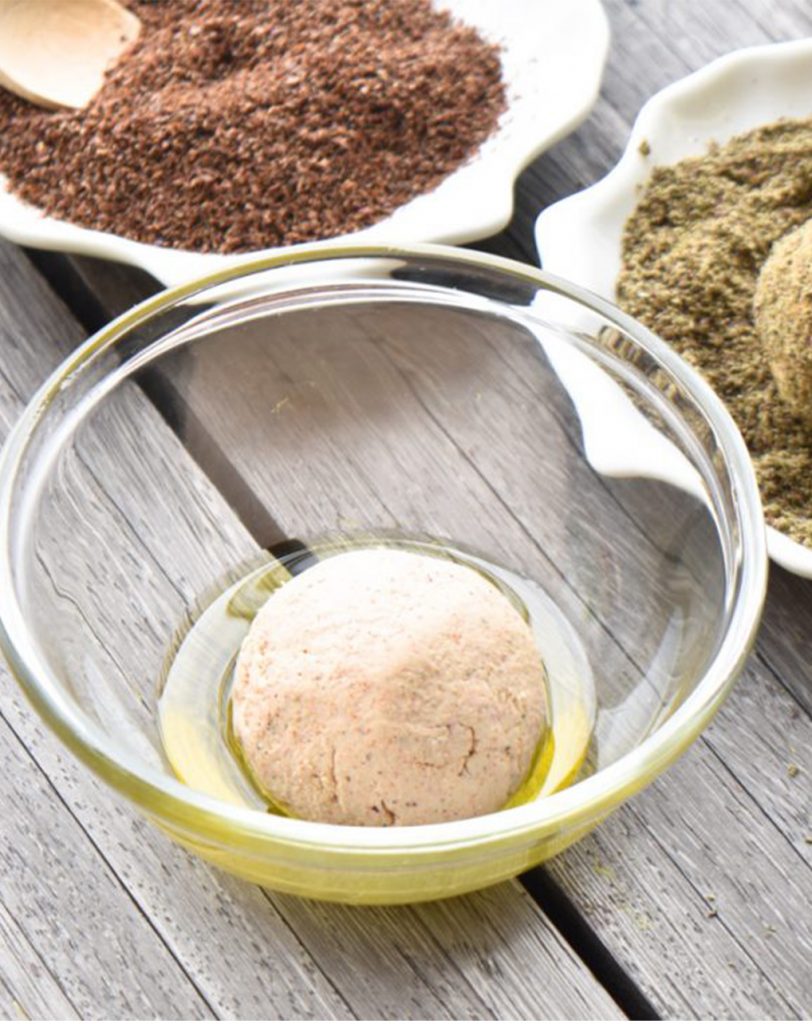
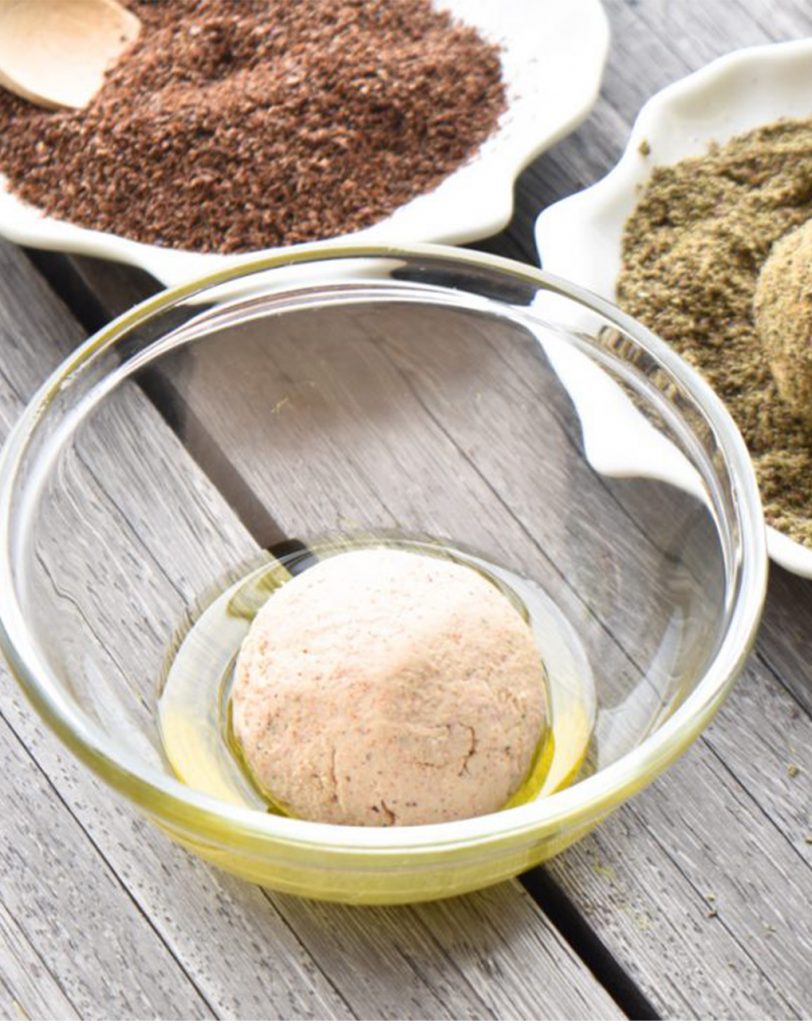
By now they should be completely dry. You can serve them right away, making sure to dip in olive oil and crust each with zaatar, oregano or paprika. Individually wrap with cling film and keep in your fridge or freezer. This is short aging where the taste is still mild, but it is really so good even at this stage. If you need the sharp shanklish taste, skip this step and keep on reading. A well-aged shanklish will be more pungent, and less creamy.
To fully mature the shanklish:Transfer the dried cheese balls (by now they should be totally dry, a good indication is when the paper towels feel dry to the touch) to a clean dry jar and keep away from sunlight, and forget about it in a dark place for 1 month or even more to slowly ferment.
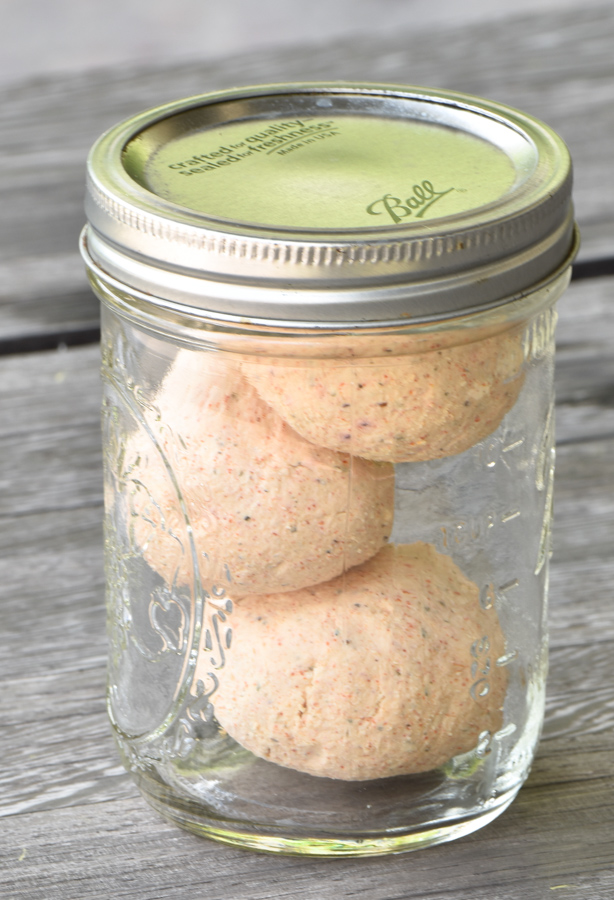
Check out the shanklish every few days, once the rots develop on the surface, then it is a sign the cheese has reached the maturation needed. After 4 weeks this is what my shanklish looked like, don’t be afraid of the mold spots, they are really a good thing and they are what give the cheese the complexity flavor. Rinse under running water and scrape clean to remove the rots developed on the surface of the cheese balls, dry with paper towels and roll up individually with zaatar or Aleppo pepper or paprika.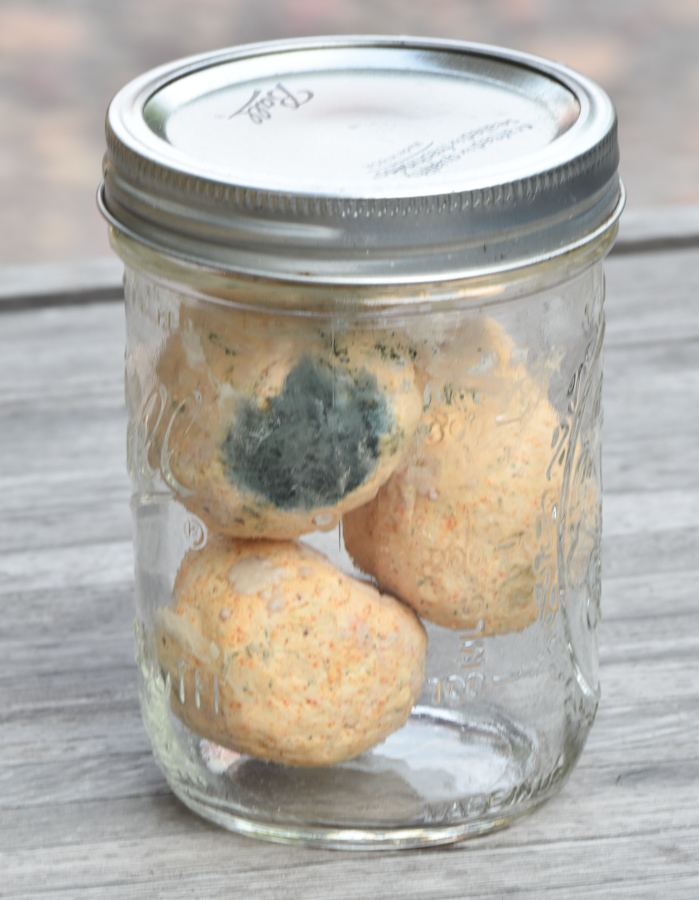
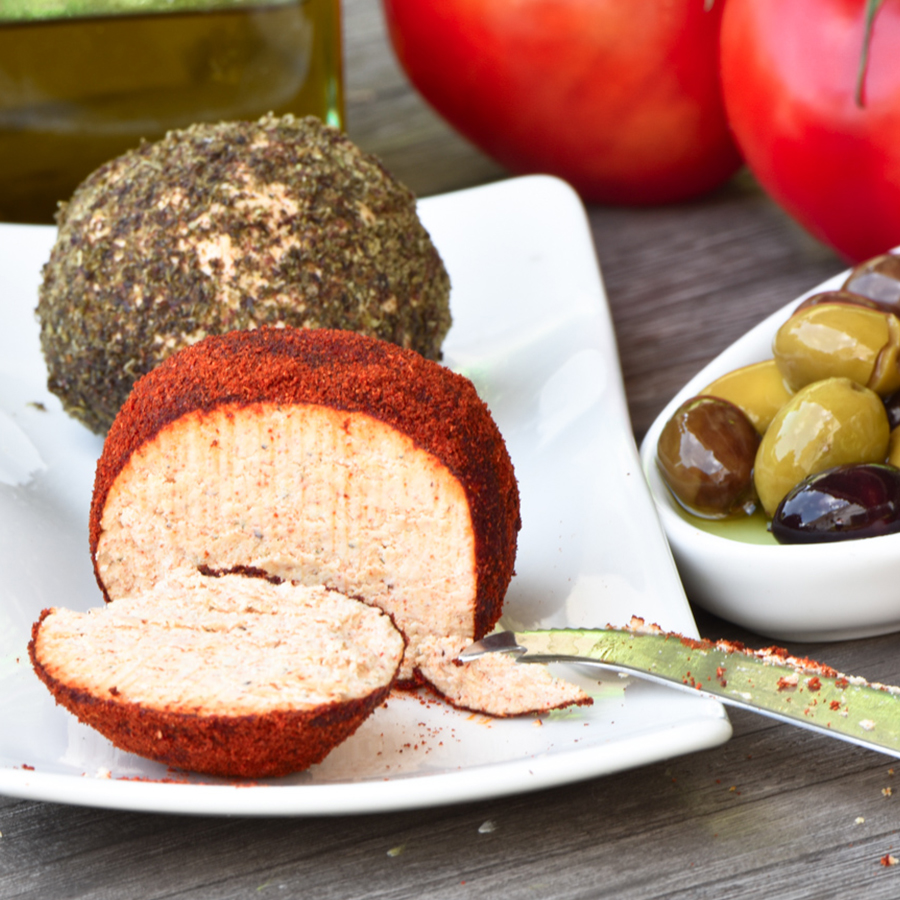
Keep in the fridge covered or individually wrap with cling film and keep in your freezer. A long process but believe me so worth it.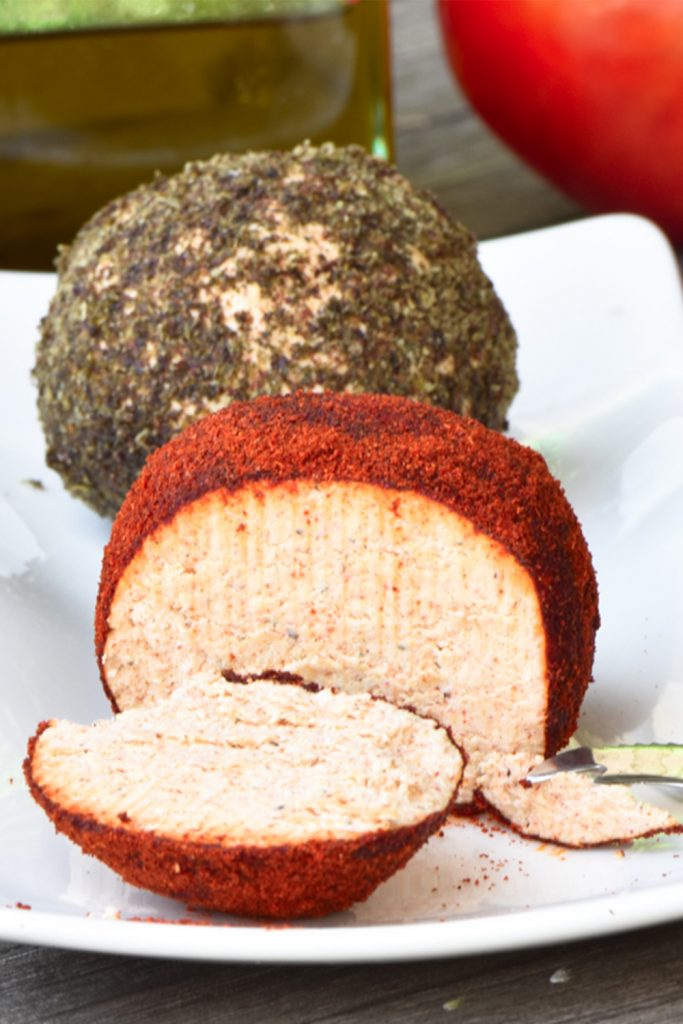
Shanklish/ Shankleesh
Description
Ingredients
- 4 kg / 8 lb. 14 oz. whole milk plain yogurt
- 1 1/2 tablespoons sea salt
- 8 tablespoons white vinegar
Seasoning:
- 2 leveled tablespoons salt or to taste
- 1 tablespoon papkrika optional, but recommended
- 1 tablespoon zaatar optional
- ½ teaspoon mahlab optional
Coating:
- Zaatar or Aleppo pepper/ Paprika
Instructions
- Over medium heat, place the yogurt in a large pot and stir all the time to prevent it from scorching. Bring to a boil and add the white vinegar and sea salt and turn the heat off. Leave it until it cools down. The yogurt will considerably curdle.
- Line a colander with a cheesecloth suspended over a large bowl and tip the mixture in the cheesecloth.
- Gather the cloth around the cheese. Put a heavy object on top of the curd to help exert pressure. Refrigerate for 24 hours, making sure to get rid of any excess liquid dripping every few hours. The mixture at this stage should be dry and hard enough to roll.
- Transfer the content in the cheesecloth to a bowl, the cheese, at this stage, should be firm and easy to work with. Add the seasoning: paprika, salt and mahlab, mix well to integrate with the cheese. Try a bite to see if you want to add more salt, it should be pretty obvious, since salt acts as a preservative.
- Lay strong and heavy kitchen paper towels on a flat tray.
- Using clean hands, shape and compress the strained curd to equal balls, roughly the size of a tennis ball, and transfer them to the tray lined with paper towels, leaving space between one another. I ended up with 7 balls. Cover them also with kitchen paper towels. The paper towels will absorb the moisture from the balls. Leave them to dry out in the sun for 6-7 days, or alternatively you can expose the cheese balls to ventilation or air condition during day time, control of air flow will draw moisture from the cheese balls and help dry out, making sure to change the paper towels whenever they get saturated, and by night refrigerate, that’s what I did. It may take 6 to seven days depending on the temperature and humidity.
- By now they should be completely dry. You can serve them right away, making sure to dip in olive oil and crust each with zaatar, oregano or paprika. Individually wrap with cling film and keep in your freezer. This is short aging where the taste is still mild; a well-aged shanklish will be more pungent, and less creamy. If you need the sharp shanklish taste, skip step 6 and keep on reading!
- To fully mature the shanklish: Shanklish should be totally dry, a good indication is when the paper towels feel dry to the touch. Transfer the cheese balls to a clean dry jar and keep away from sunlight, preferably a dark place for 1 month or even more to slowly ferment; check out the shanklish every now and then,
- Once the rots develop on the surface, then it is a sign the cheese has reached the maturation needed. Rinse under running water and scrape clean to remove the rots developed on the surface of the cheese balls, dry with paper towels and roll up individually with zaatar or Aleppo pepper or paprika.
- Keep in the fridge covered or individually wrap with cling film and keep in your freezer. A long process but believe me so worth it.
Notes
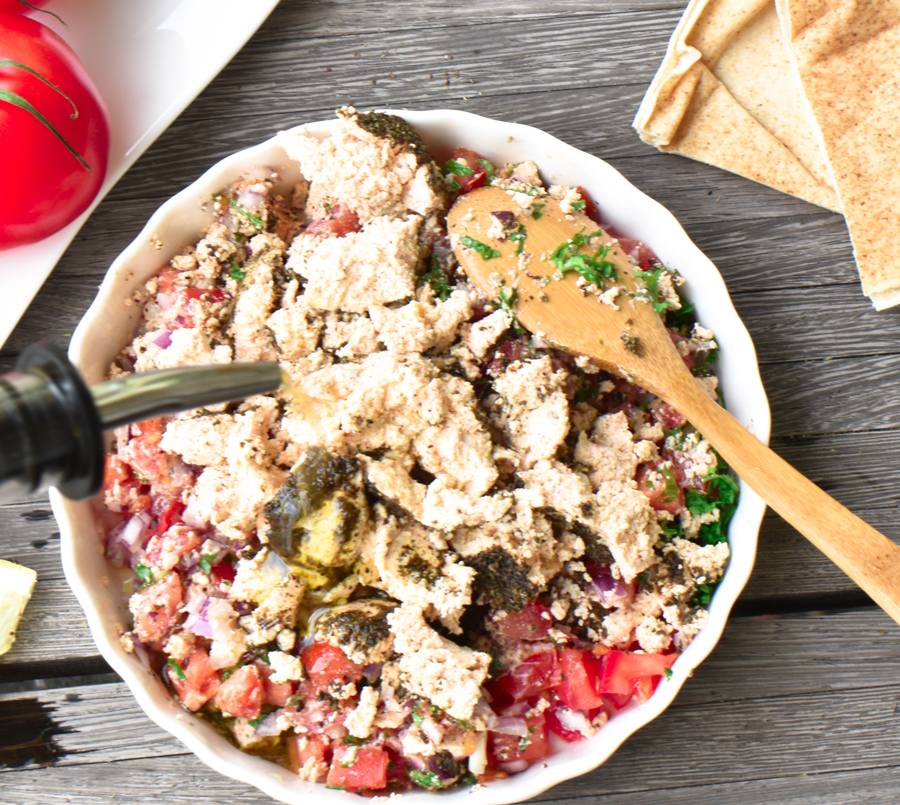 The most common way to eat shanklish is to crumble it, and mix it up with diced tomatoes, onions and freshly chopped parsley with a generous drizzle of extra virgin olive oil. Tear off pita bread/ Arabic bread and scoop it up with shanklish, I am over the moon happy! Seriously hard to resisit. Make sure to use the best olive oil quality.
- 1 shanklish ball
- 1 small onion
- 1 medium sized tomato
- 1 tablespoon chopped parsley
- 1/3 cup extra virgin olive oil, more if needed










13 Comments
Happy to know you liked, Klaudia. It is a great recipe, and me too, I would enjoy as well short aged shanklish. Thank you for the feedback. Xoxo
Girl, this sounds amazing! Can I make this with any regular/non-Greek plain yogurt here in the US?
Thank you!
I have searched forever to find this. My Sitto, Great Aunts and Mom made this dried version of Shanklish. They called it uhdeesh. I’m trying to make it now using your recipe. I am so happy, I have tears in my eyes. (The closest thing I’ve ever found is Feta, just not the same). Thank you for bringing back the memories and hopefully creating more.
Hello! Can I use store bought lebni to make shanklish?
Can I dry in dehydrator?
Wow, thank you so so much for posting this, and the instructions for making Shanklish. Growing up in my Syrian-American family, Shanklish was always at the family table, and we ate it with eggs, with pita, with tomatoes/onions, with everything really… I never learned to make it and my family members who did make it did not pass on the tradition before they died. This is such a gift, thank you thank you thank you. Cannot wait to try this recipe out… one question – when putting in air tight container – there’s no risk of botulism is there, like in canning? Thank you.
excellent receipies you are a great master chef. Chapeau
Thank you so much, Charles, xoxo.